Now, after nine years pause, there was the opportunity to continue working on the RS-250 project after a few relocations and life stages. Studying, changing careers and the associated unsuitable rental apartments in various places across Germany were the reason why there was no further progress on this project for years. During this time, the RS 250 stood covered in my parents’ barn, parts packed in boxes.
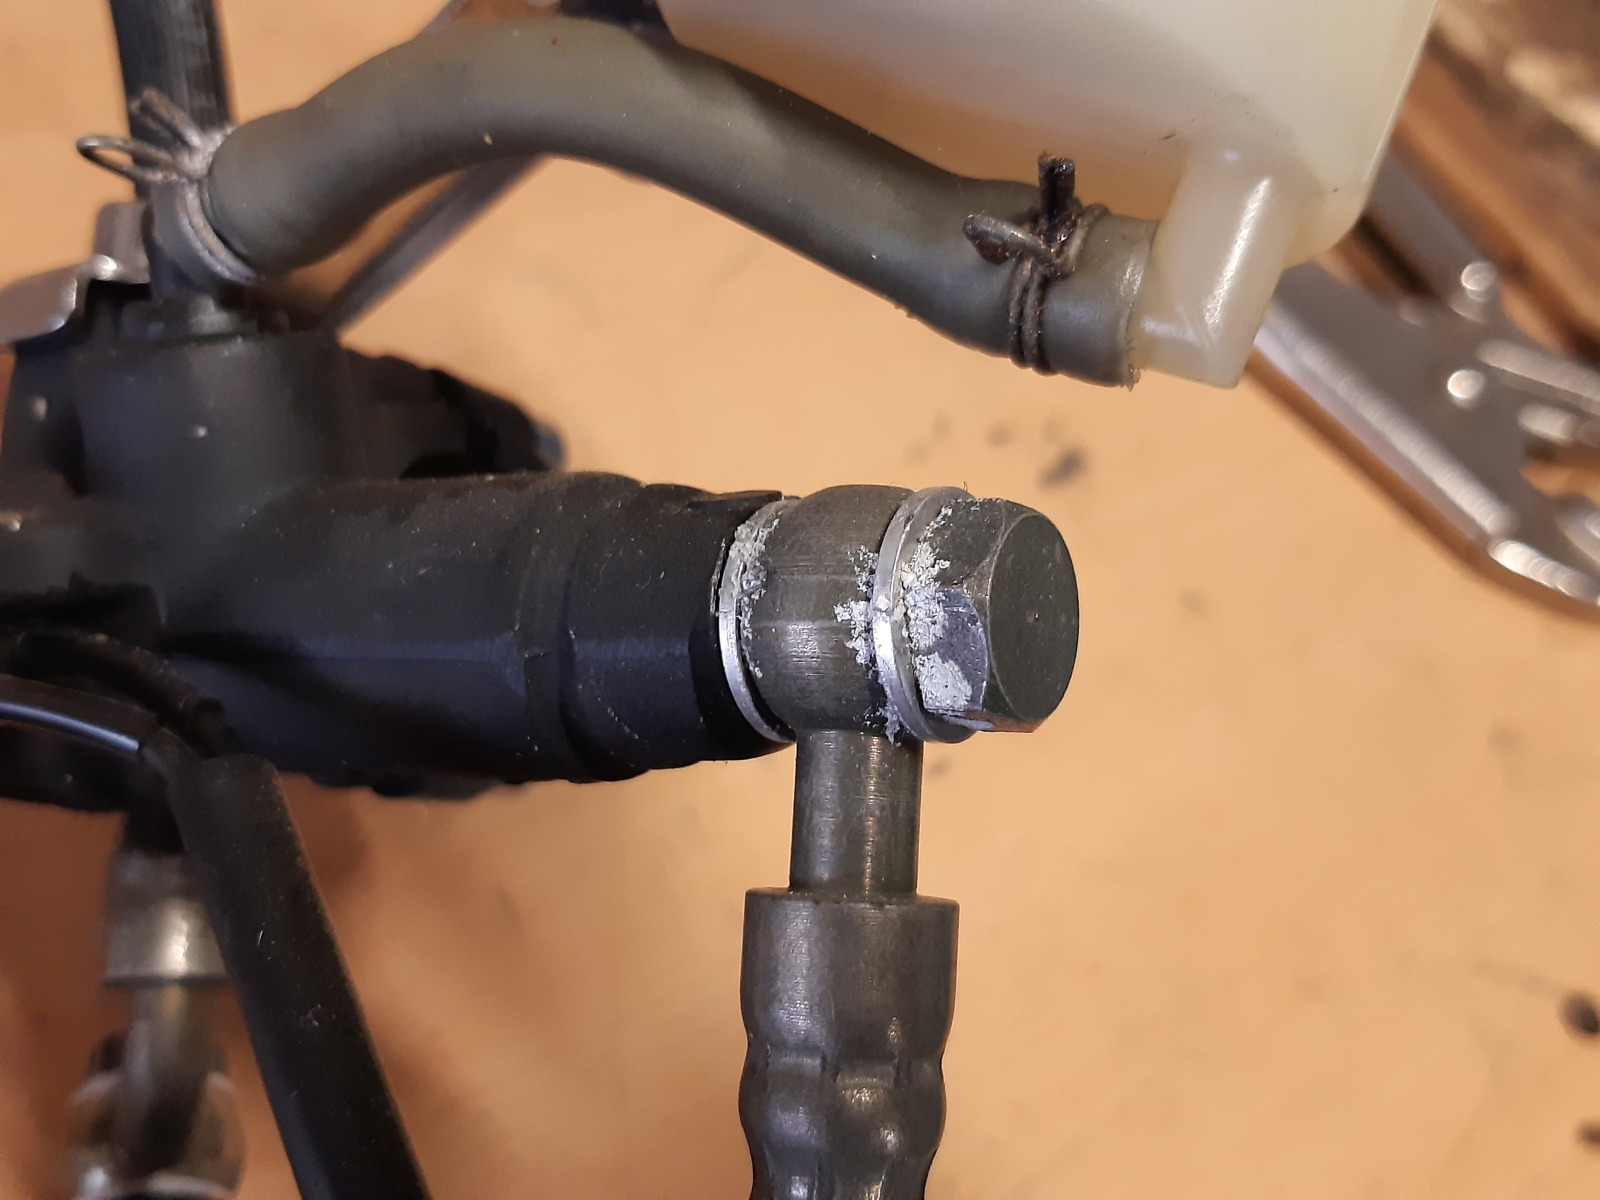
At that time, the front wheel brake was filled with brake fluid for transport (it is a pain to push a motorcycle up or down stairs or slopes without brakes) and left it that way. It is interesting what happened to the brakes after nine years: jelly-like crystals formed on the brake fluid reservoir, some parts of the brake lines were corroded.

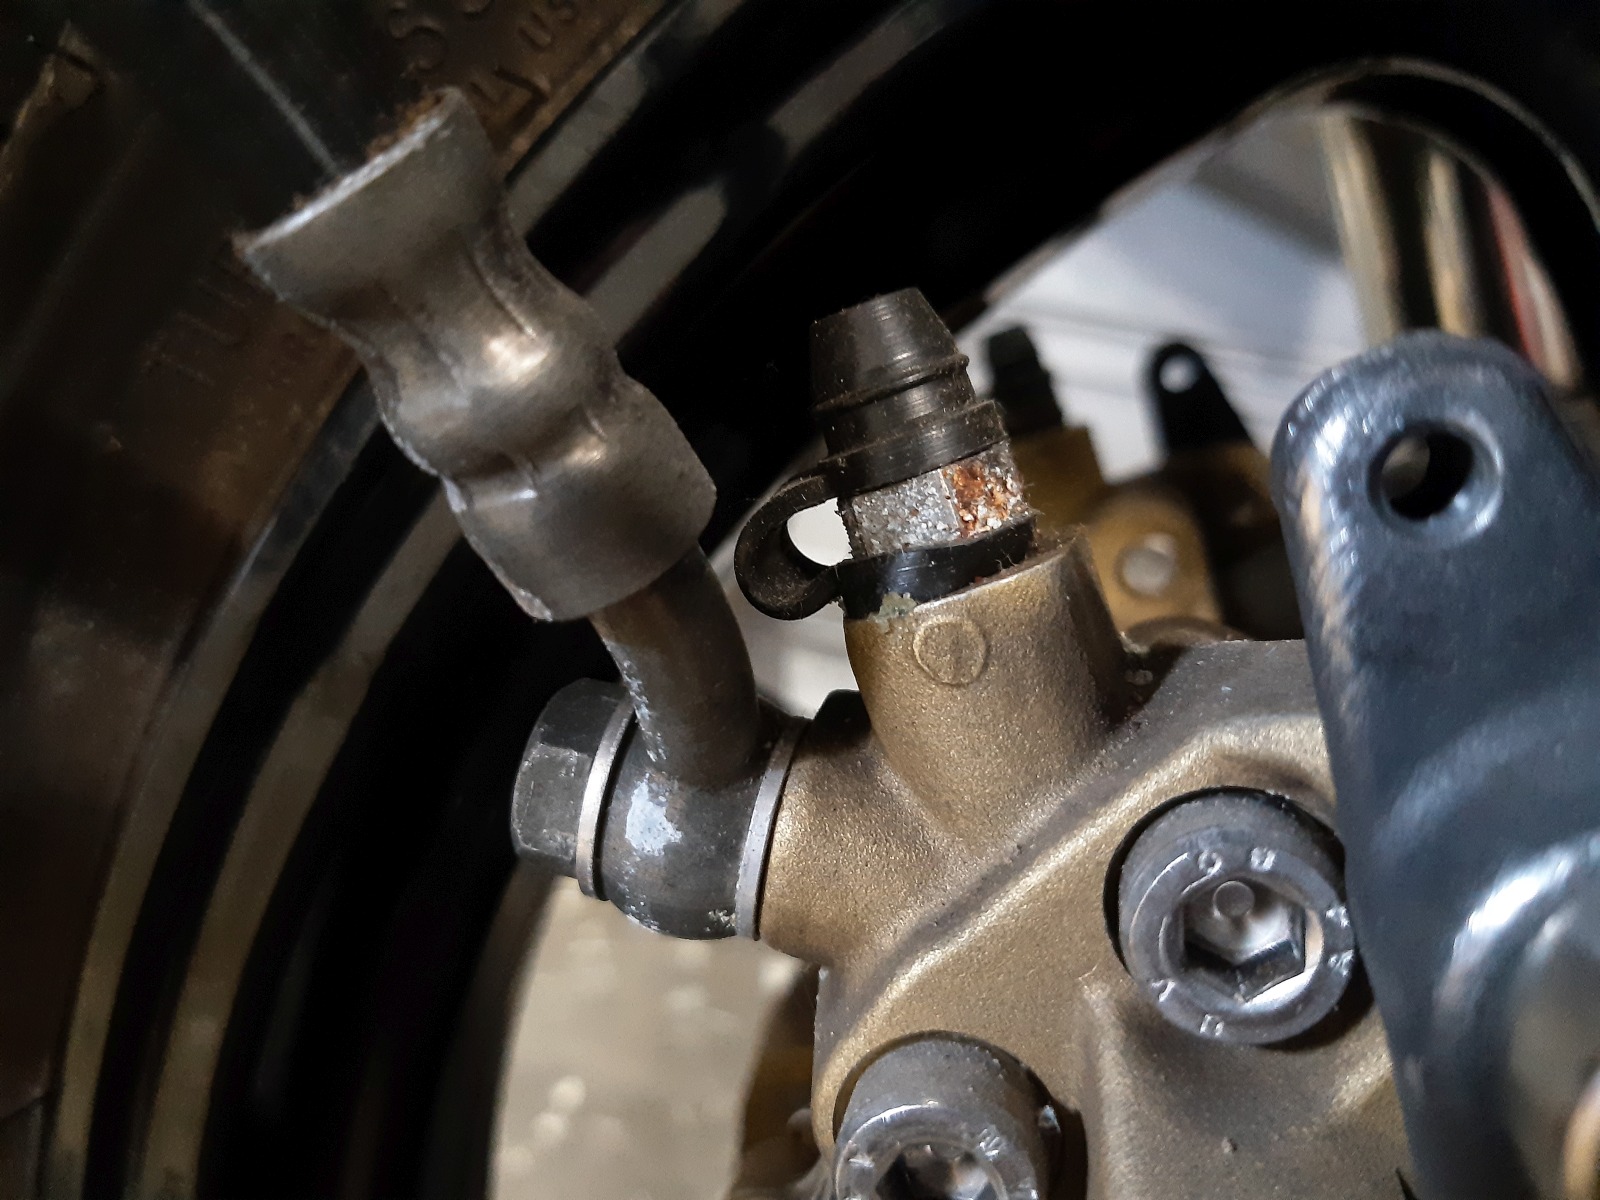
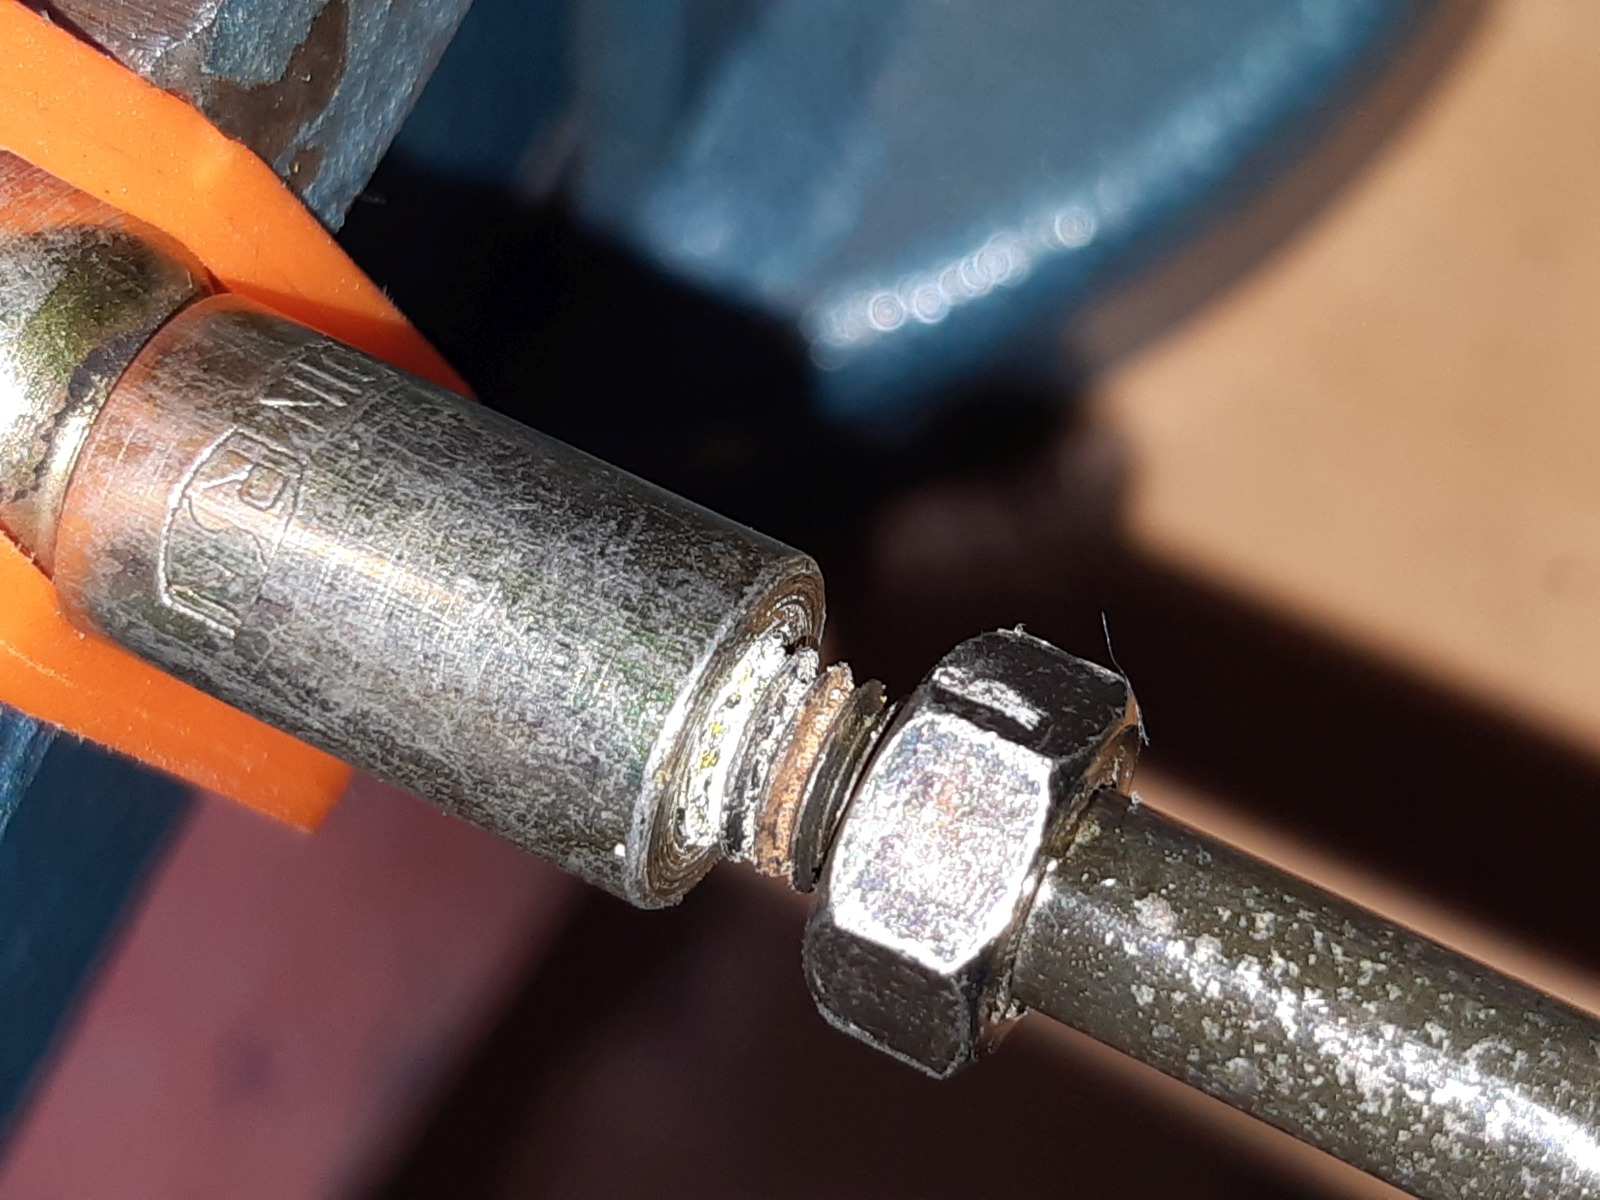
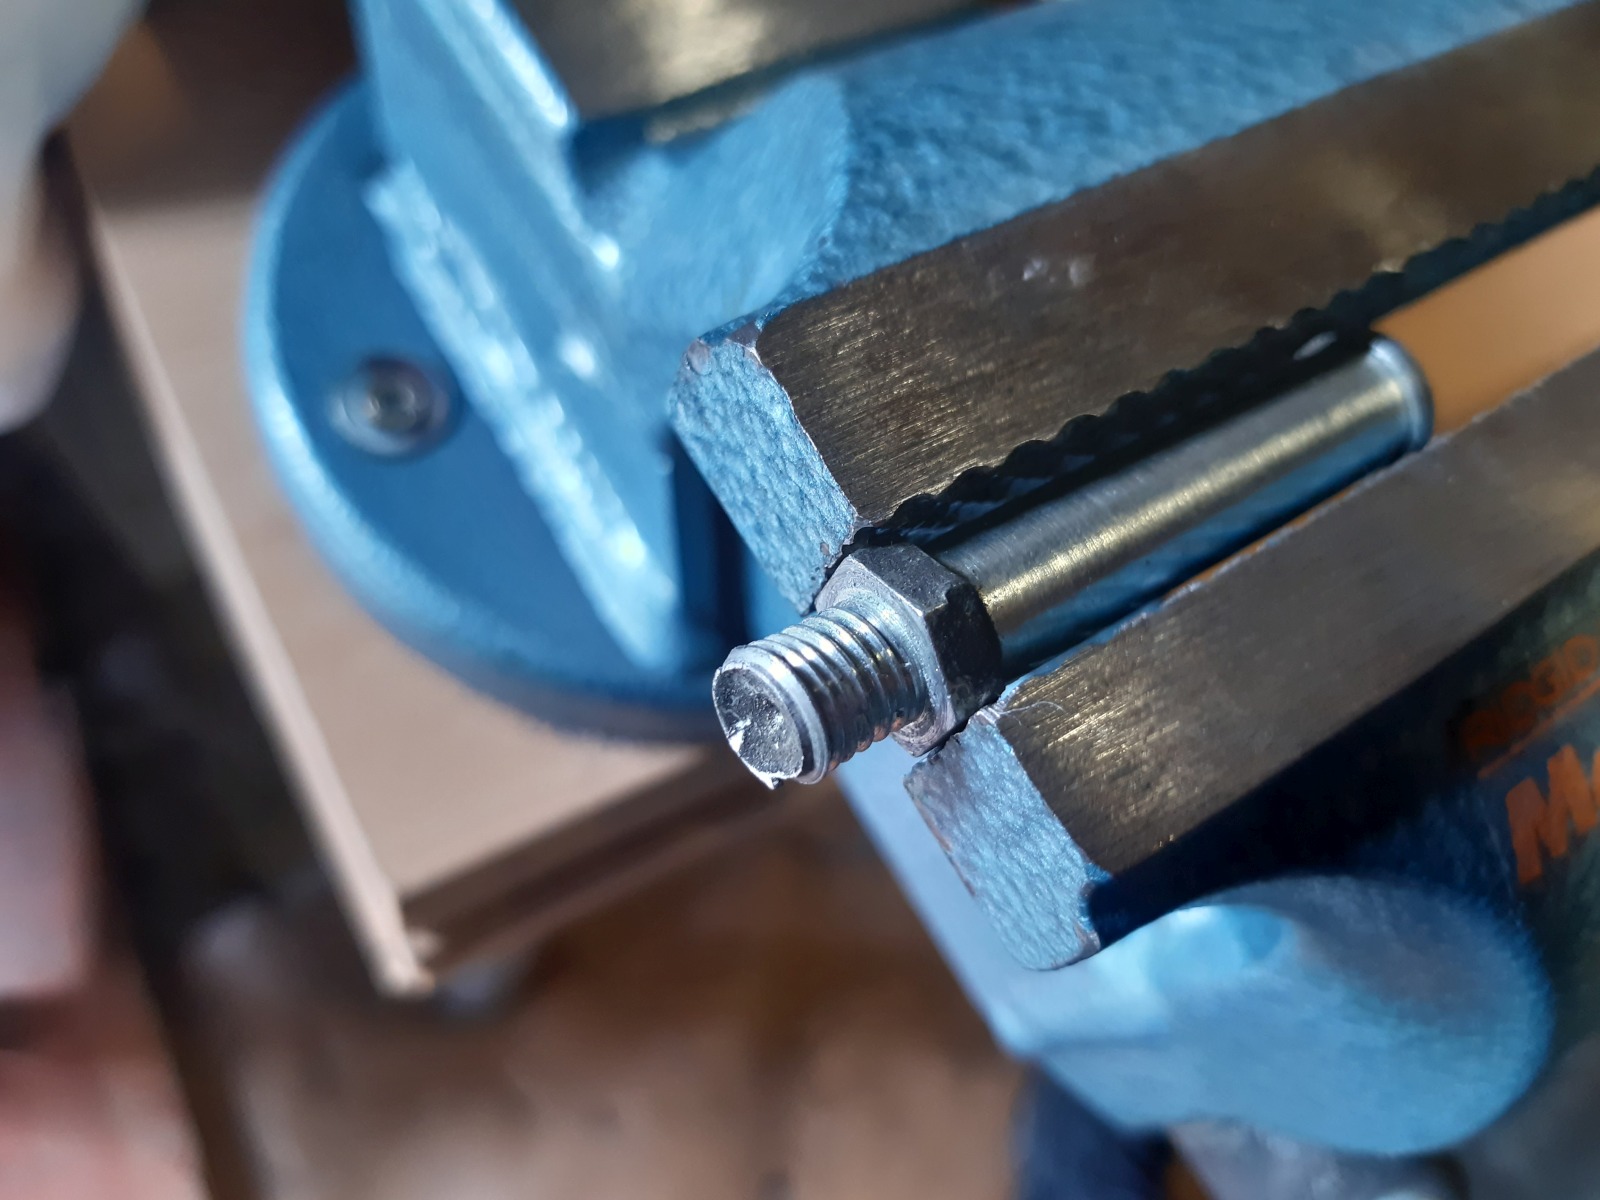
I had already noticed at the time that it was almost impossible to seal the hydraulic lines at the T-piece, so the entire brake was now removed again. The reason for this is obvious when you briefly sand down the sealing surfaces on the T-piece with fine sandpaper.

With these deep grooves, it is hardly possible, even with soft sealing rings, to get the screw connections on the hydraulic lines tight while using the specified tightening torque. The sealing surface was then ground flat by hand with sandpaper on a glass plate.
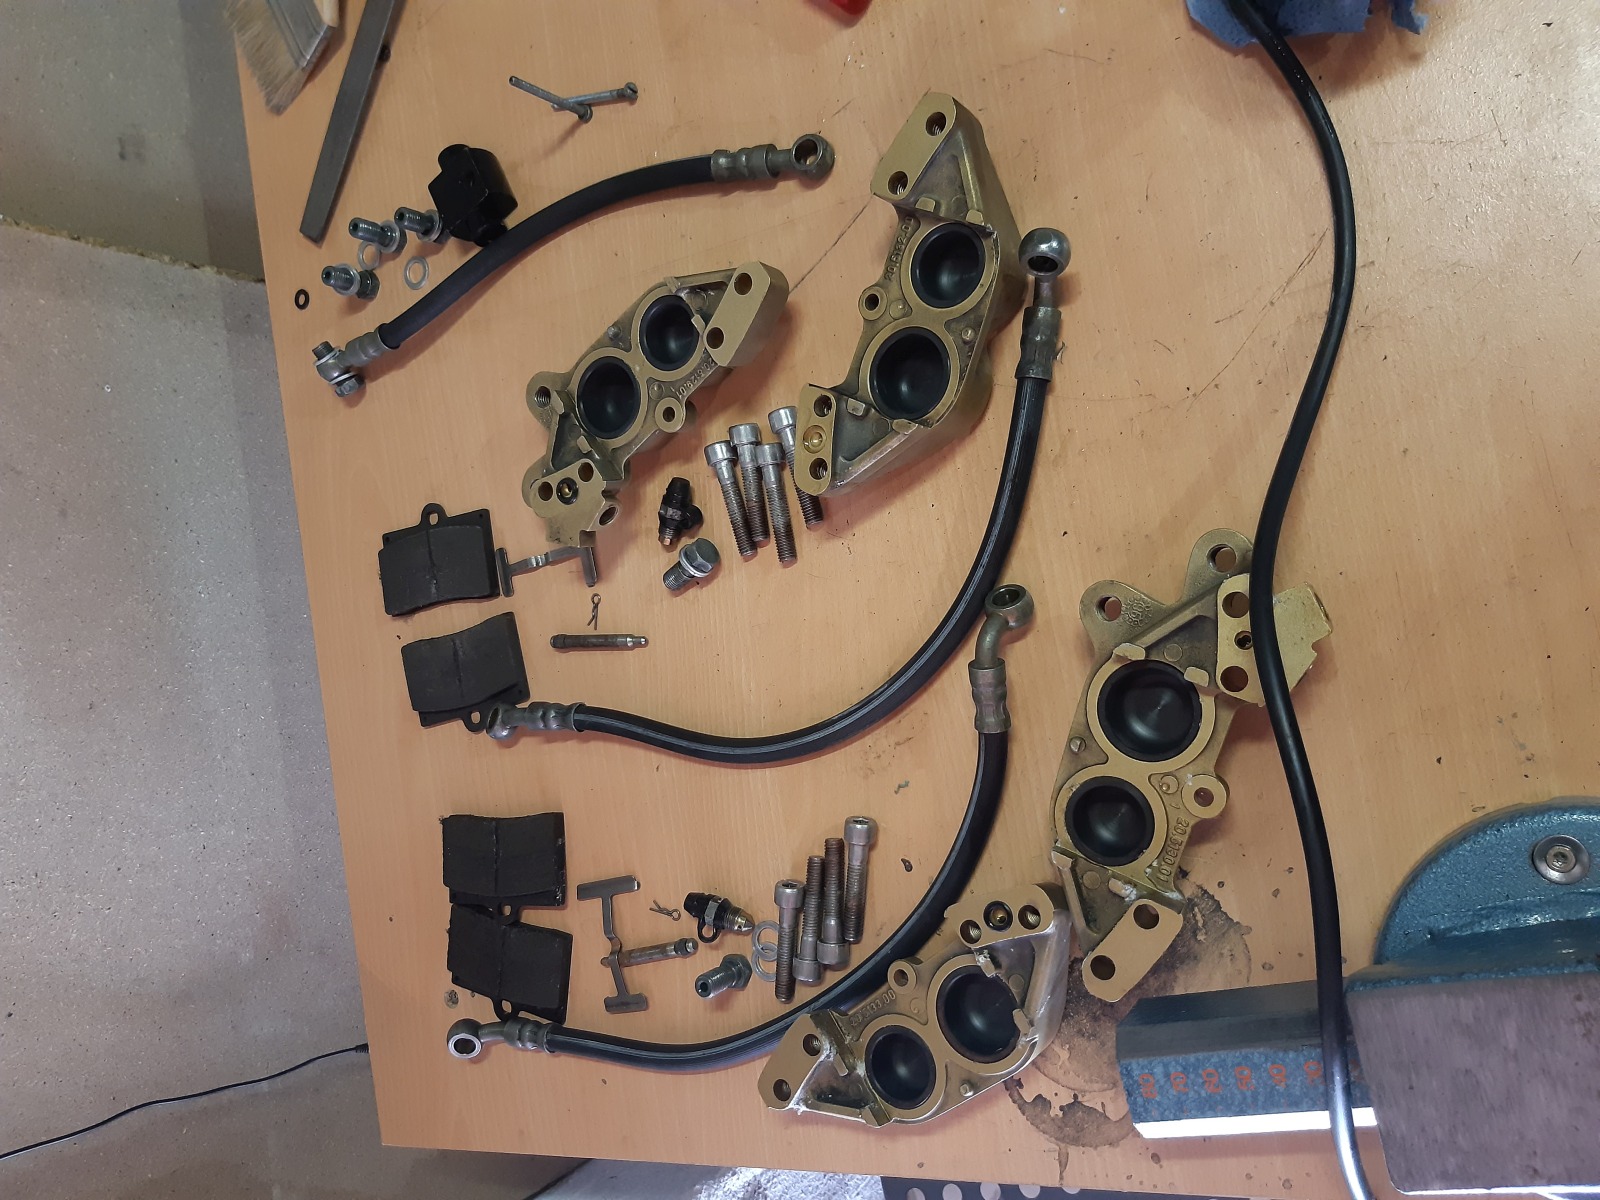
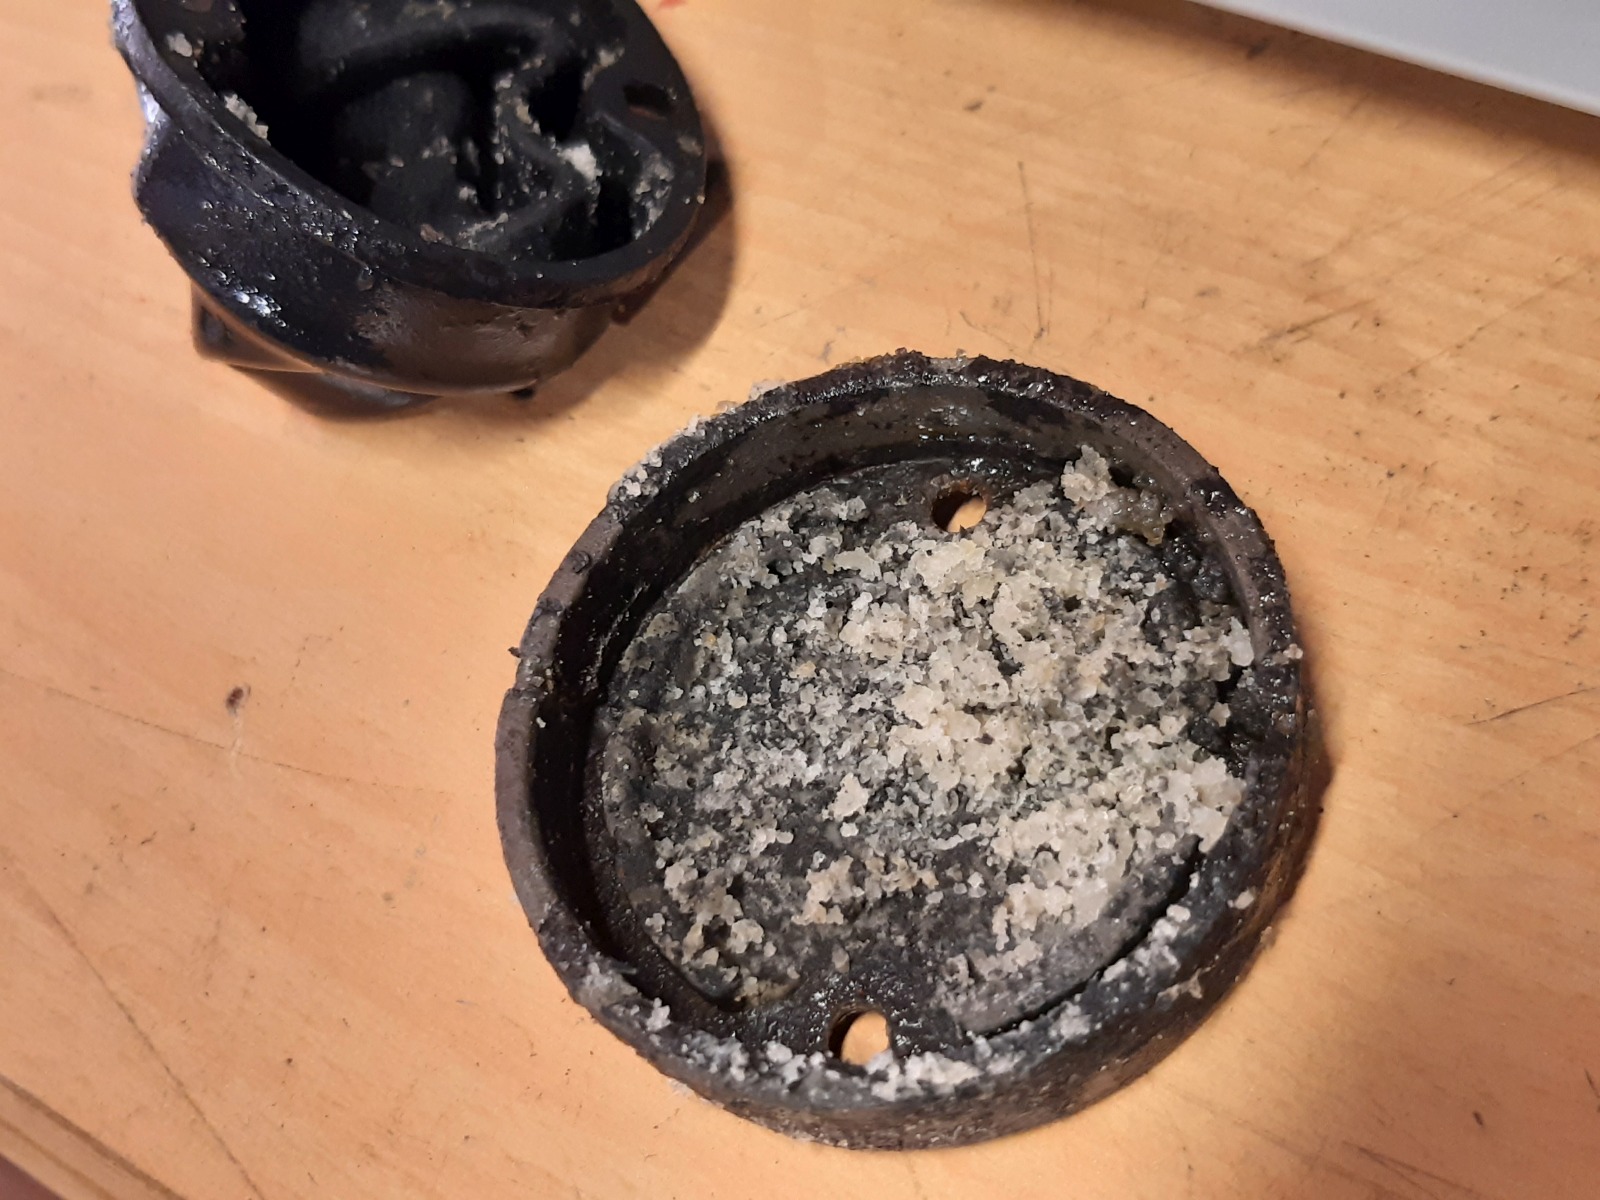
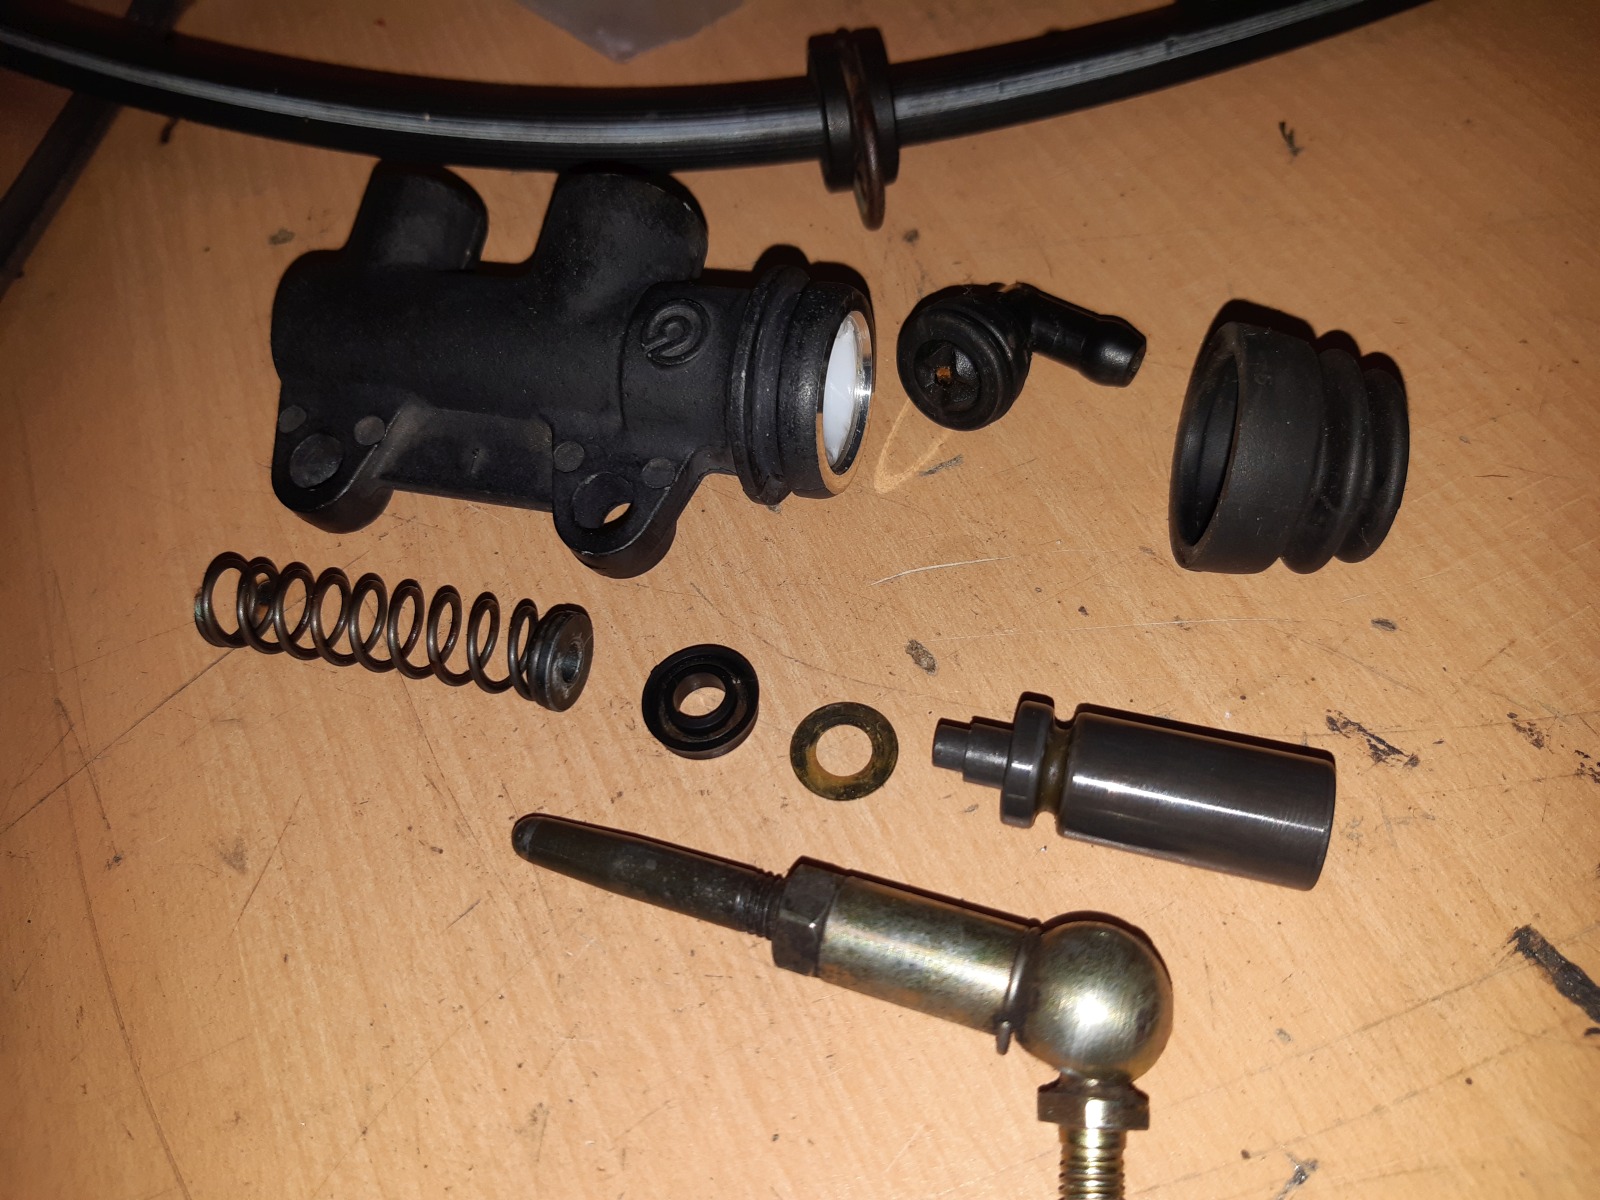
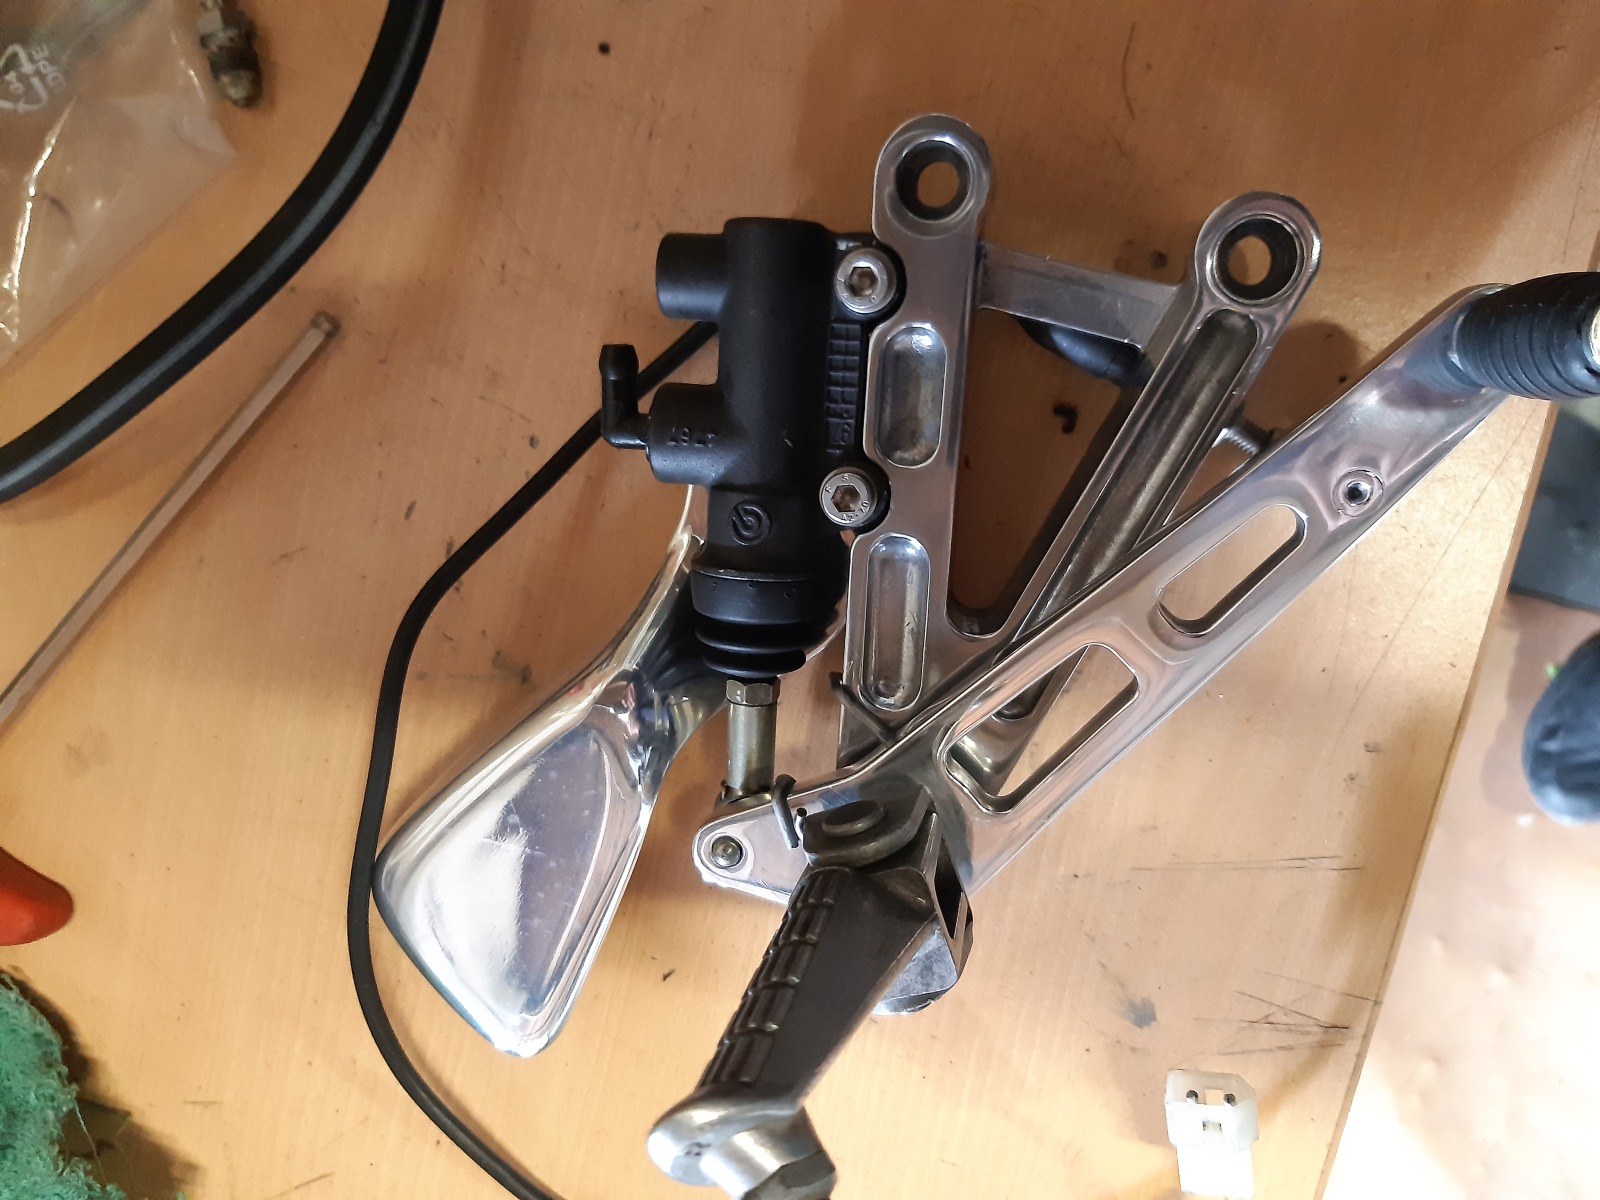
The rear brake pump felt a bit stiff, but I hadn’t touched it since buying it. A number of solid deposits had also formed here, and ultimately the brake pump was no longer able to function because the small bores to the expansion tank were clogged. Therefore, its the same here: Disassemble into all individual parts and clean thoroughly.

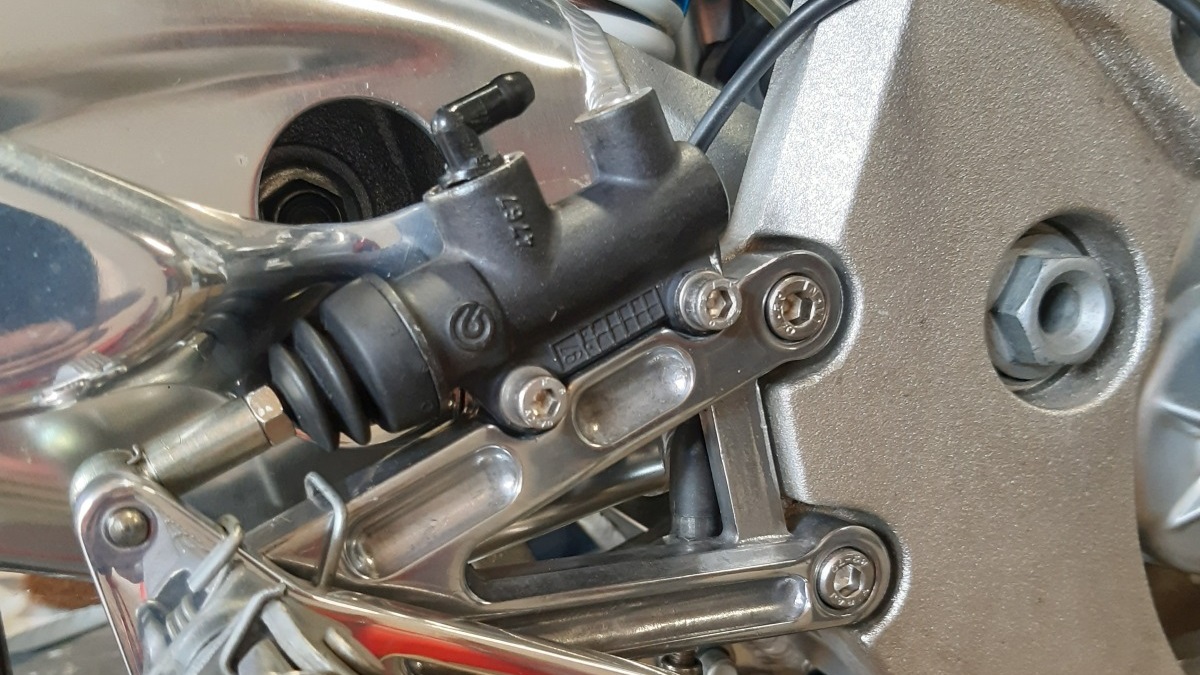
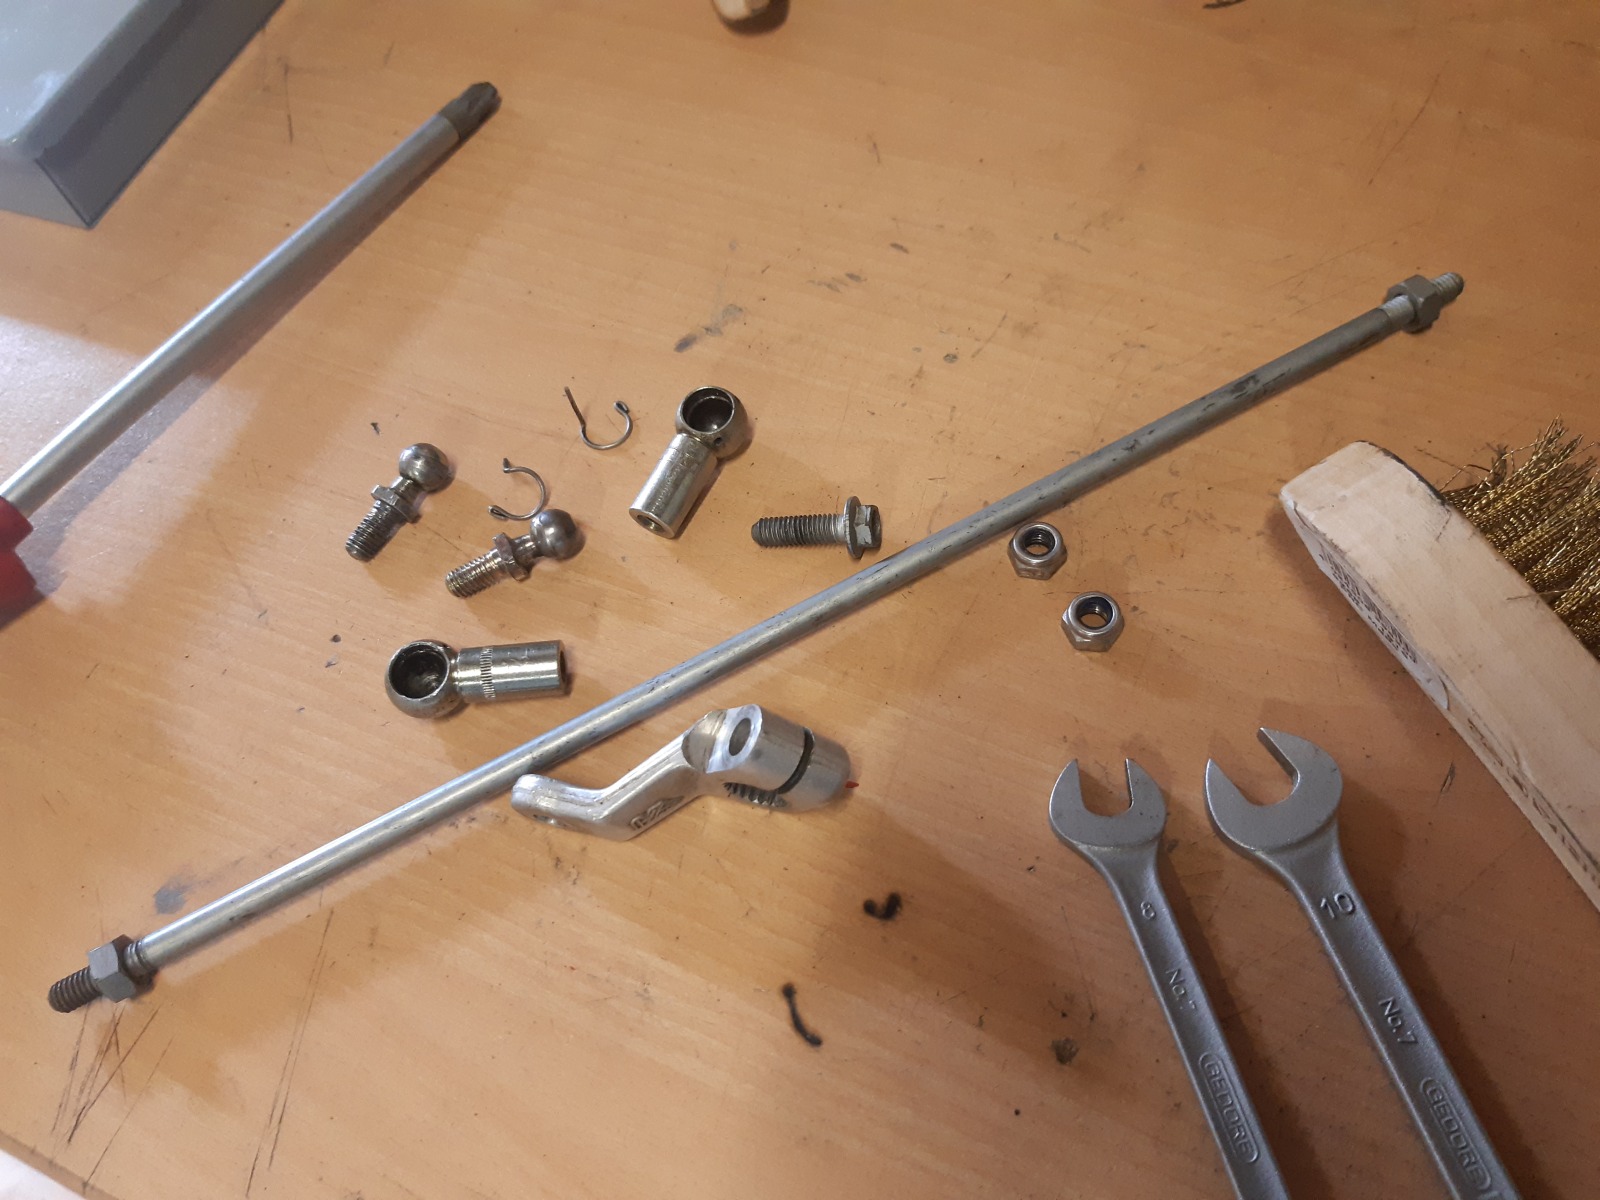
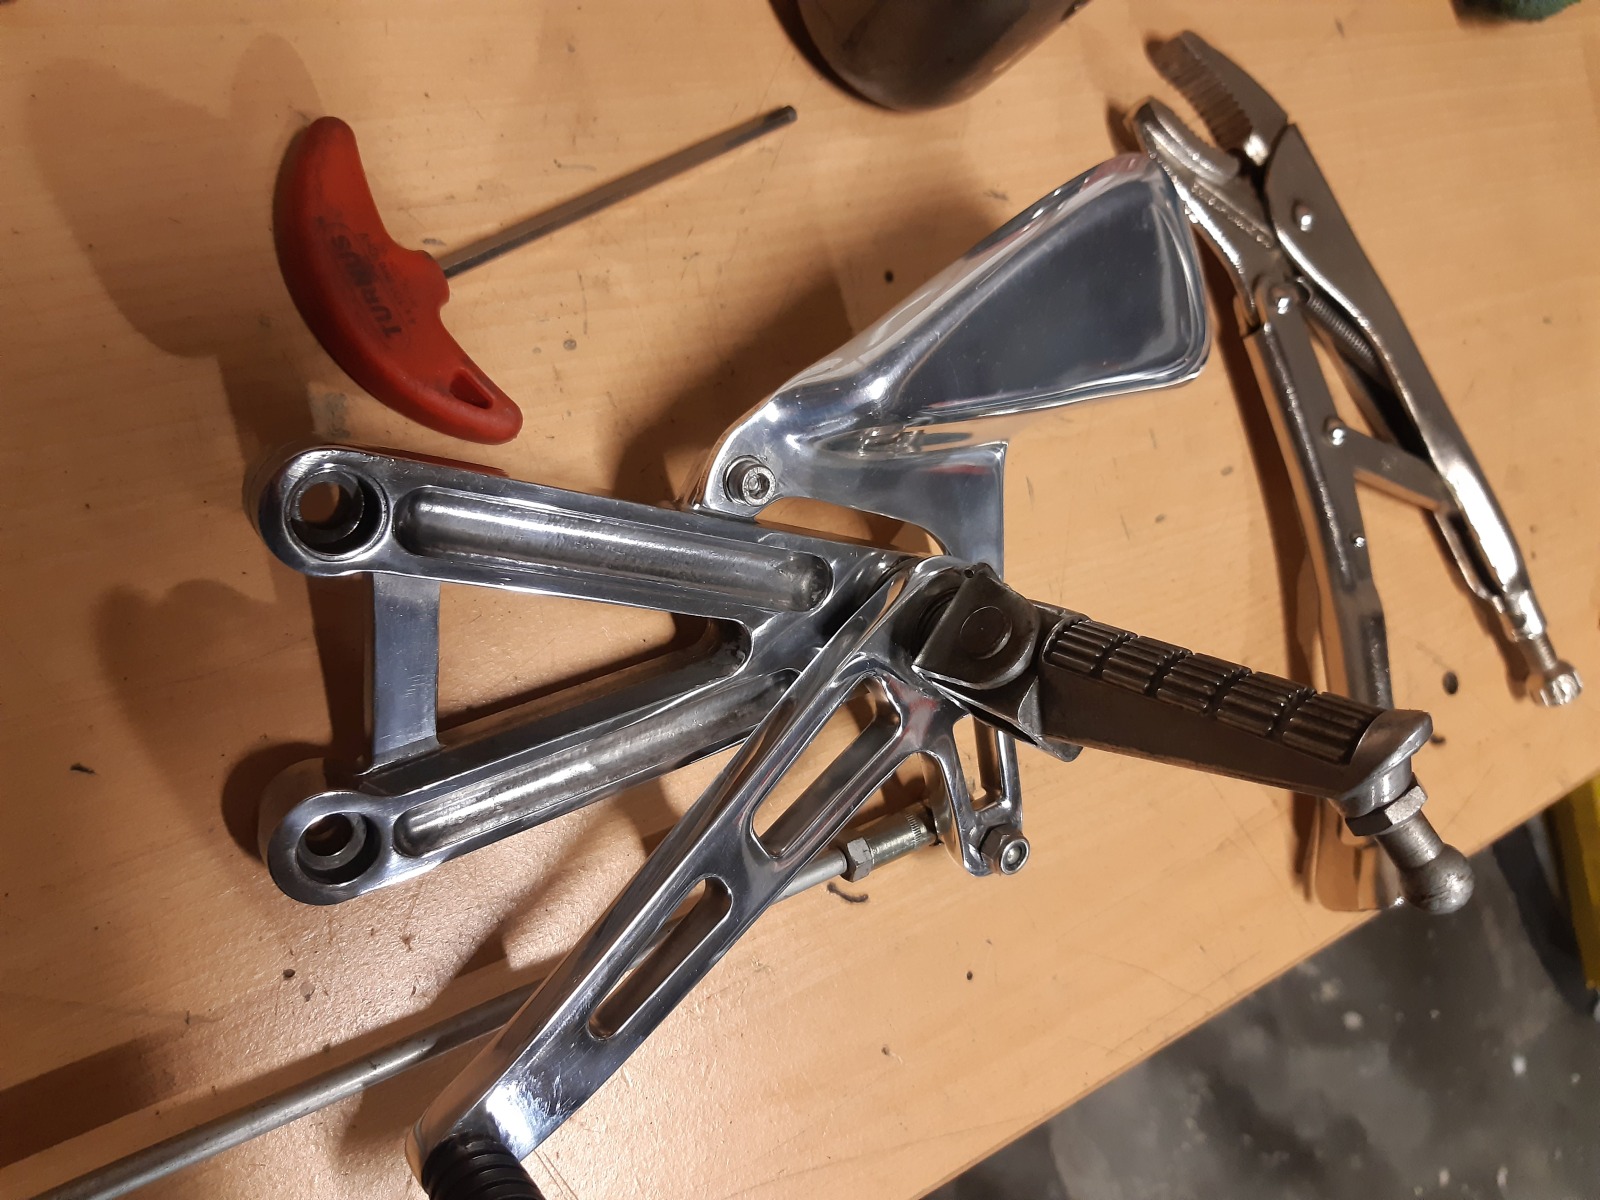
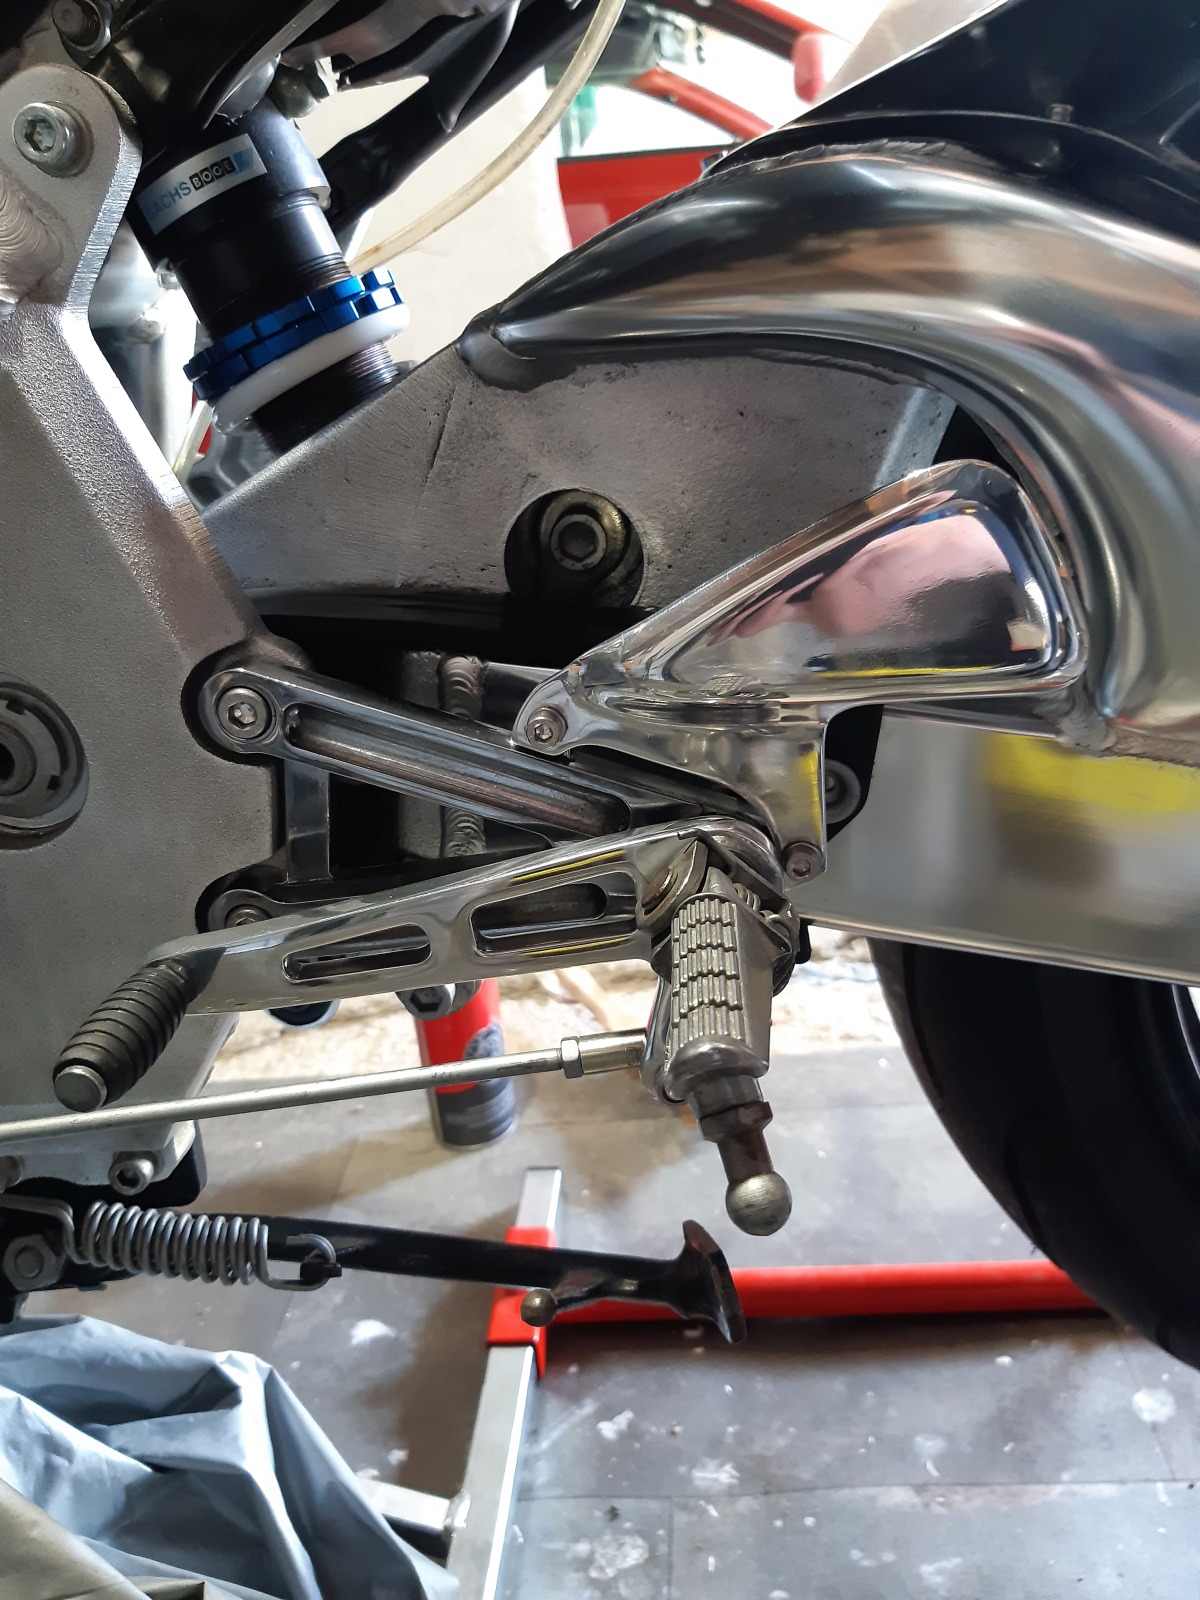
The footrest system is required for the assembly and bleeding of the brakes on the rear wheel brake. I had only assembled it temporarily, and that will also be done now. The screws from the shift linkage were corroded well (no anti-seize paste was used here) and the threads had to be recut.
The result can be seen to some extent. This is the typical small stuff, where you don’t actually expect all the work, but which still somehow comes up.

Bleeding the brakes is by far the most painful job left to do here. The brakes were already completely empty due to disassembly.
Brake bleeding
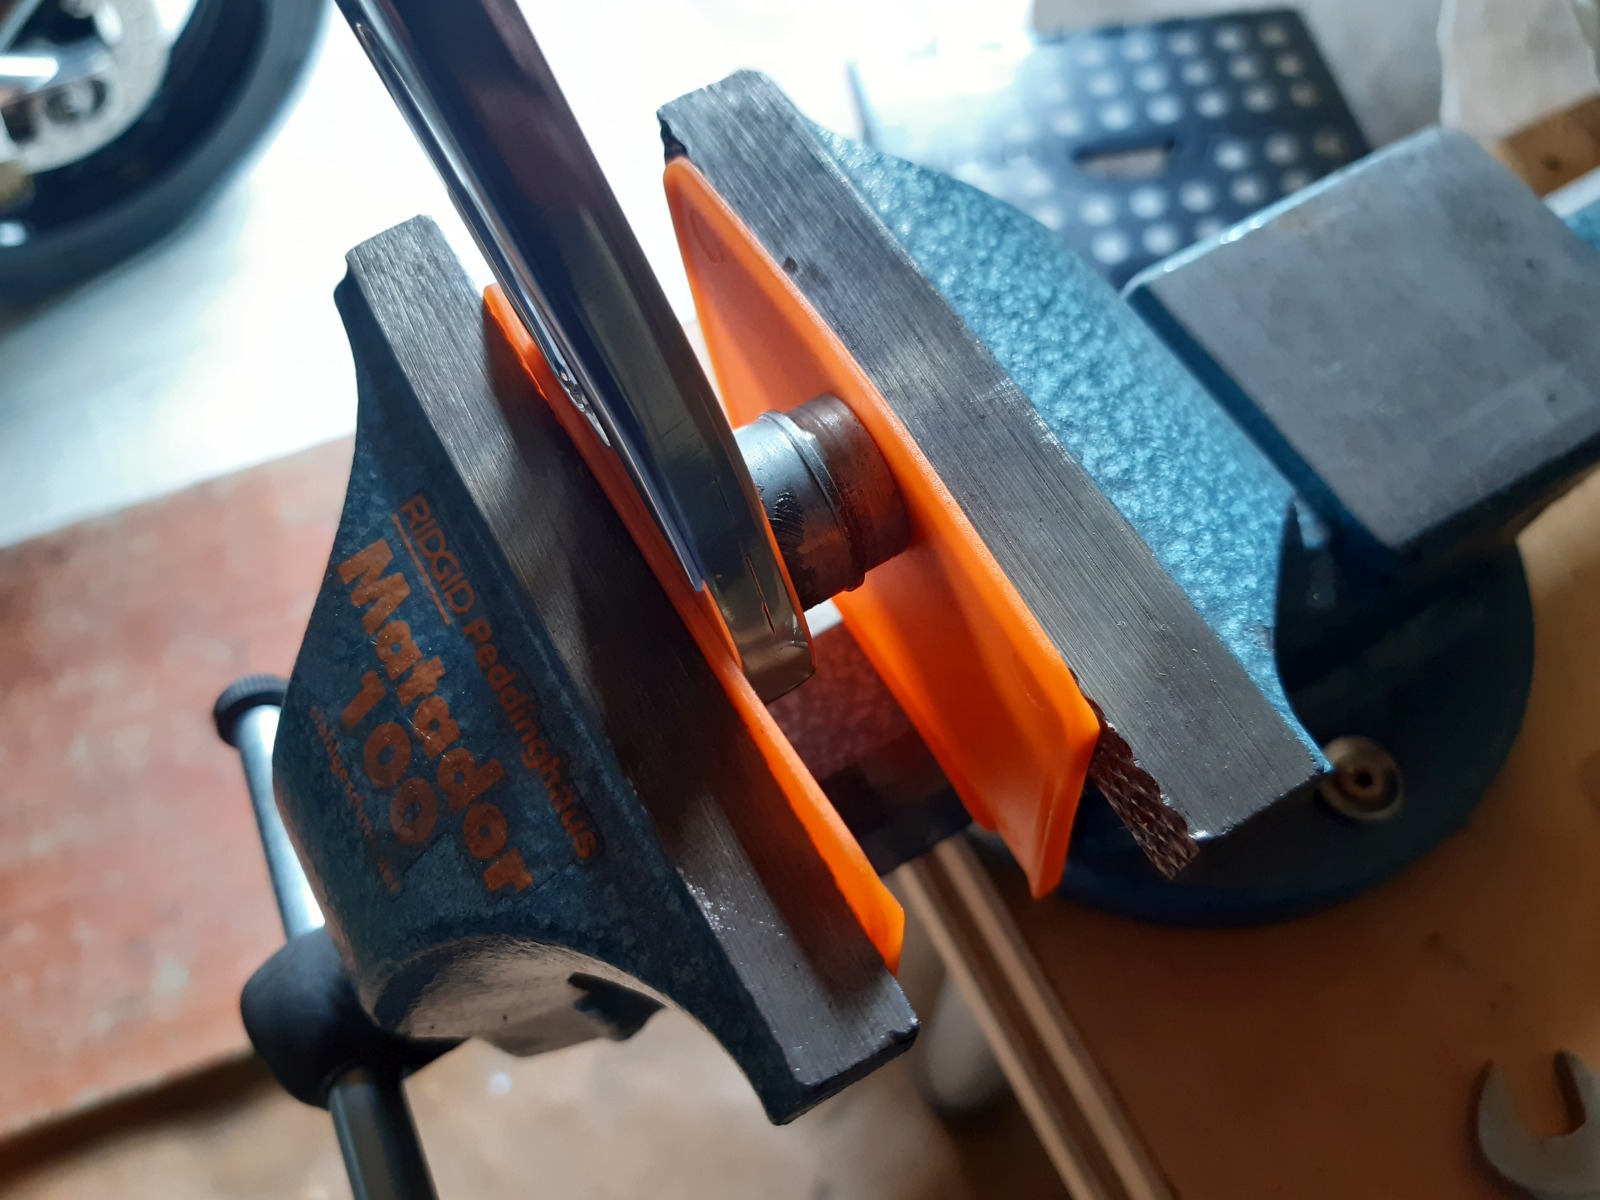
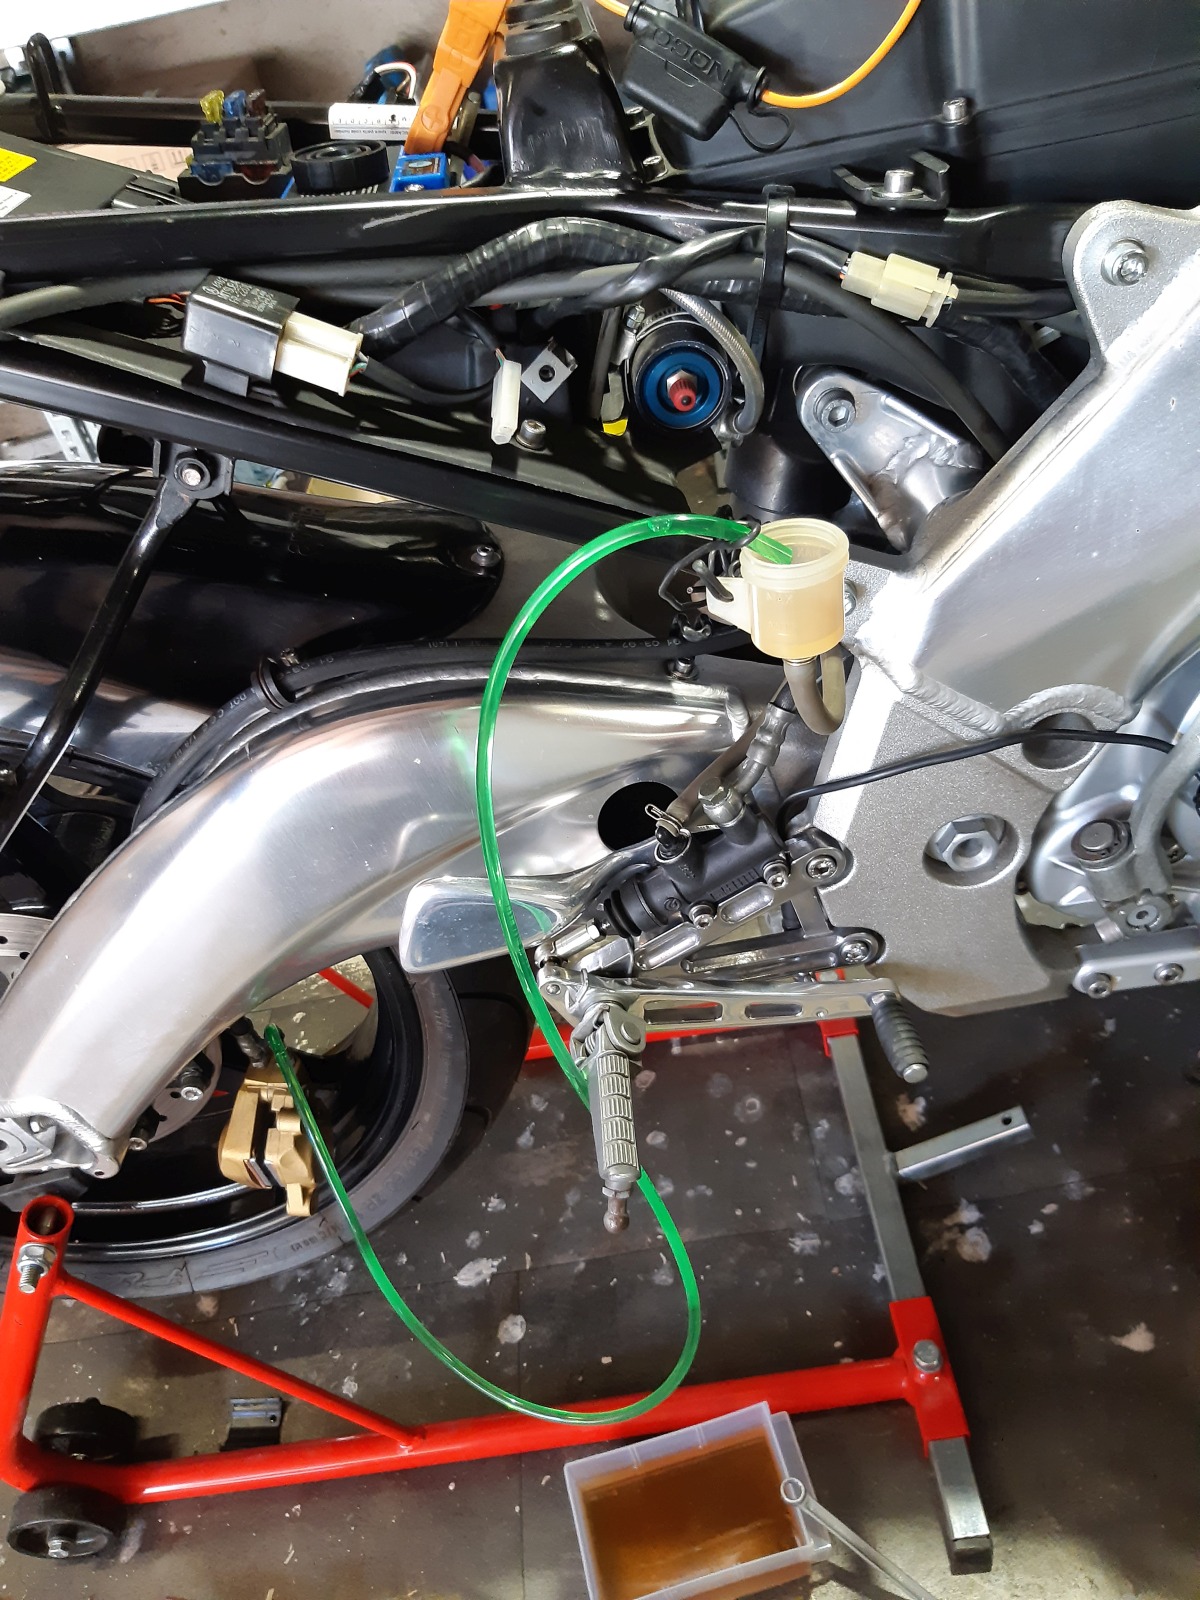
I now use electrical cables (single core) to fix a suitable hose from the bleed screw on the brake caliper to the brake fluid reservoir and attach it there so that the fluid runs back into the reservoir. In this way, the brake fluid can be pumped directly from the bleed screws back to the brake fluid reservoir without additional tools.
I now proceed as follows:
First, the brake calipers with pads remain or are mounted on the disc or blocked with a suitable tool so that the brake pistons cannot come too far out of the calipers.
Everything around the expansion tank on the front brake is covered with cloths (the blue cleaning cloths from the roll) so that no brake fluid can drip onto other parts. That stuff is just gross.
The new brake fluid is filled into the expansion tank at the top, and the bleed screw is opened. The liquid may already be flowing through the system, but this is not always the case. As soon as some fluid comes out of the bleed screw or nothing happens at all, the brake fluid is pumped through the system with the following steps:
- Close vent screw
- Press the brake with little force, either press it down completely or until slight resistance can be felt due to pressure build-up
- Slightly open the bleed screw, allow the brake fluid and air to escape, while pushing the brake lever to the end and holding it there.
- Close vent screw
- Release the brake lever again (the fluid is now drawn in when the brake piston moves back).
- Operate the brake with little force, ….
It is possible that the pistons of the brake are already being pushed out a little, it must be ensured that they do not fall out as a result of pumping. I let the first flow of liquid run into a waste container, only when the old residue has been flushed out is the hose routed from the bleed screw to the brake fluid container. I now repeat this about 10-15 times until significantly less air is pushed out of the bleed screw.
If the level in the expansion tank drops, brake fluid is topped up.
In the next step, the brake calipers are removed and old brake pads are used. I now put a wrench between the brake pads and pump by repeatedly applying the brake until the wrench is jammed. The bleed screw is then opened and the pistons are pushed back with the wrench with the bleed screw open, the brake fluid is fed back through the hose into the brake fluid reservoir. The brake caliper must be held in such a way that the bleed screw is at the top, then the bores in the cylinders behind the brake pistons are also at the top and the air can be pressed out of the cylinders. For the front brake, I do this 5 to 10 times on each side.
The procedure described above is now repeated a few more times (approx. 10-25 times) until the last air bubbles are out and the brake has a good pressure point.
Other small parts
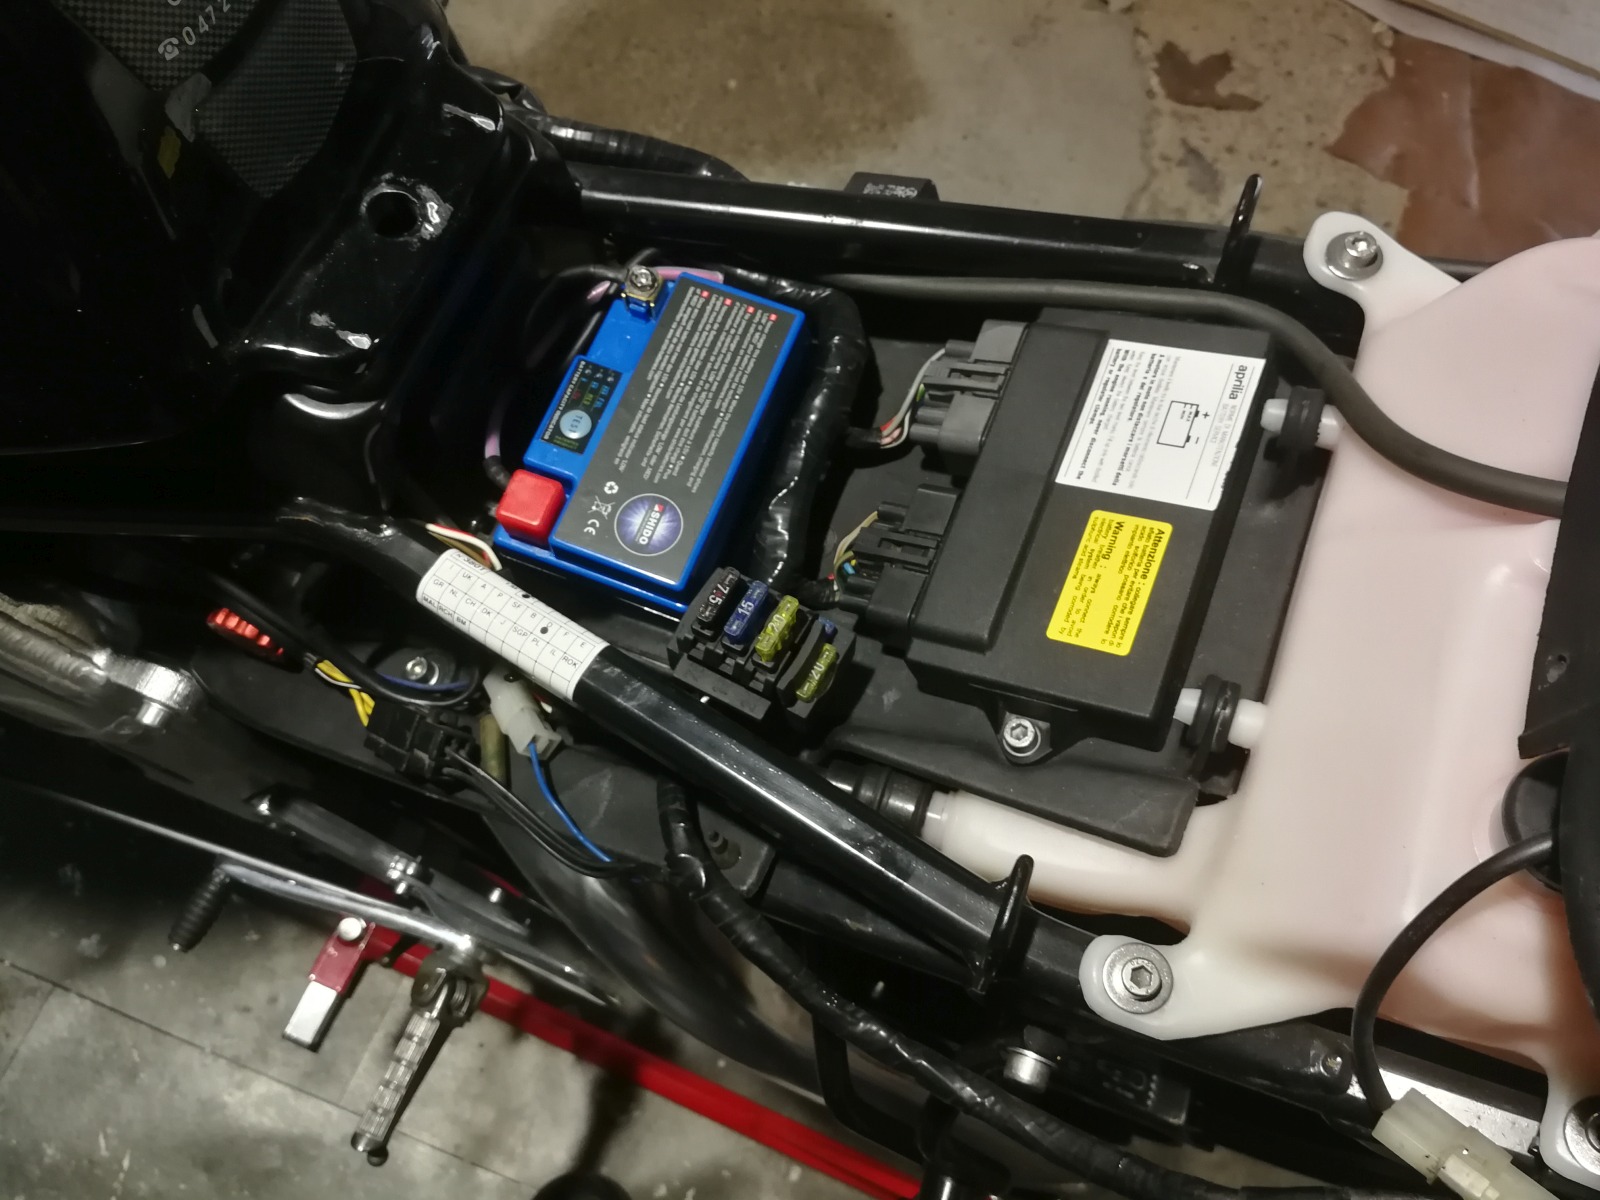
I have now installed a Shido LTX4L-BS lithium battery as the battery, which was sold here with the PM3500 charger. I would not recommend that in this combination, it happened with both the RS 125 and the RS 250 that after a few weeks of standstill, the actually new, charged batteries no longer had any voltage and the PM3500 also no longer wanted to charge them (the charger just stays off). The PM3500 works well for my cars but that was not the reason I bought it. Support from selling company was horror so I do not recommend you to buy these things unless you know what you’re doing.

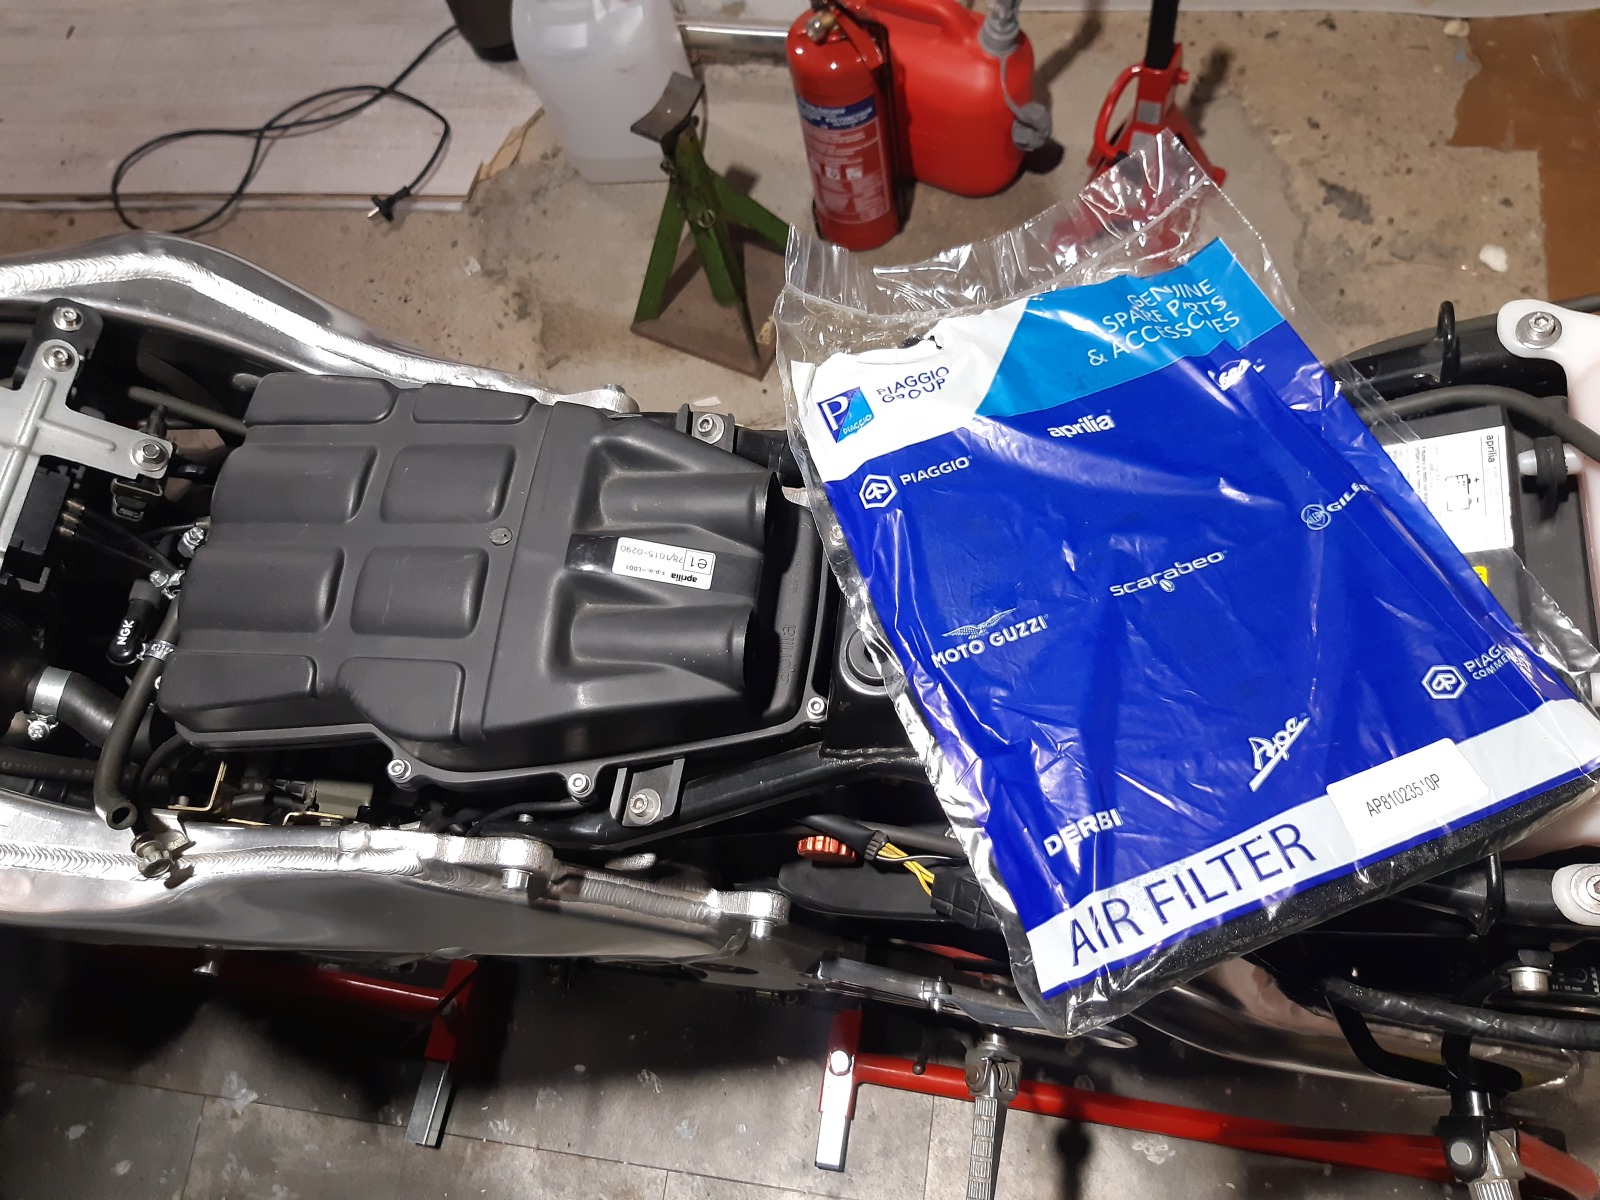
An original air filter and a new chain from RK were also installed. For the chain, I was hoping the orange would match the lettering on the fairing, but the lettering is more “yellow” and the RK chain is a neon orange, but it looks less dramatic than it sounds.