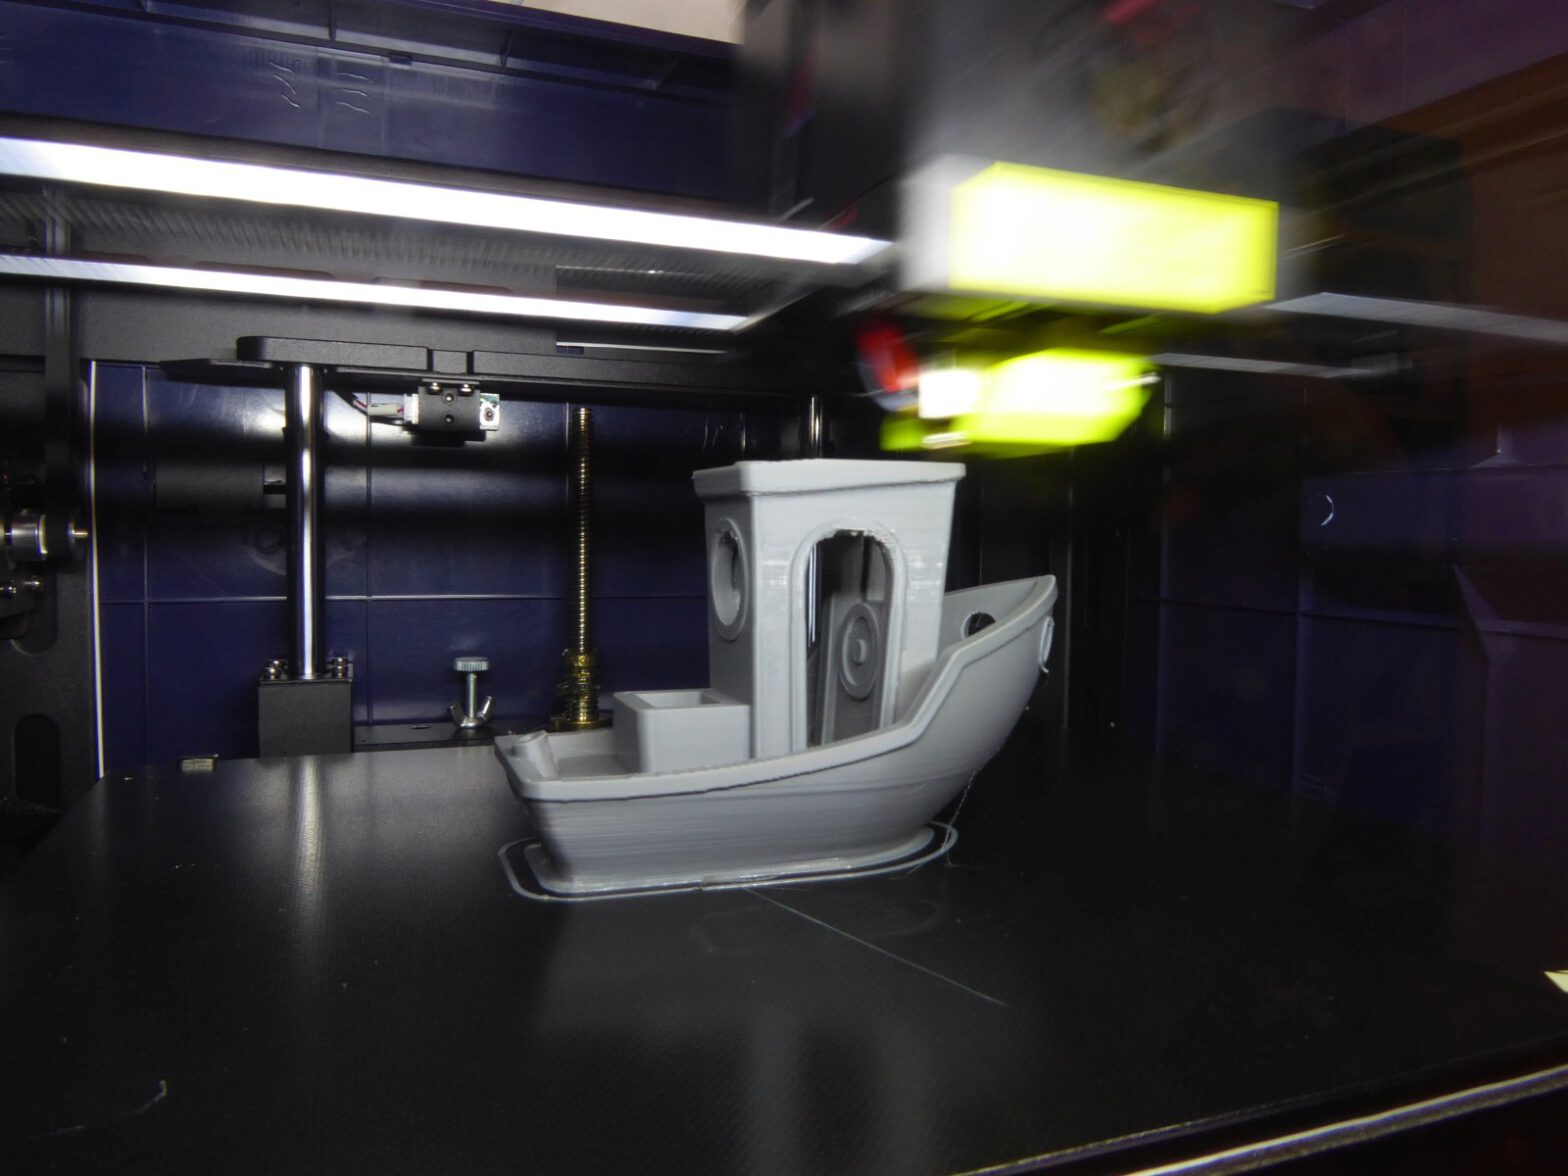
I recently bought the Anycubic “4Max Pro 2.0” and I’m using PrusaSlicer as a slicing software at the moment.
The 4Max Pro 2 comes with three configurations for Cura on the SD card, based on these parameters I created a configuration collection for PrusaSlicer.
Update (03/2022): These profiles are now officially part of PrusaSlicer since v2.4.1, there is no need to import them afterwards.
This configuration for PrusaSlicer is available for download here:
Use menu File – Import – Import Config Bundle for installation, do not copy the file to any specific location!
The configuration has three print setting profiles so far:
- Quality: Layer height 0.2 mm, Benchy print duration: 1 h, 54 min
- Draft: Layer height 0.3, Benchy print duration: 59 min
- Factory: Settings derived from the provided Cura-Profiles
The profiles differ mainly in extrusion widths and speeds, but the layer heights are not “mandatory”, you can of course print lower layer heights on the quality profile.
The profile has a few minor features:
- The rapid traverse speeds are quite low, the accelerations are in a visible range. You can see the acceleration and deceleration happening. Higher acceleration values resulted in layer shifts on larger components after several hours of printing.
- The print bed is preheated first, the extruder will be heated afterwards. When the extruder is preheated, the print fan is switched on to ensure that there is no melting of the air duct happening. The bed is lowered a bit to avoid cooling the corner of the print bed.
- To start, some filament is extruded next to the print bed and then a short start line is drawn, this line also exists in other Prusa profiles. This ensures to some extent that material will comes out of the nozzle at the start of printing.
- After printing, the print bed will be completely lowered to make it more easy to remove the print.
Changelog
22.02.2021: Initial release
Update v2 (28.02.2021): Fixed starting gcode, added factory profiles, renamed “default” to “quality”, changed some of the filament parameters after more prints
Update v3 (07.03.2021): Optimized gcode (retract on the starting line, lower plattform after print), added Anycubic PLA white, improoved yourDroid TPU (limited extrusion flow), added PolyMode CoPa (untested)
Update v4 (10.03.2012): Improoved PolyMide CoPa (Layer-Time and cooling is critical), moved retract at print end to filament specific gcode
Update v5 (17.05.2021): yourDroid TPU changed significantly (much slower), added PolyFlex TPU95. gcode adjusted: Heat print bed immediately, not waiting until homing is finished
Update v6 (22.09.2021): Added Recreus Filaflex 82A TPU Filament, further improved start and end gcode, removed bad precision profile
Update v7 (16.01.2022): Added Recreus Filaflex Pro 60A TPU, further improved start and end gcode with faster travel speeds, updated for PrusaSlicer v2.4
Printing results
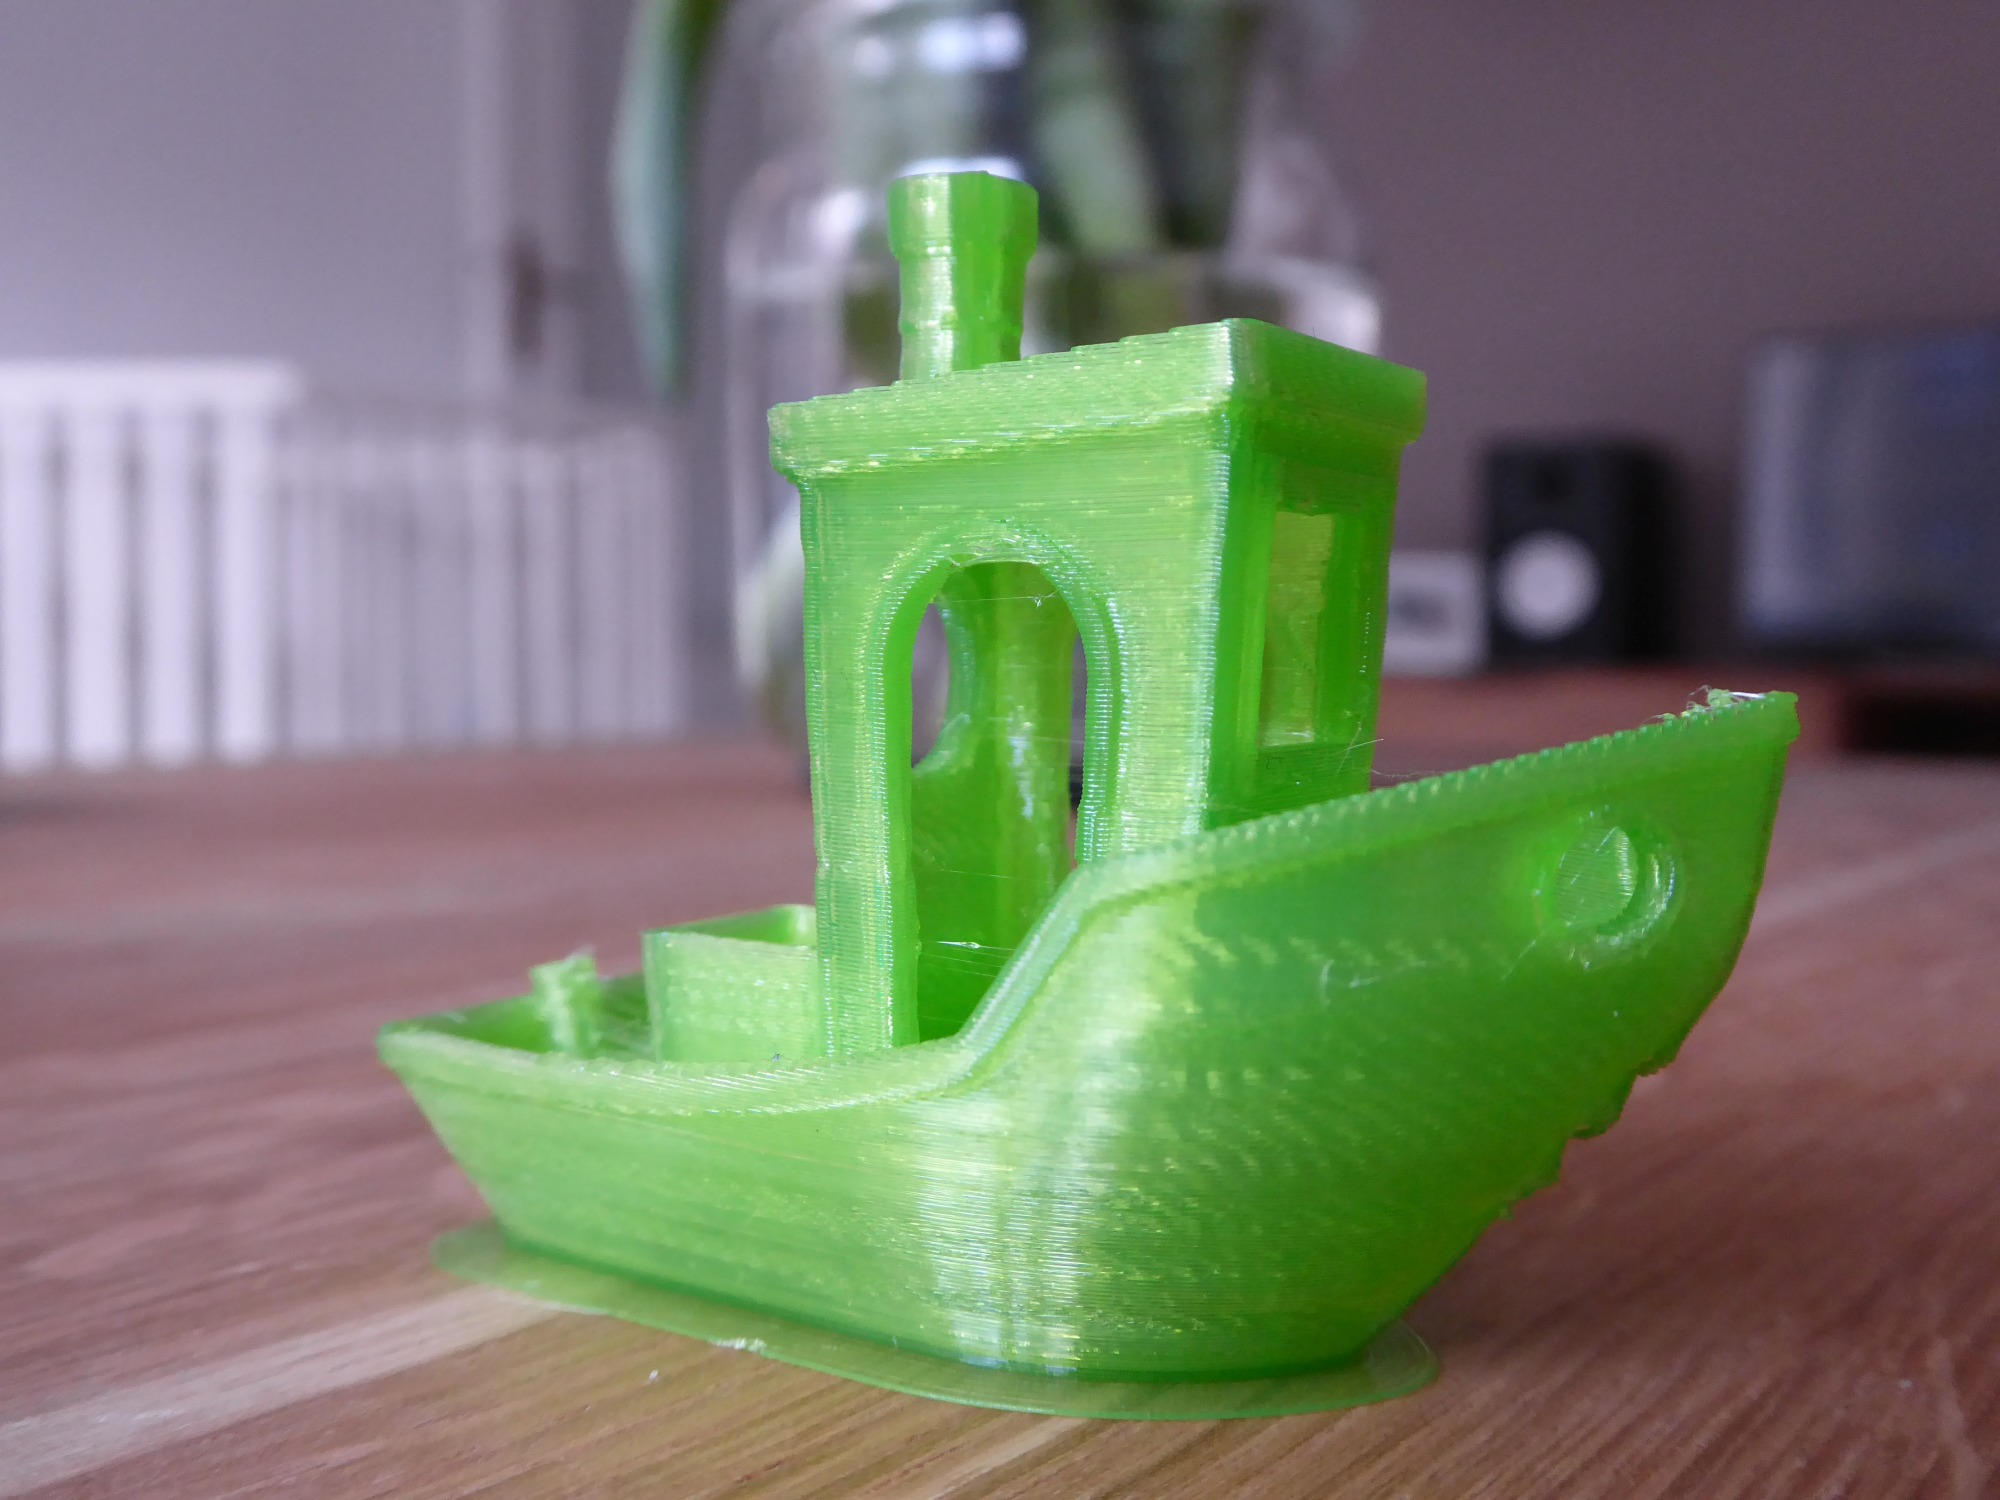
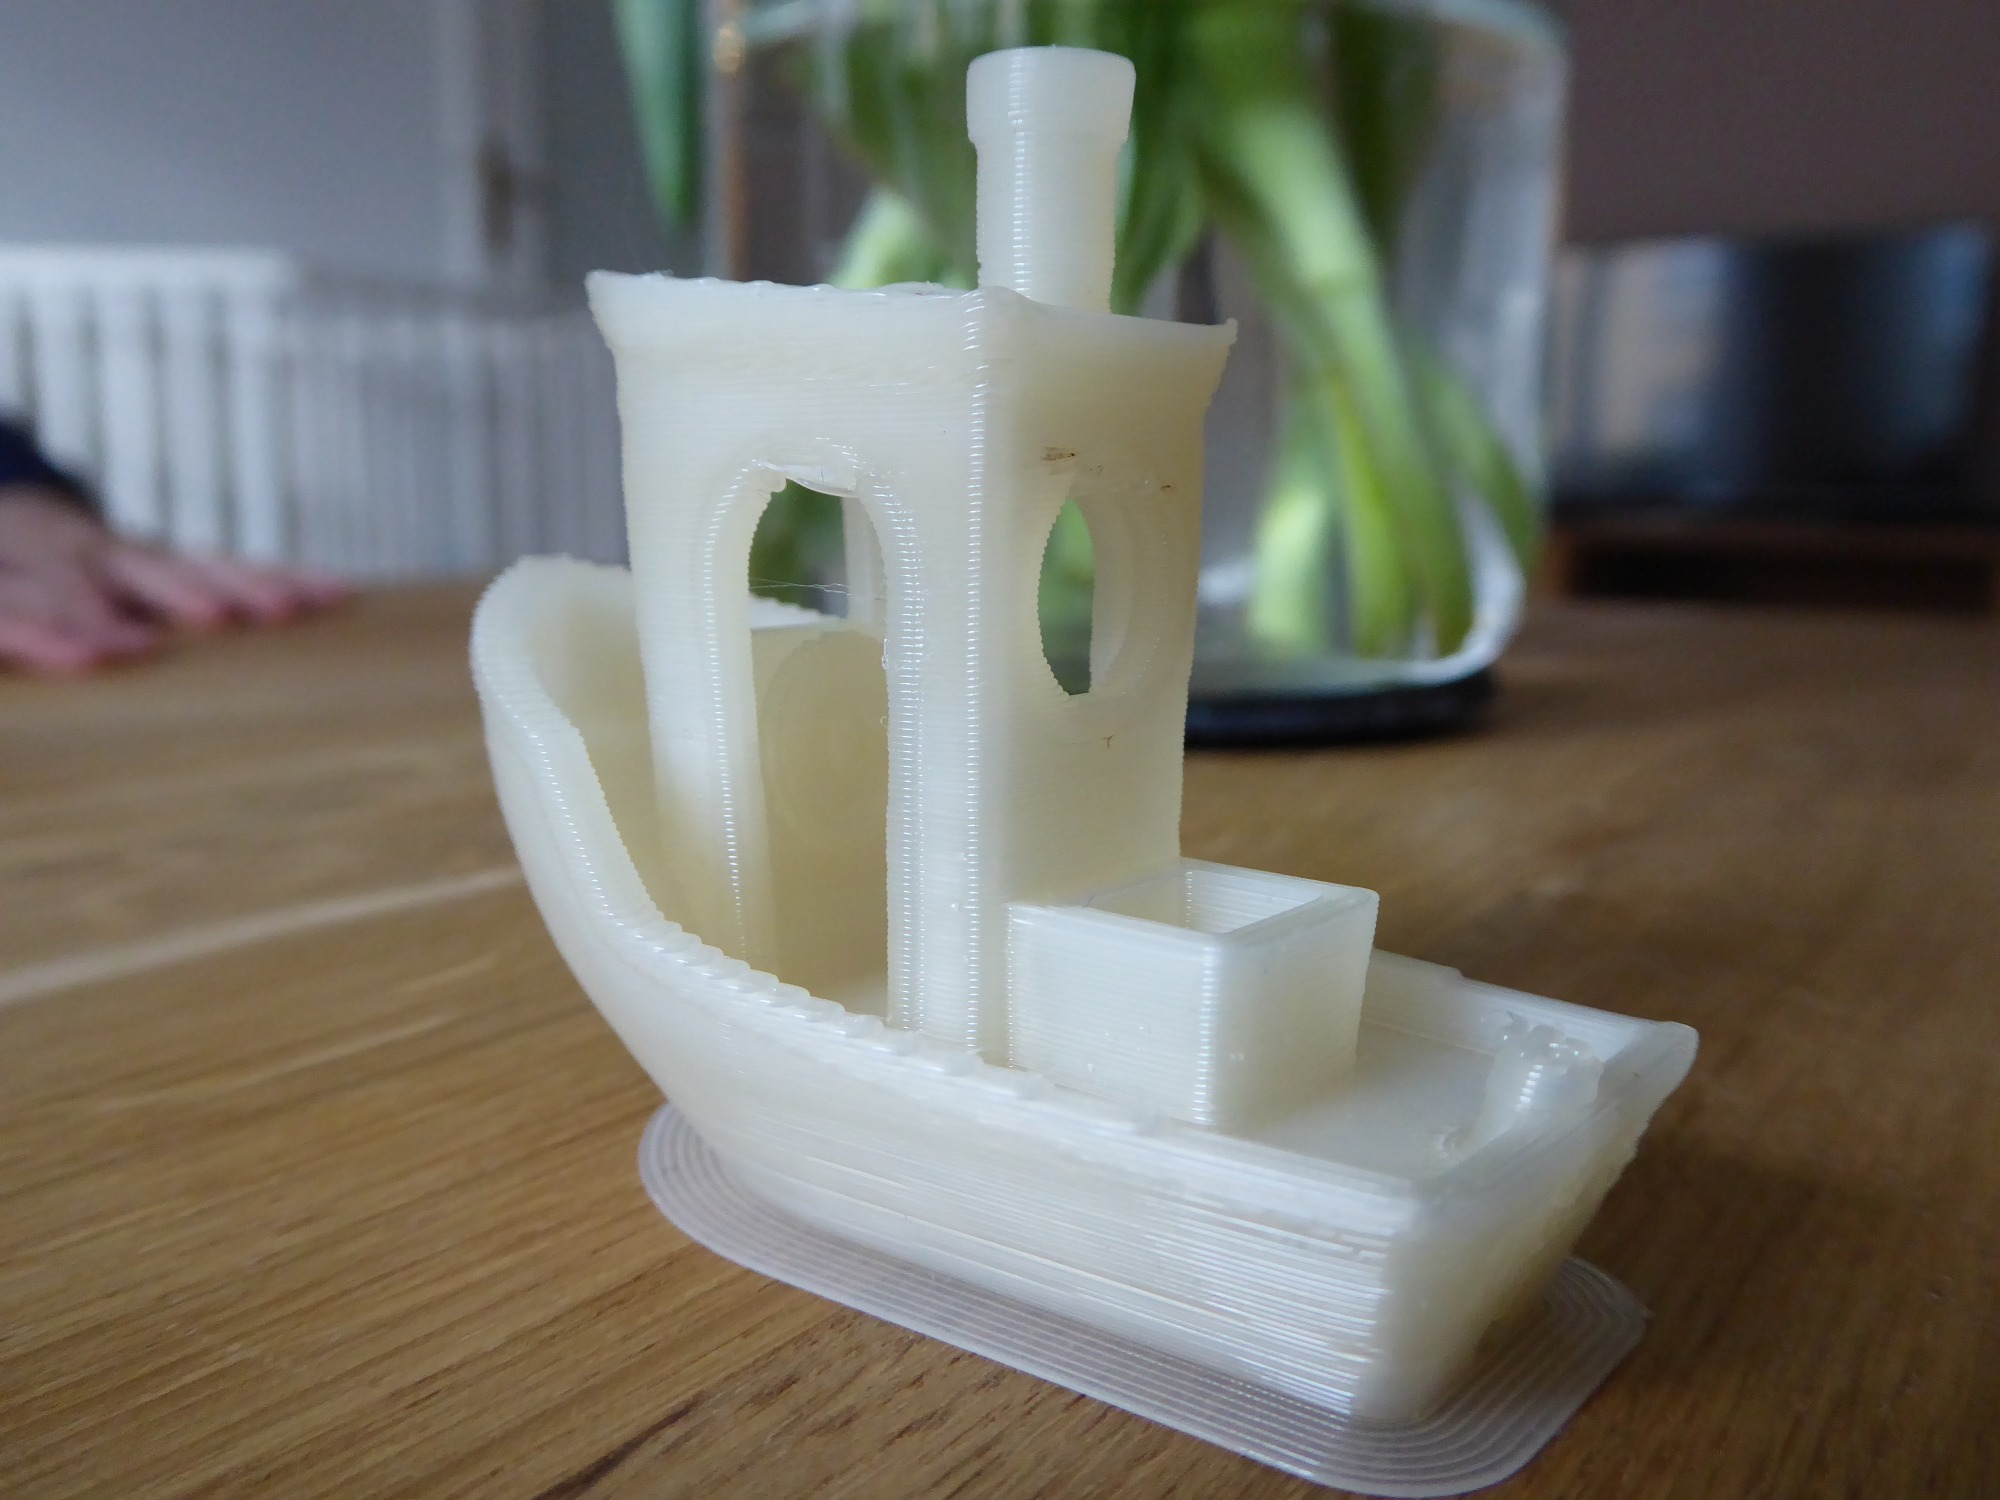
After about 25 printed benchys and a family on the verge of insanity, I have now actually managed some quite passable print results. I have now tested the printer with the following filaments:
- Anycubic PLA gray
- yourDroid TPU green
- filatech HIPS white
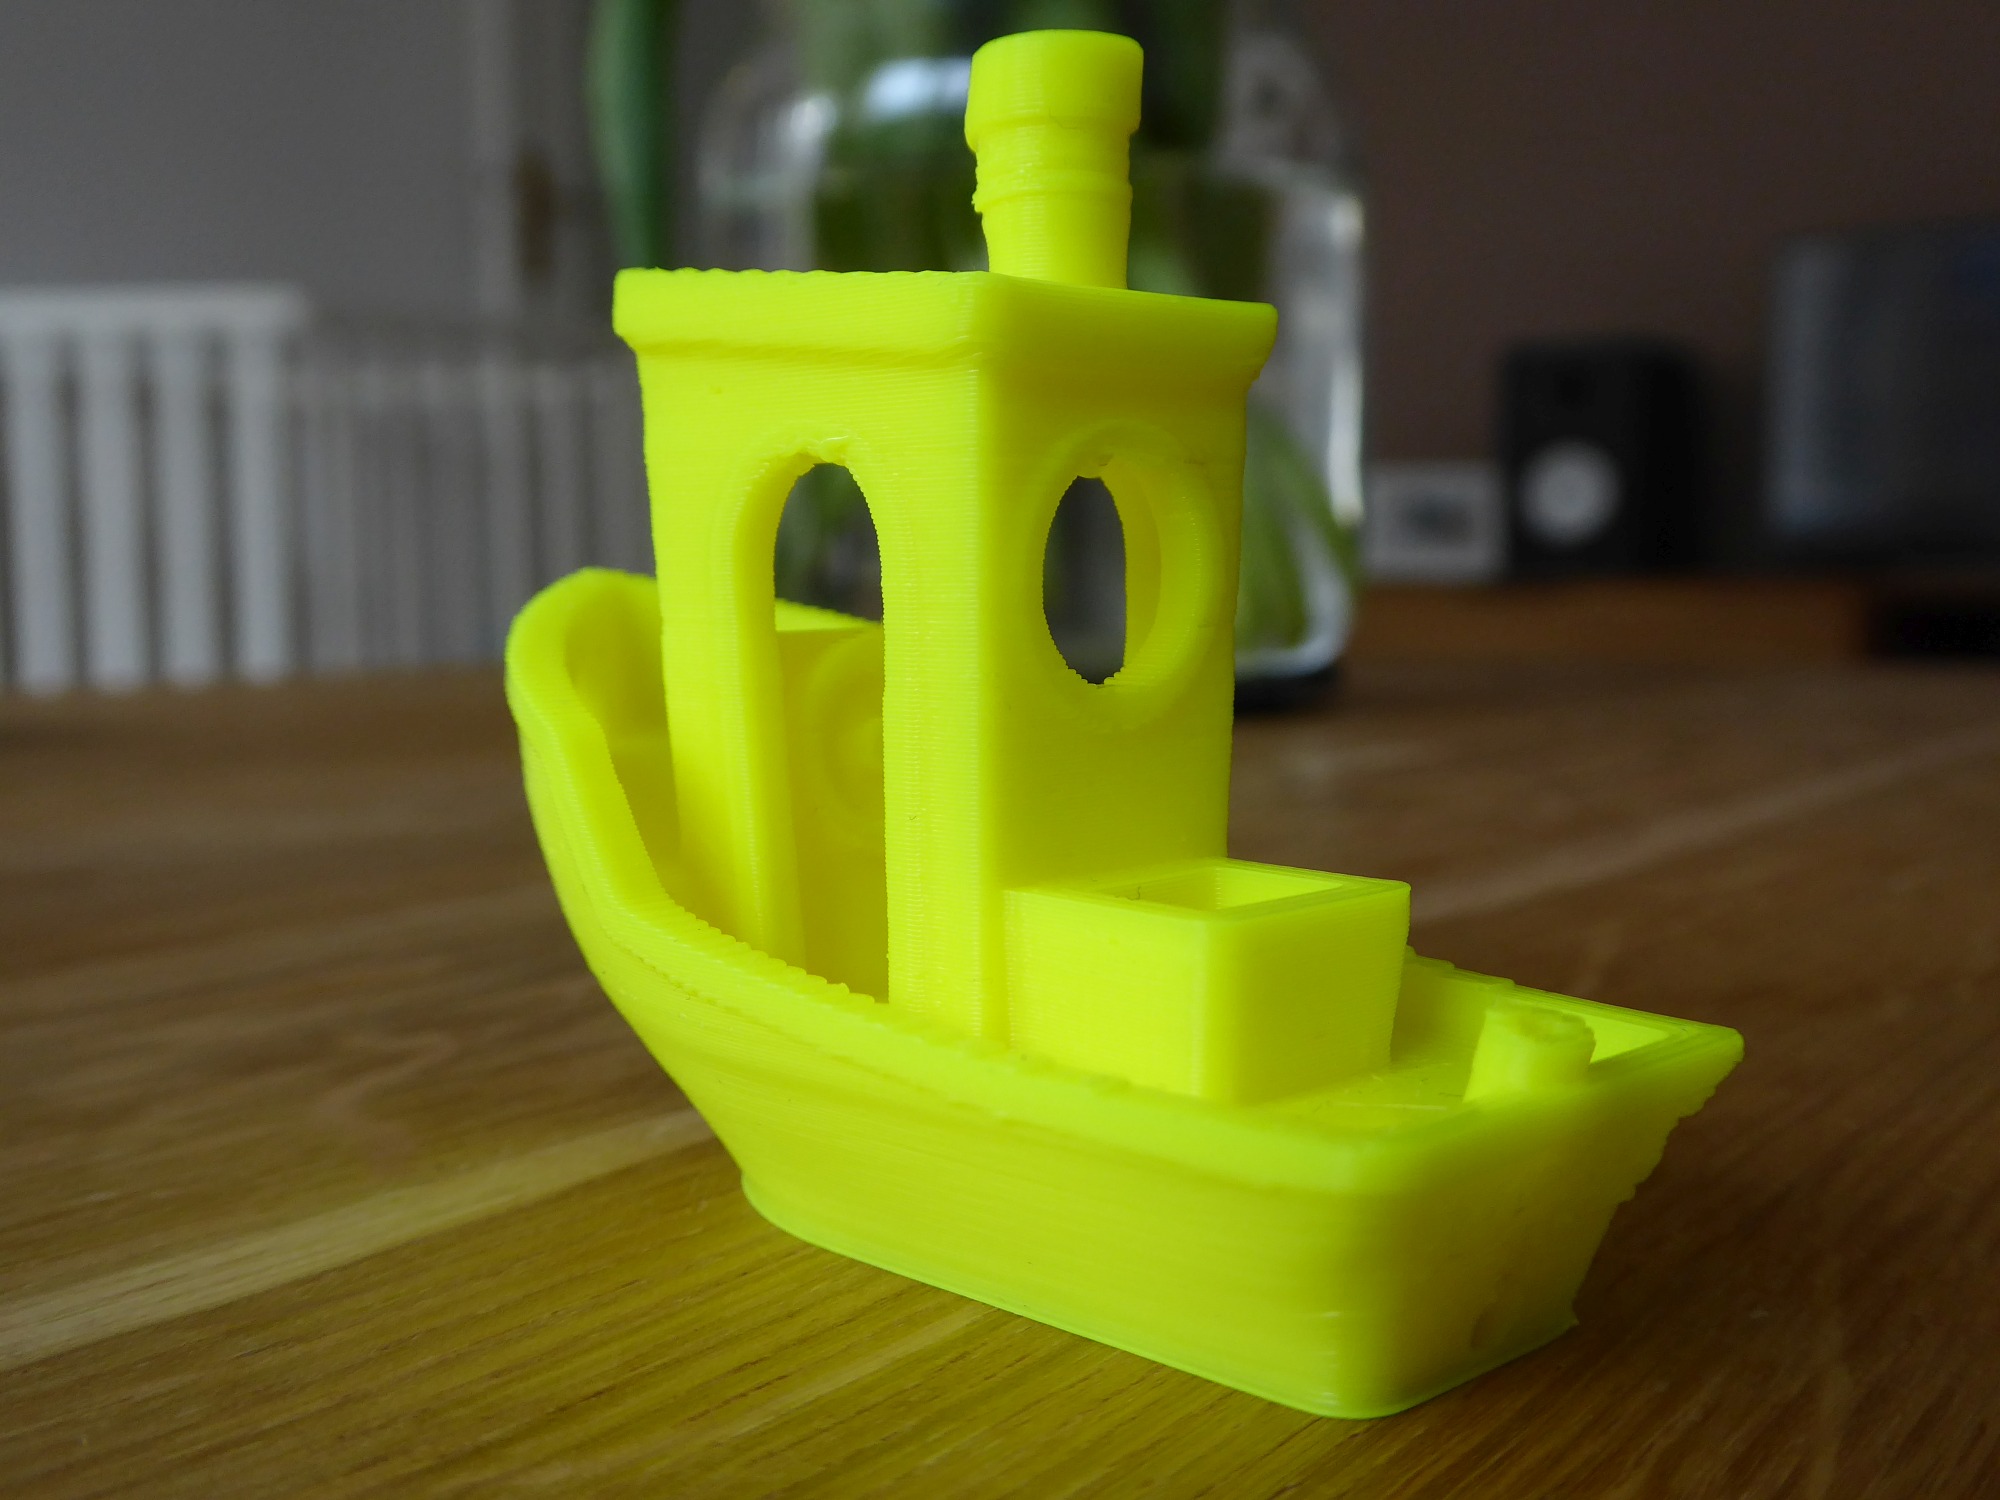
- yellow ABS (rebranded, propably brand “MVS”)
- Polymide CoPa
Those profiles are included in the config file.
First I tried a profile with default parameters and some values of the i3 Mega, but I had massive layer shifts at the first print. Layer shifts on larger models were also a problem with the speeds and accelerations of the Cura profile. A profile that could be found on Reddit for the predecessor model 4Max Pro did not produce a satisfactory result either.
However, larger components had layer shifts in 3 out of 4 tests. No drive elements were loose on the printer itself, and the layer shift problem could only be dealt with by gradually lowering the speed and acceleration values. Fortunately, the lower rapid traverse speed has hardly any influence on the printing time.
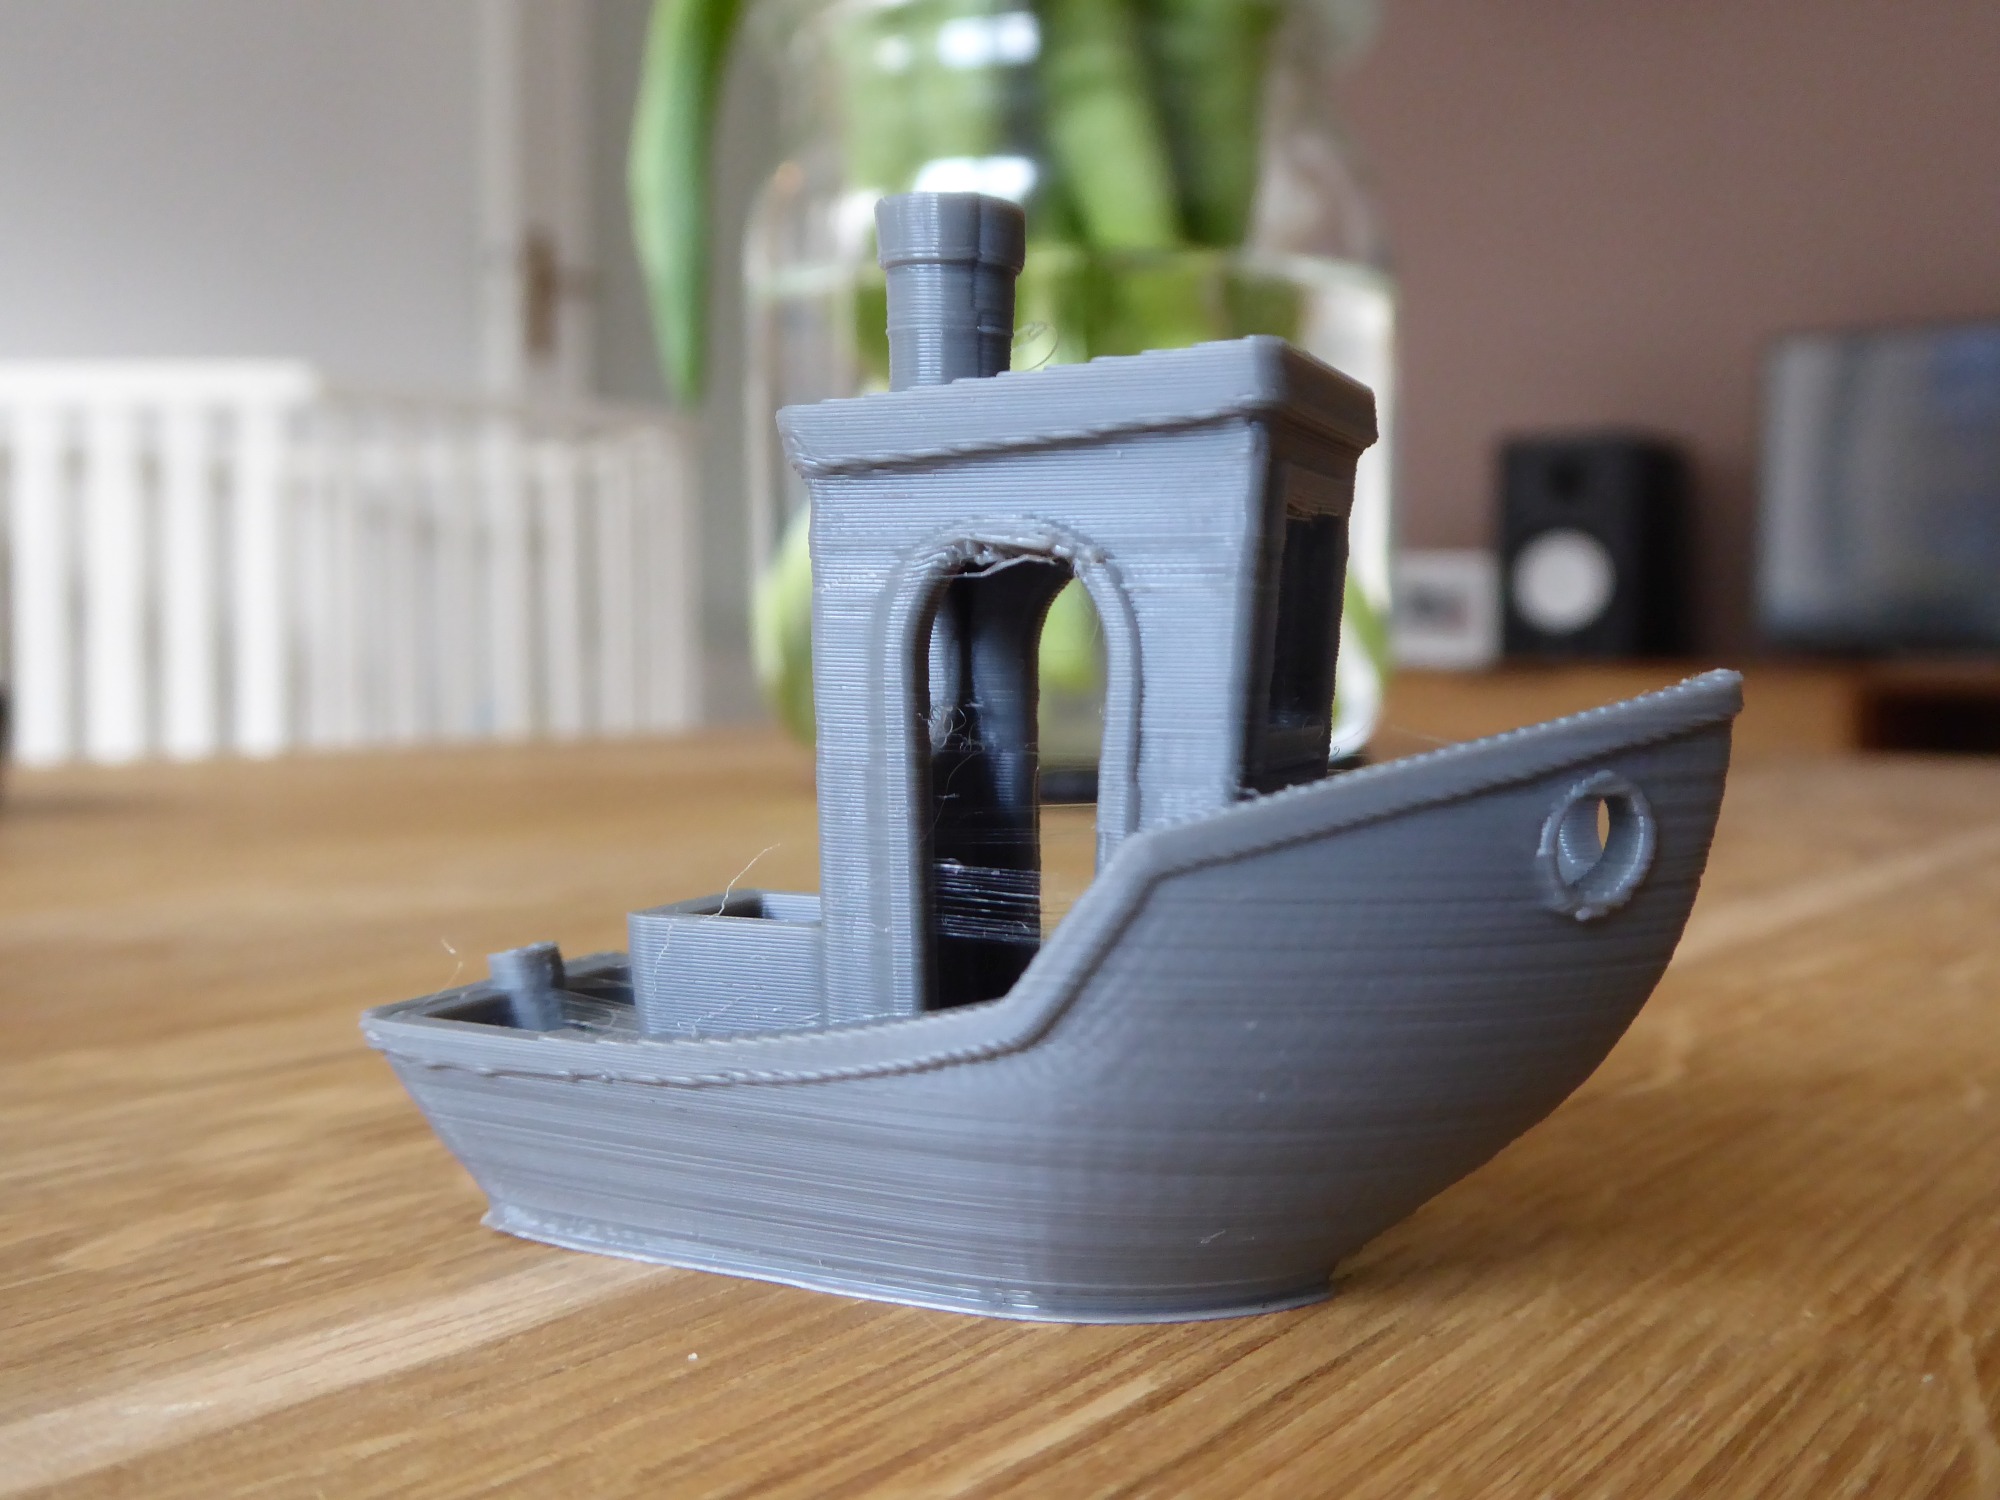
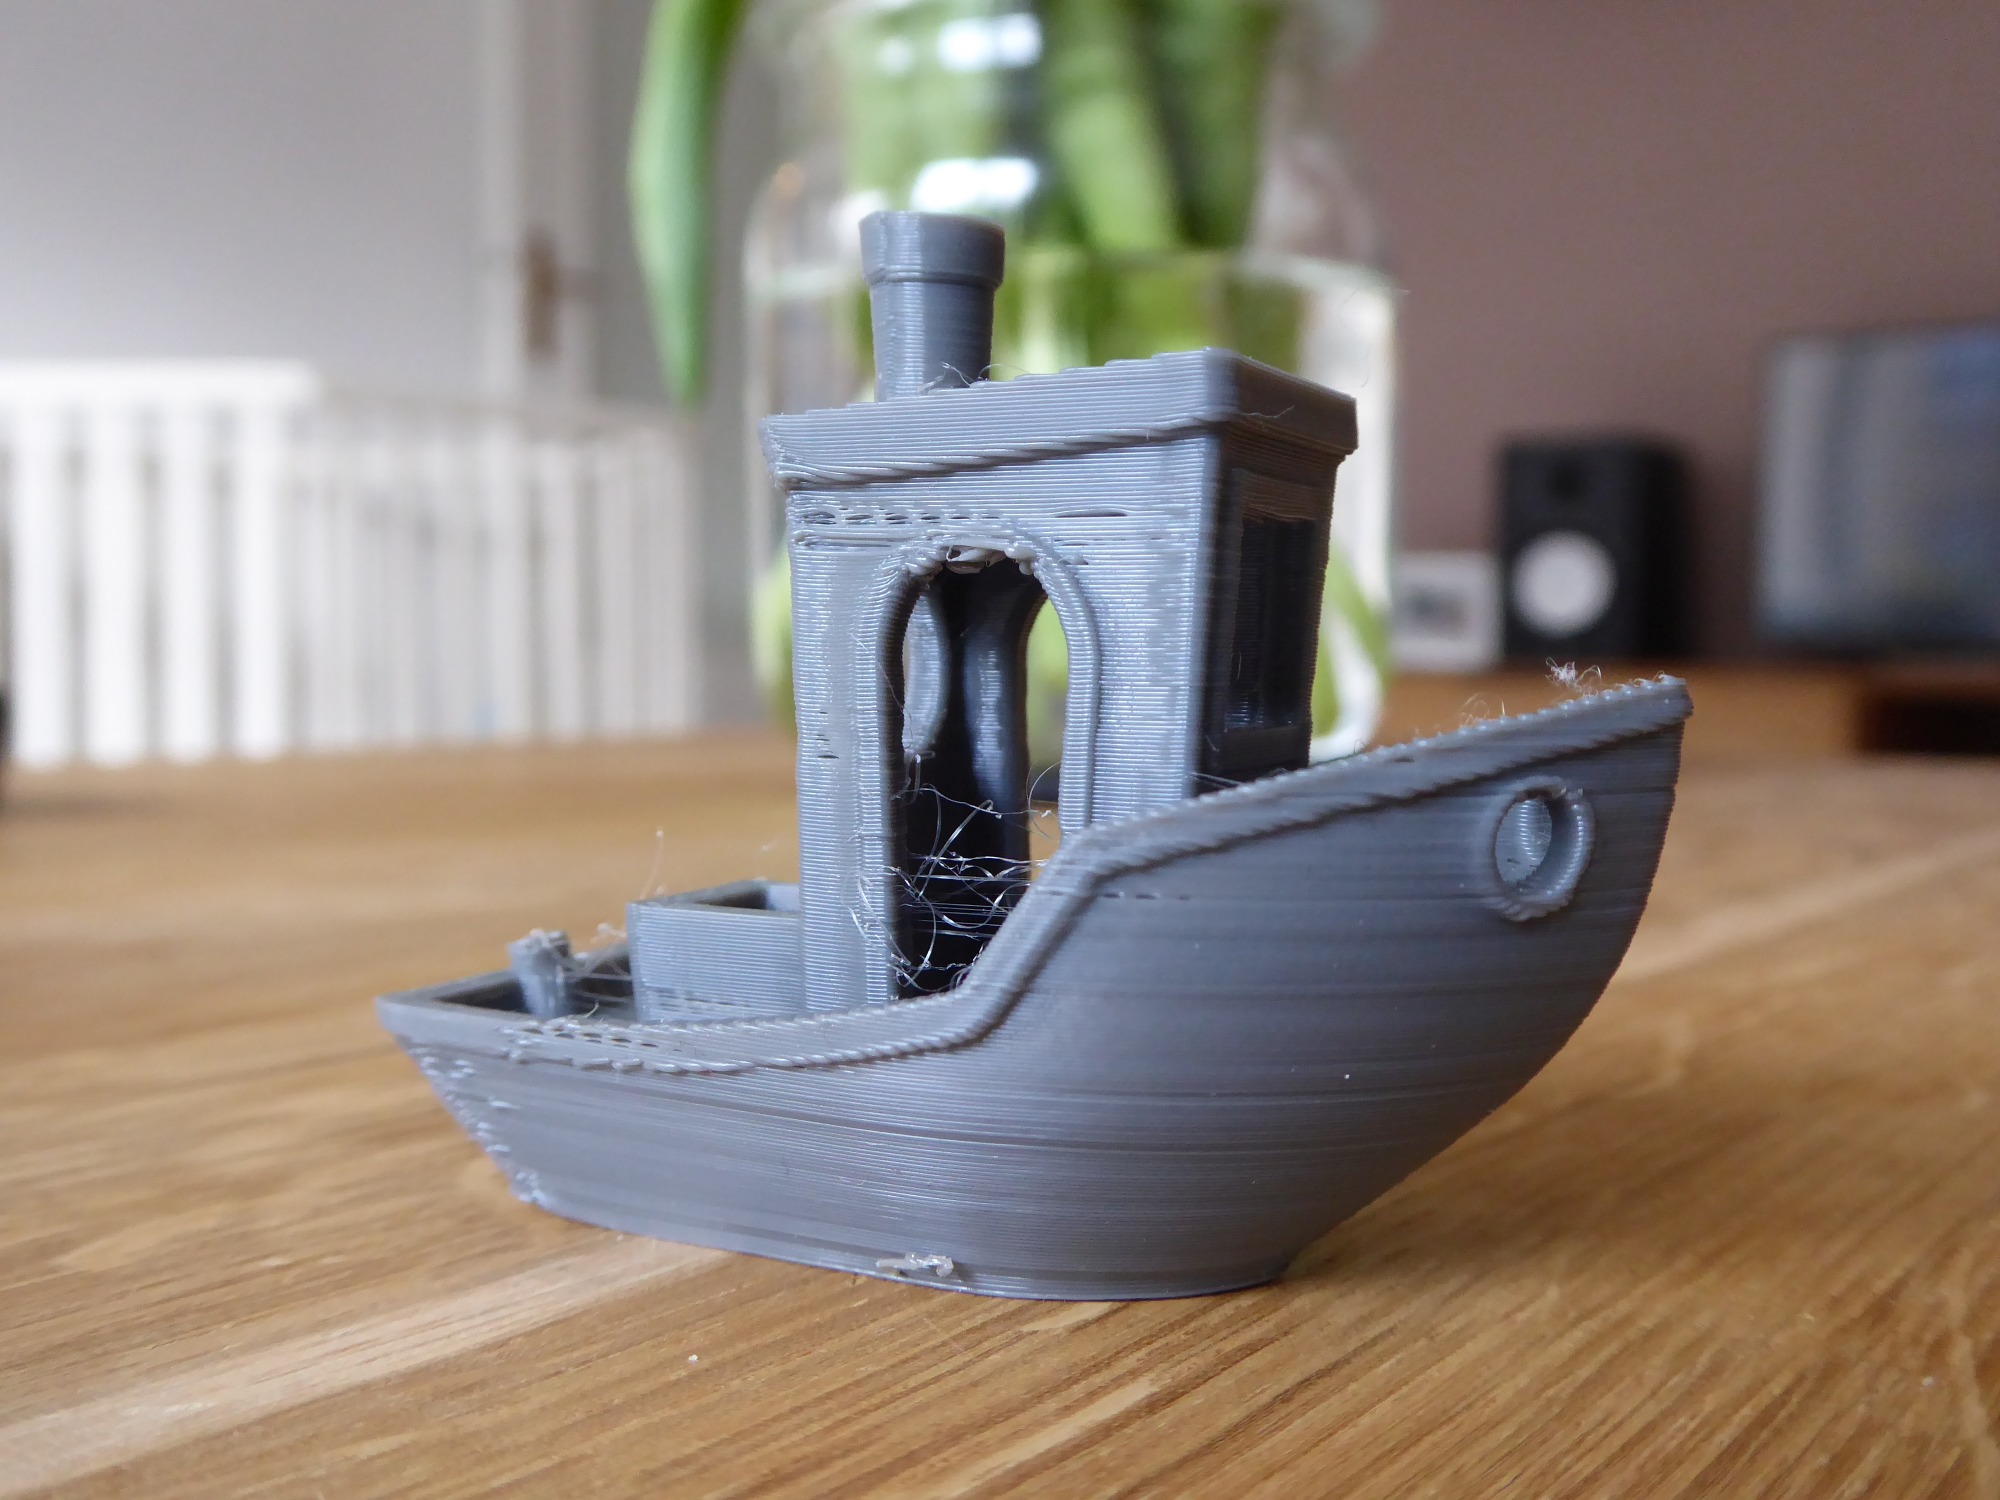
PLA
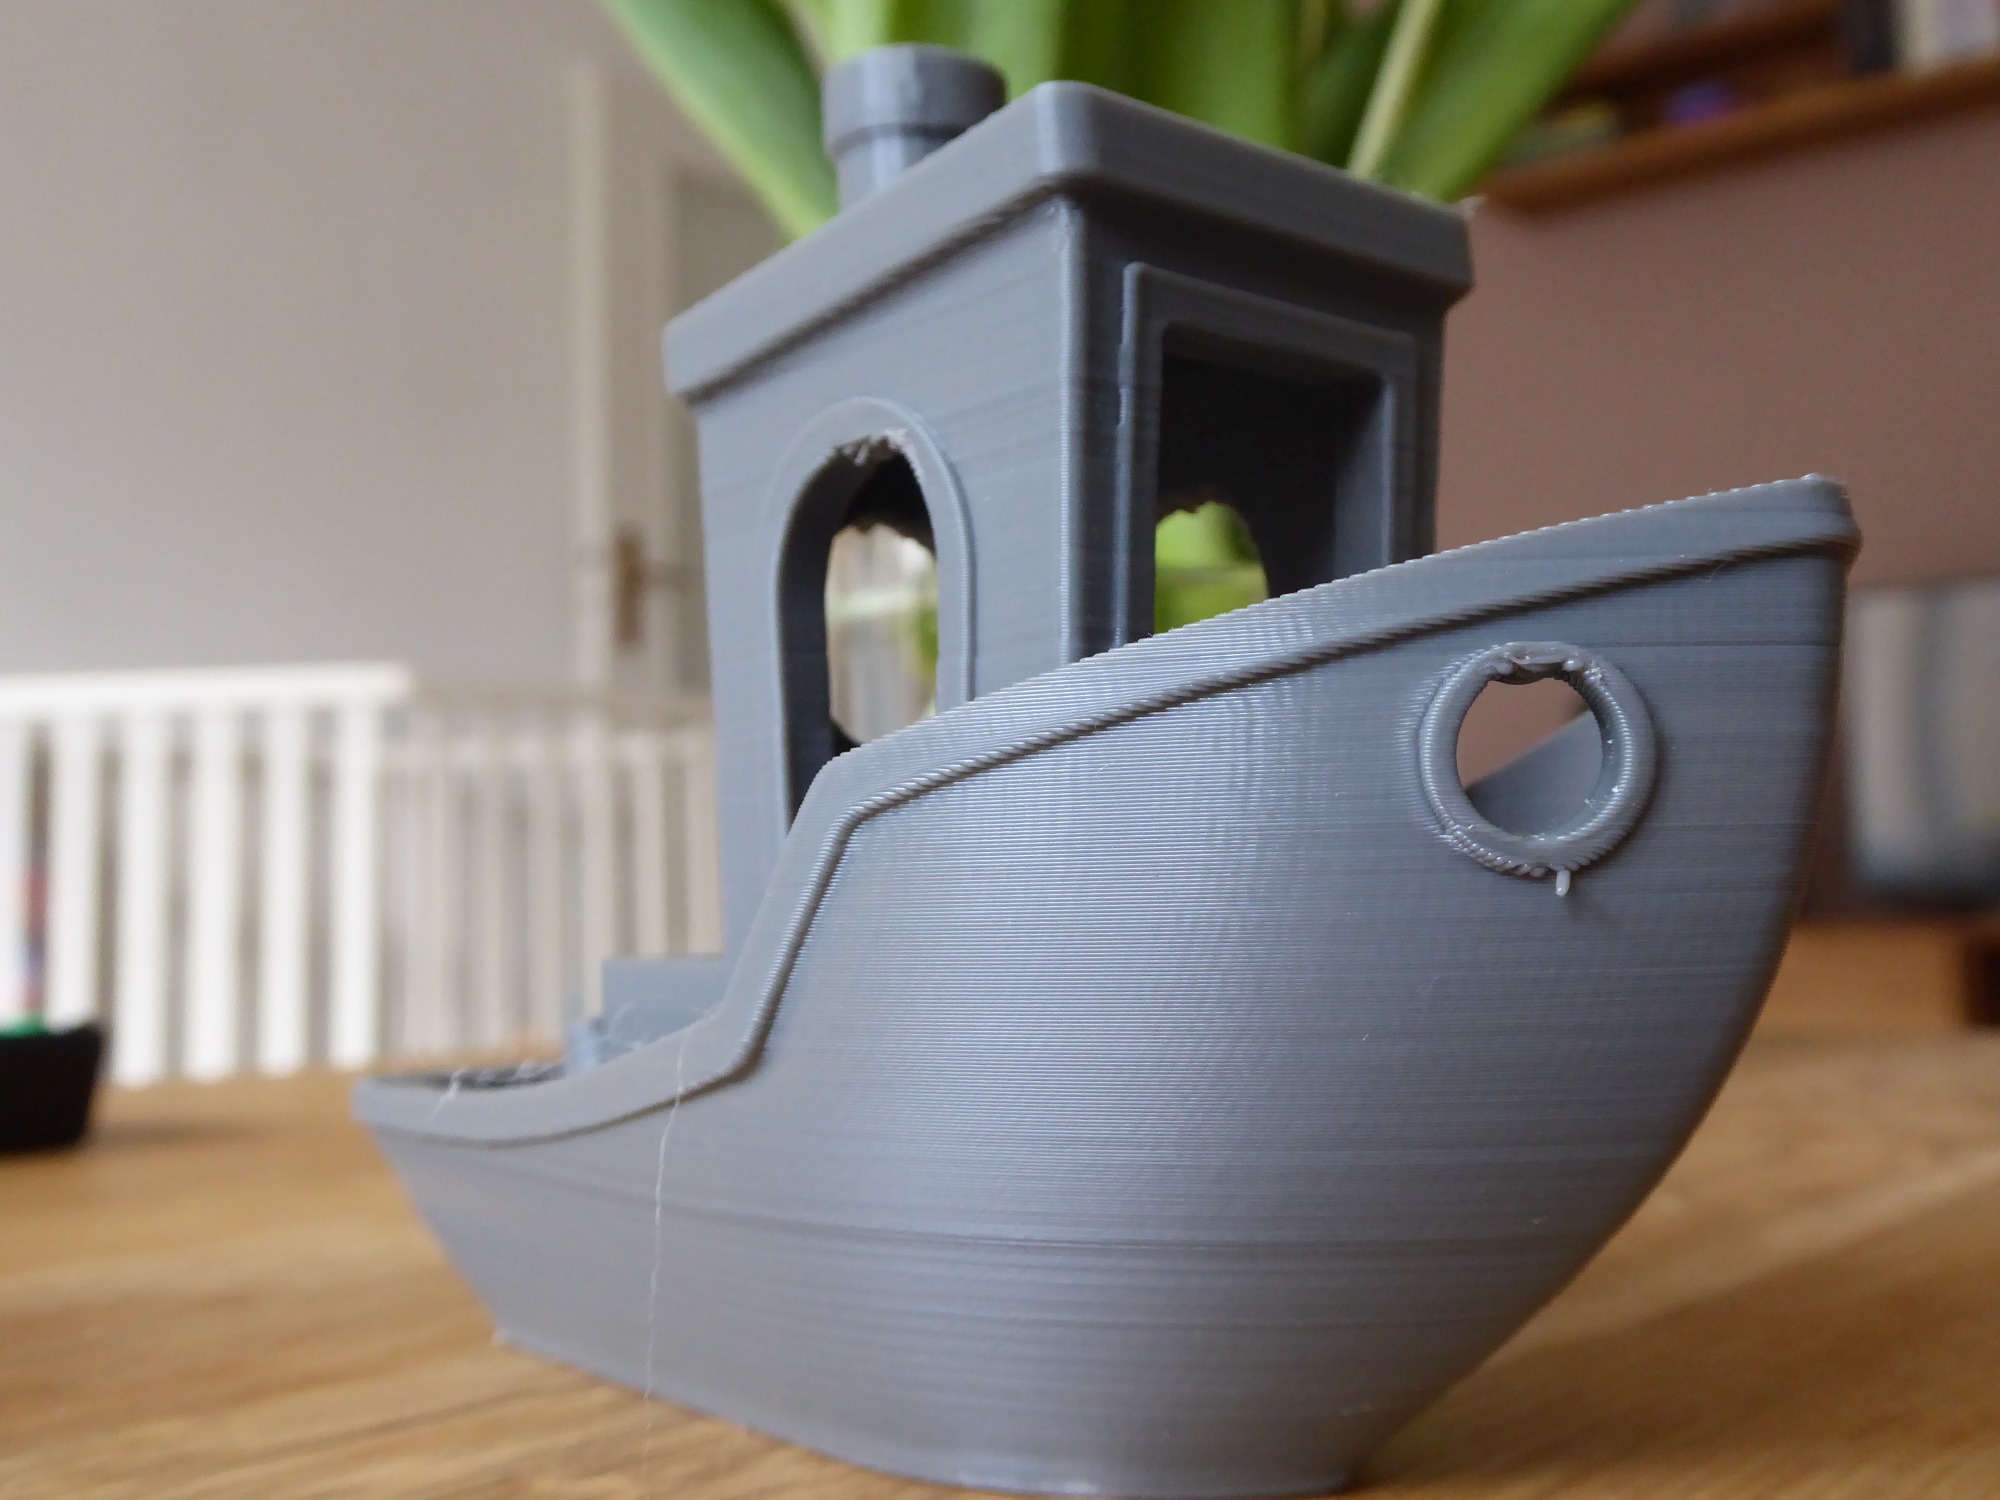
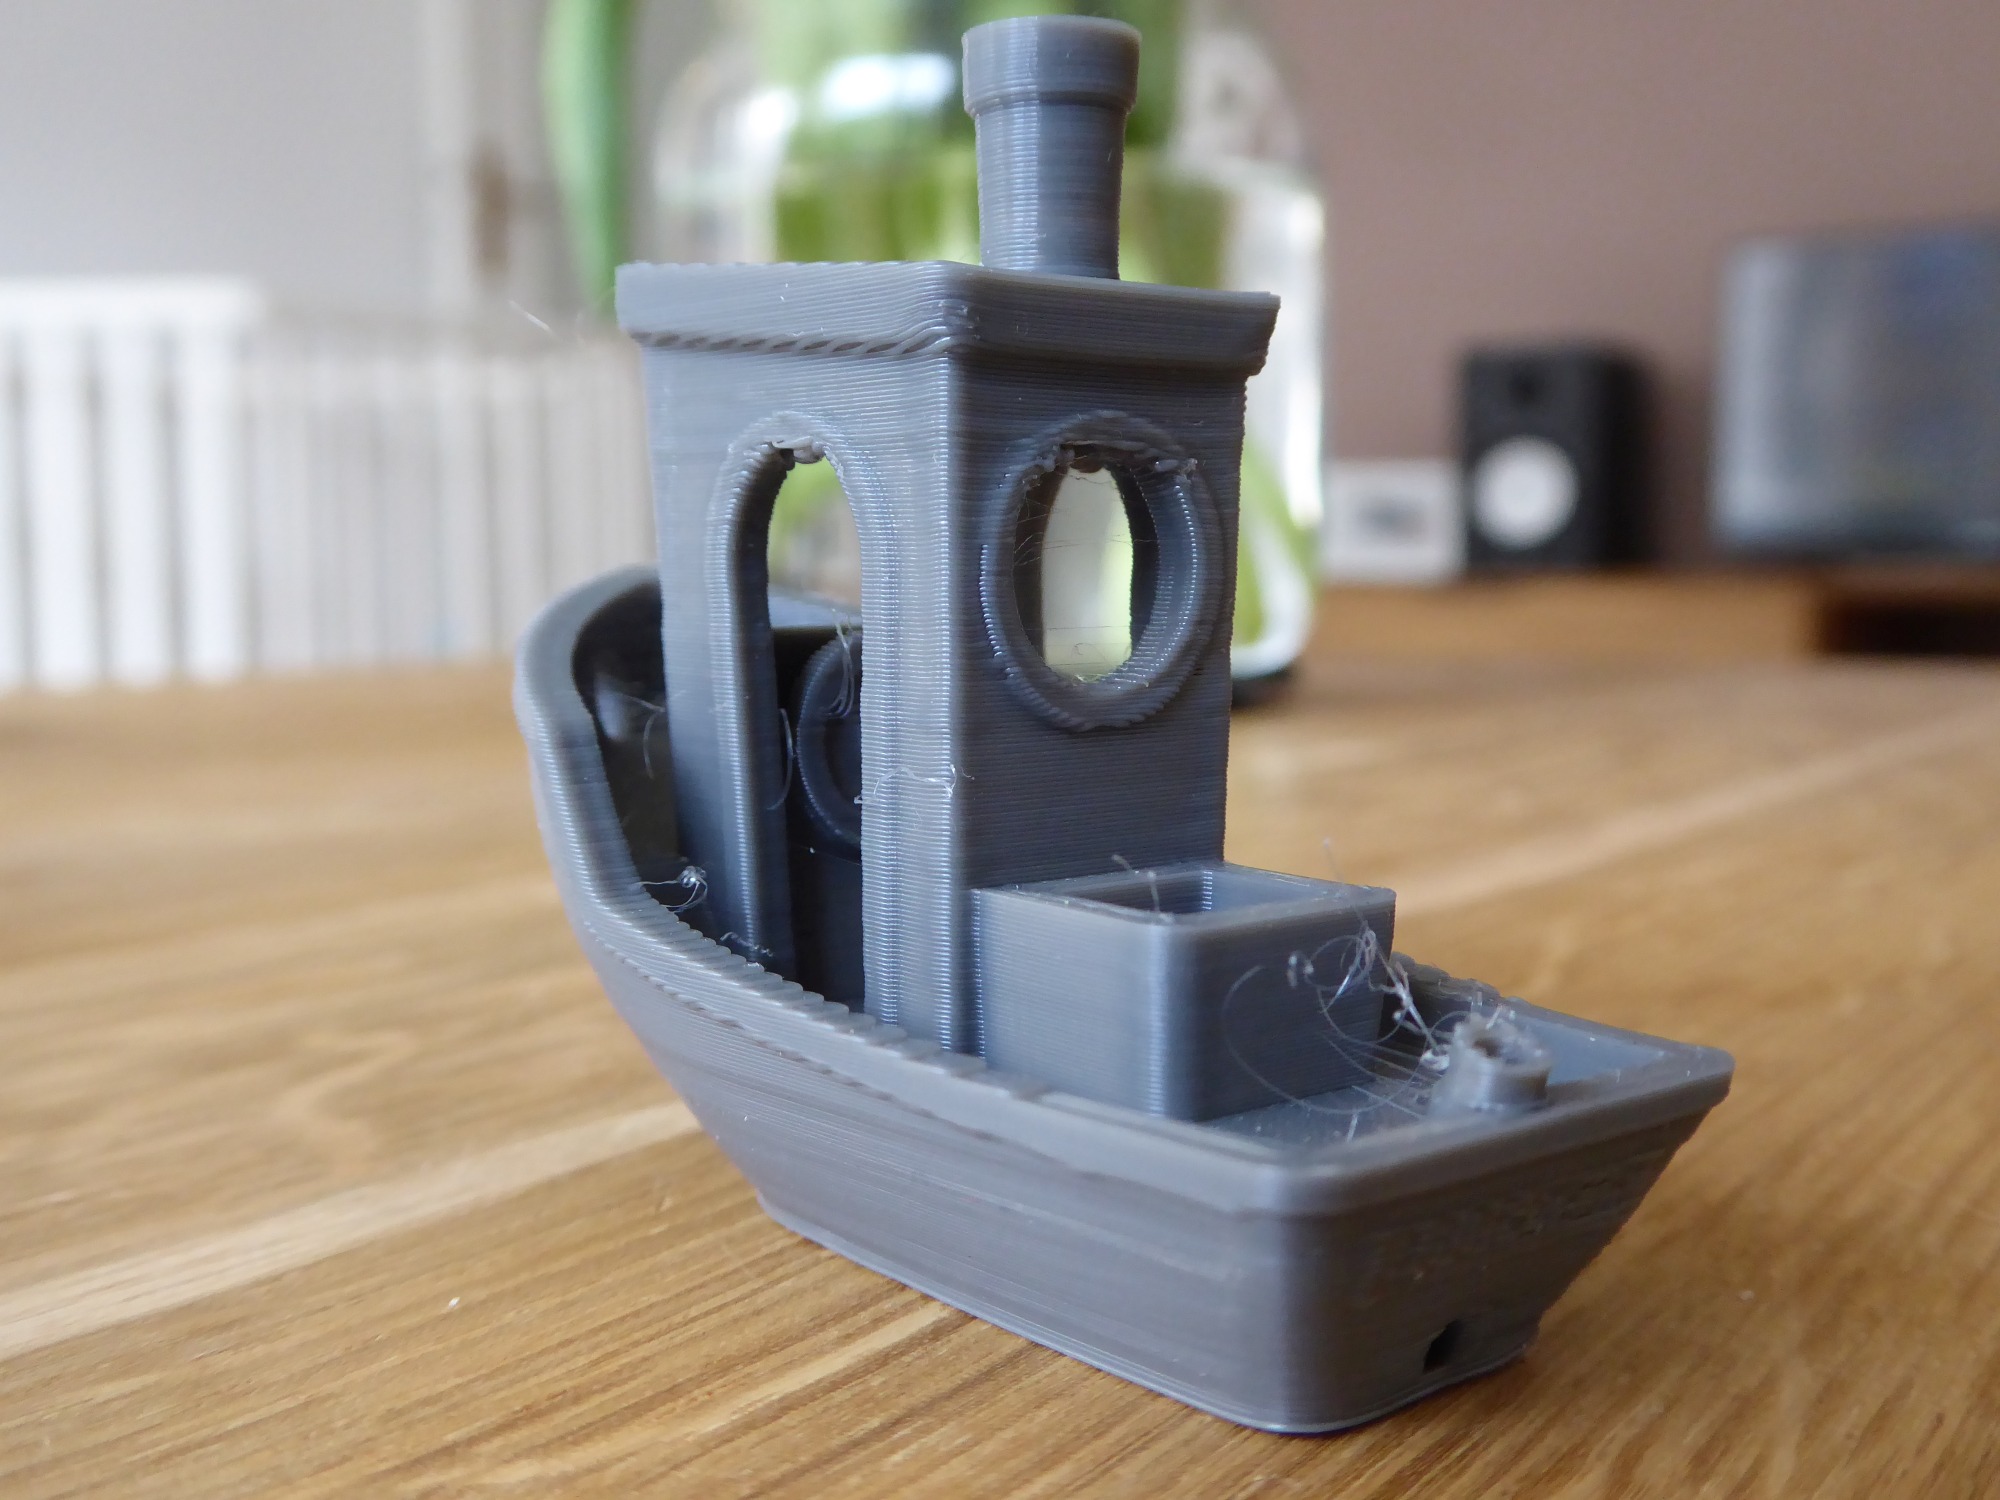
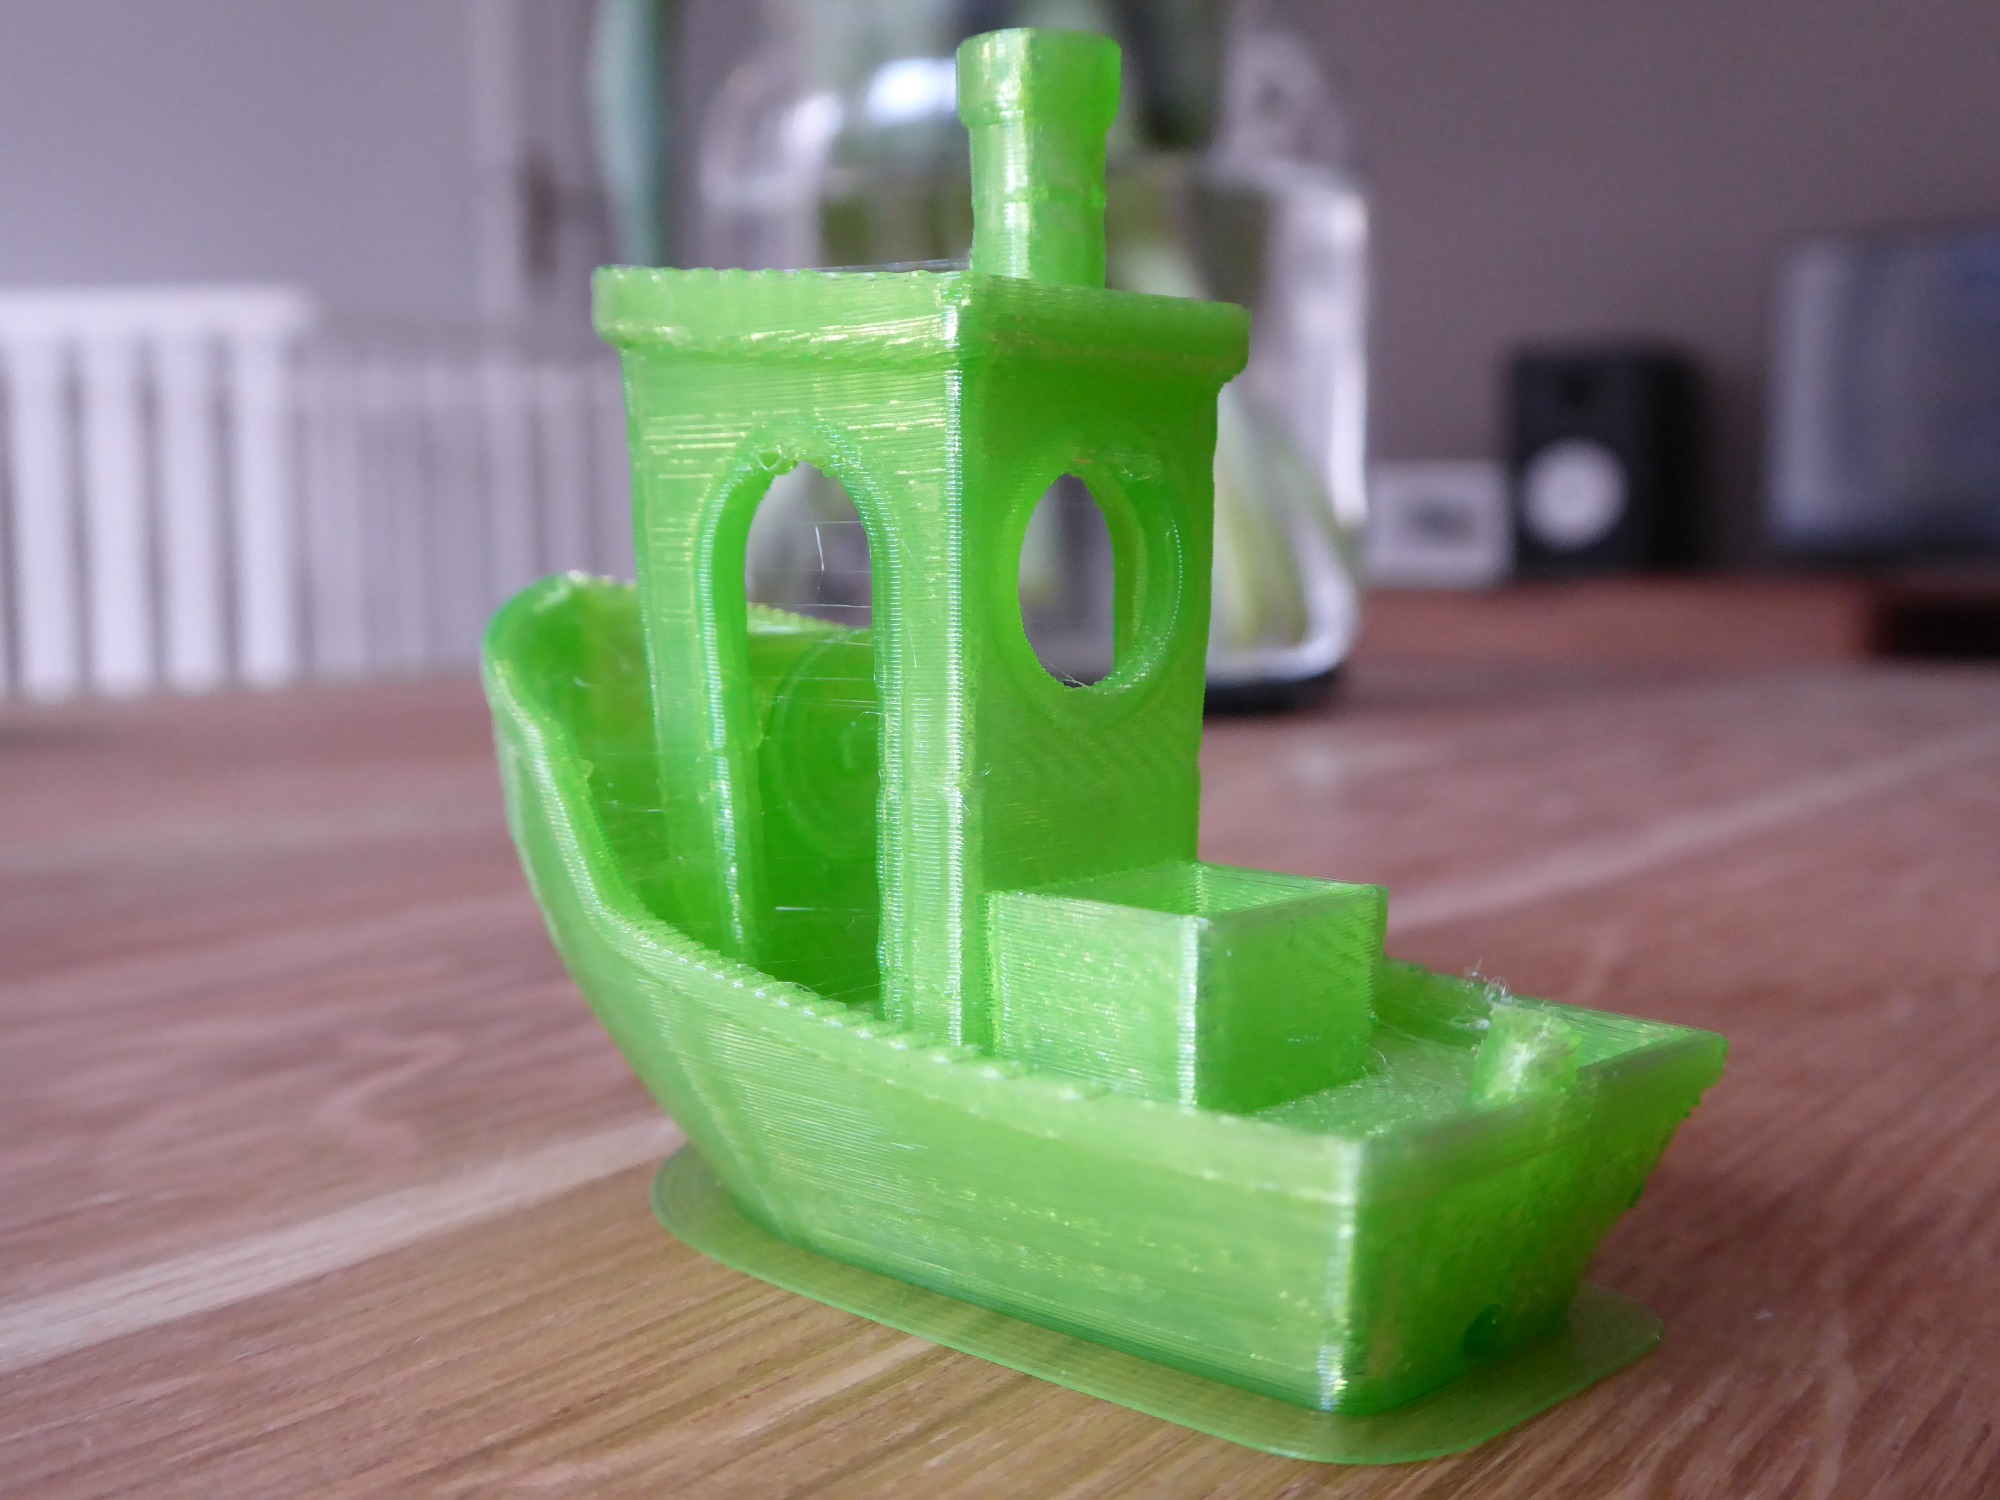
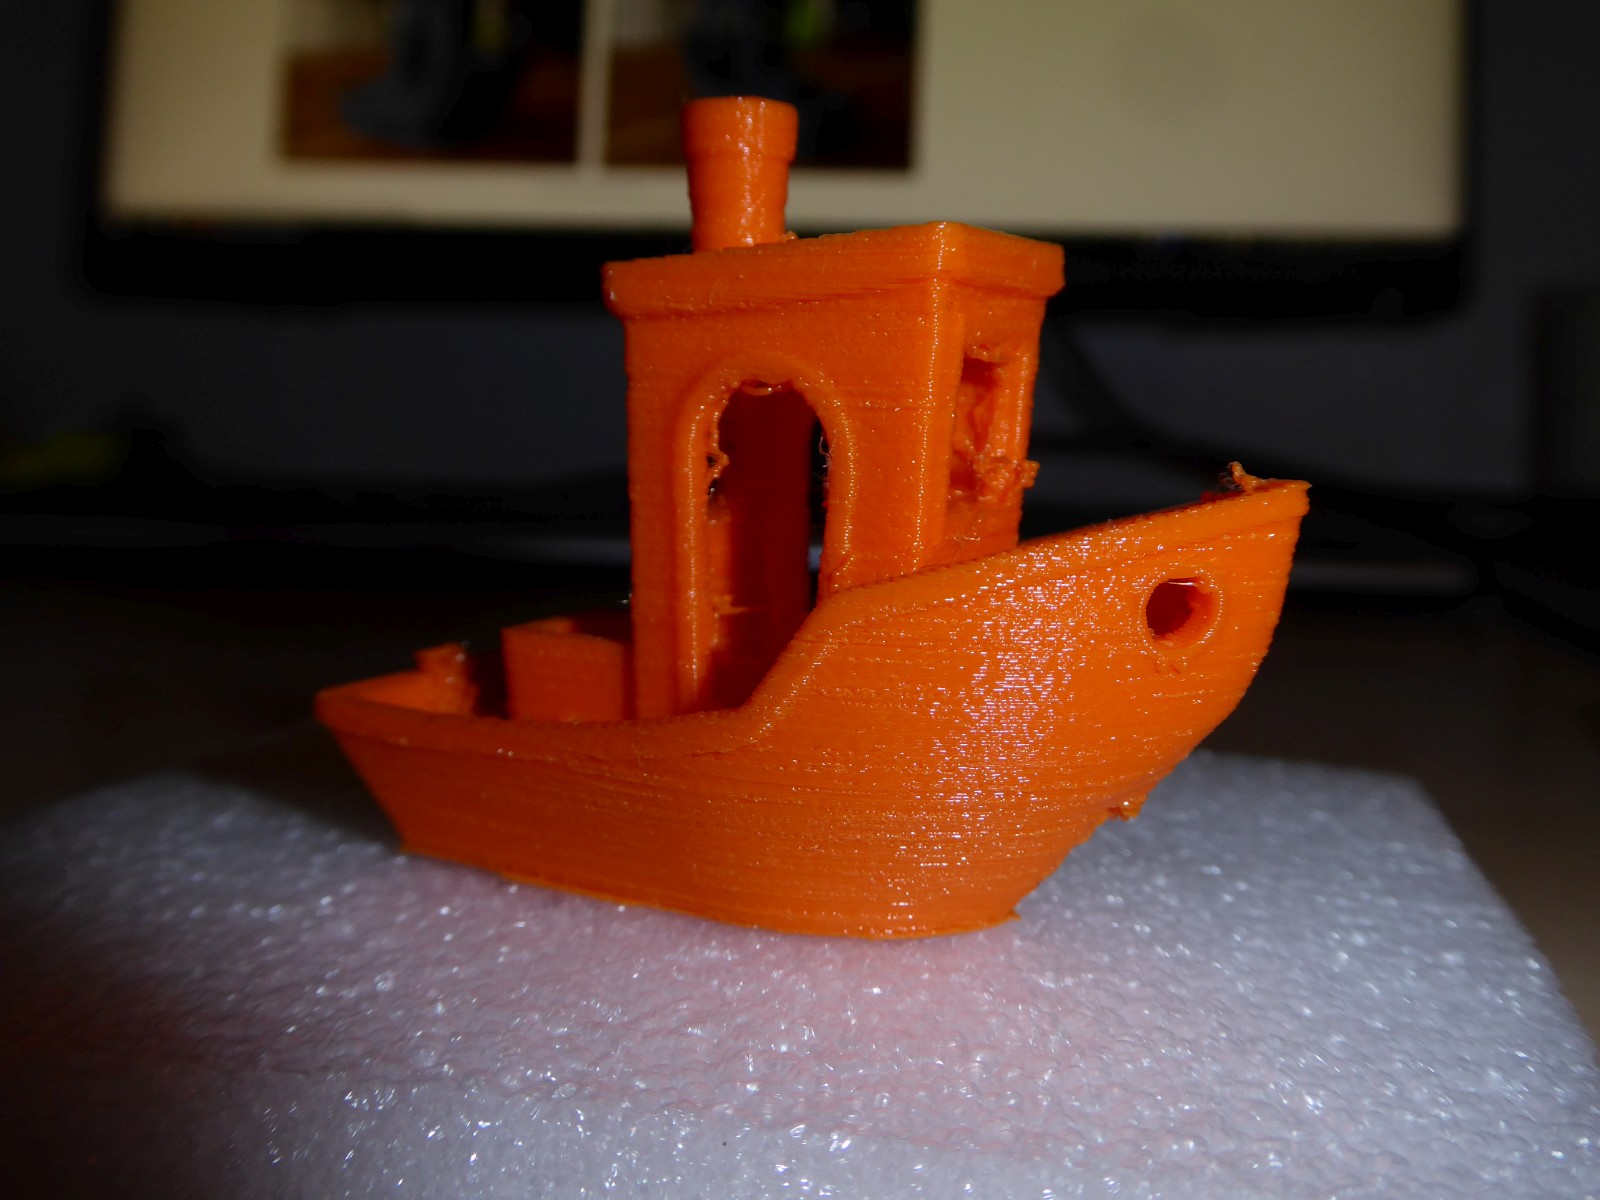
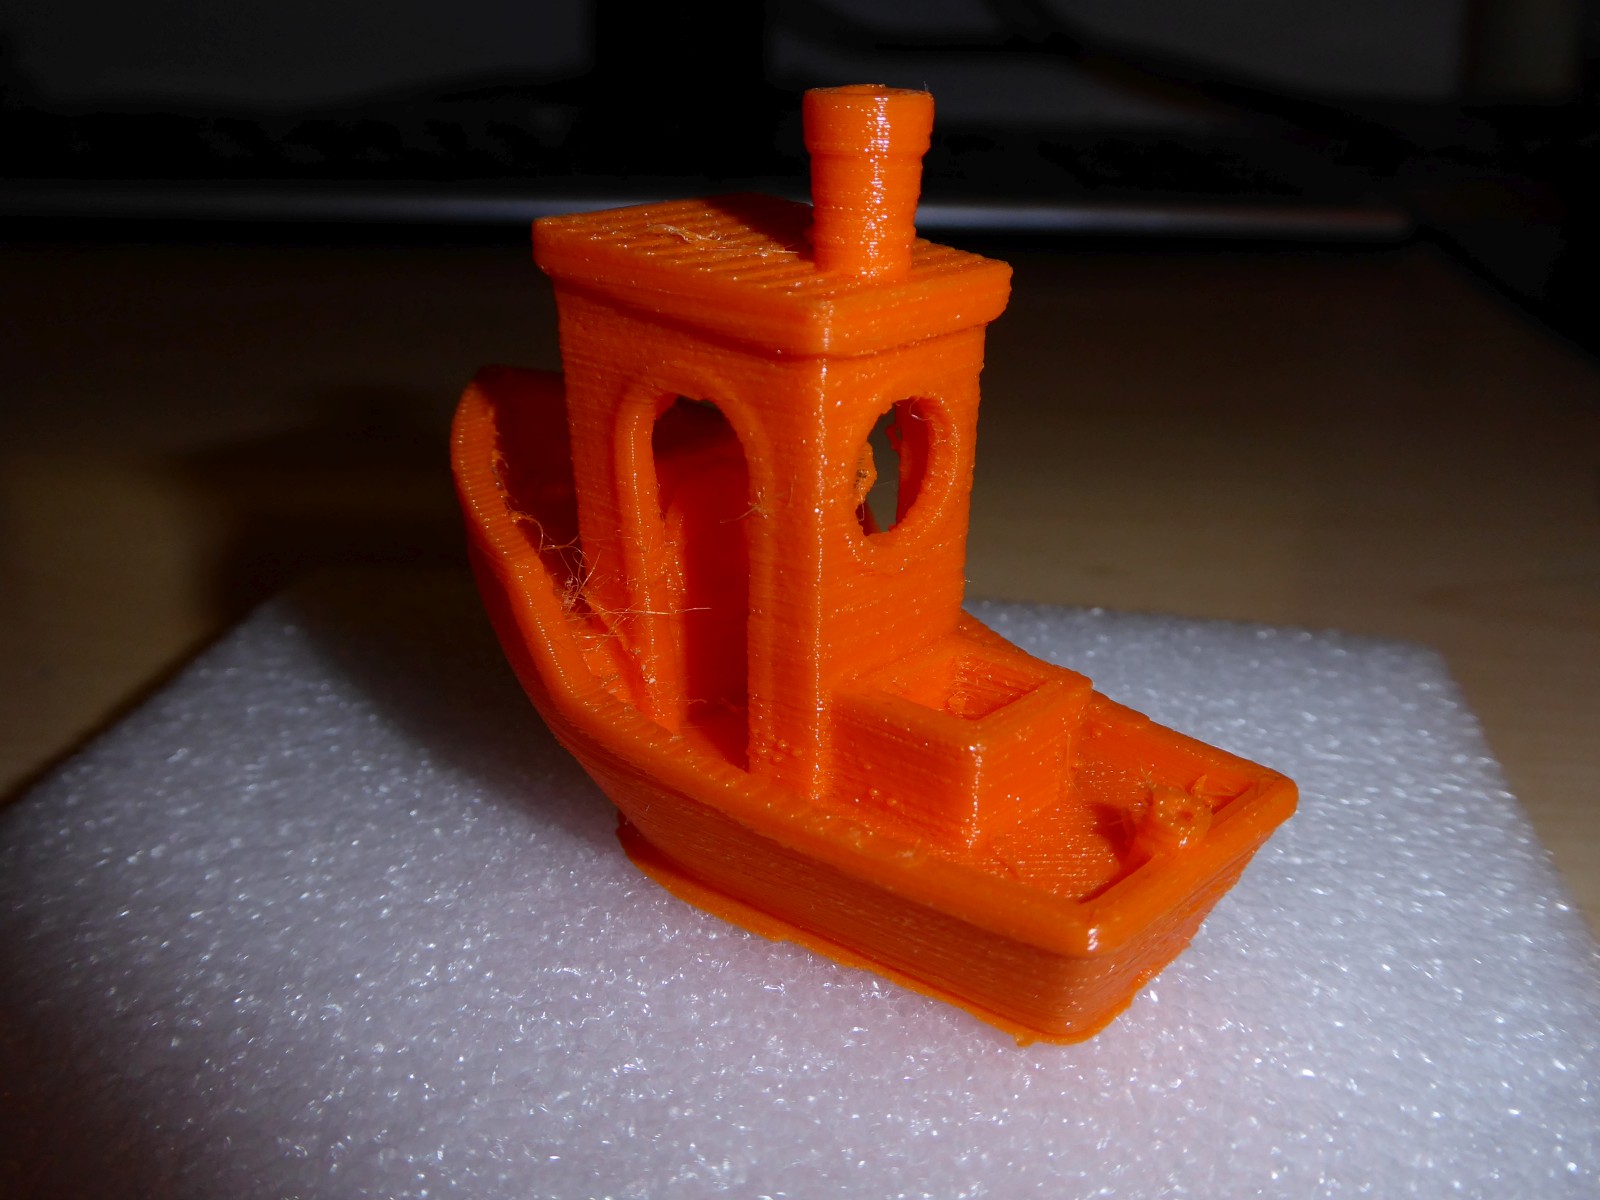
I also purchased two rolls of gray filament from Anycubic when buying the printer. I have not been able to get rid of the massive stringing. Using high retraction speed or high retraction distance does not get a handle on the problem.
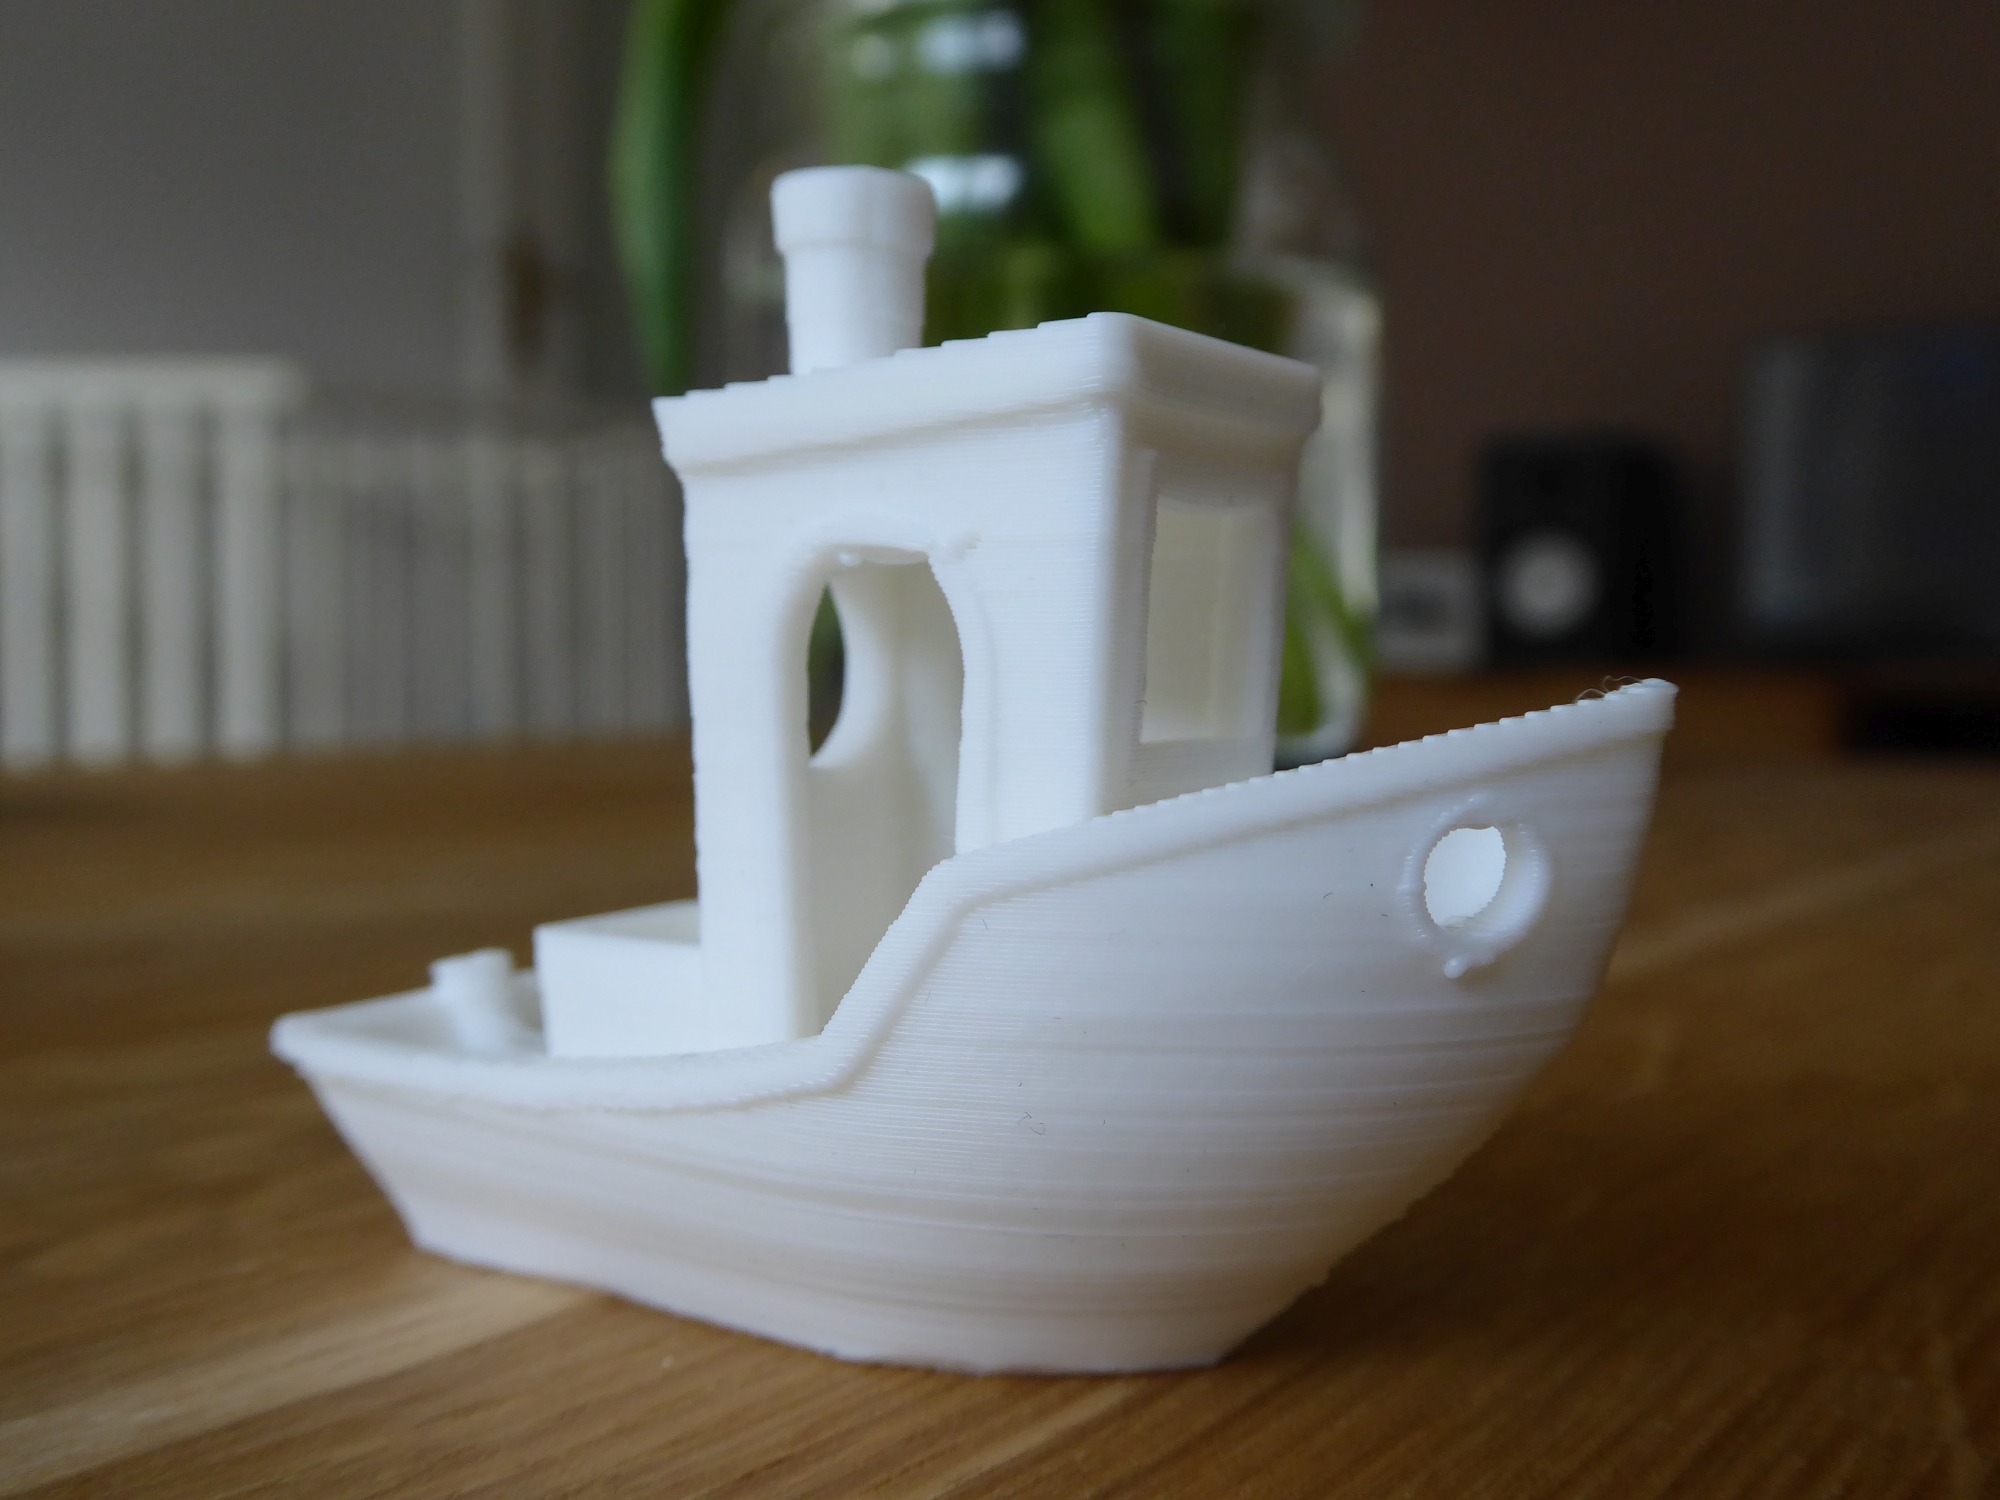
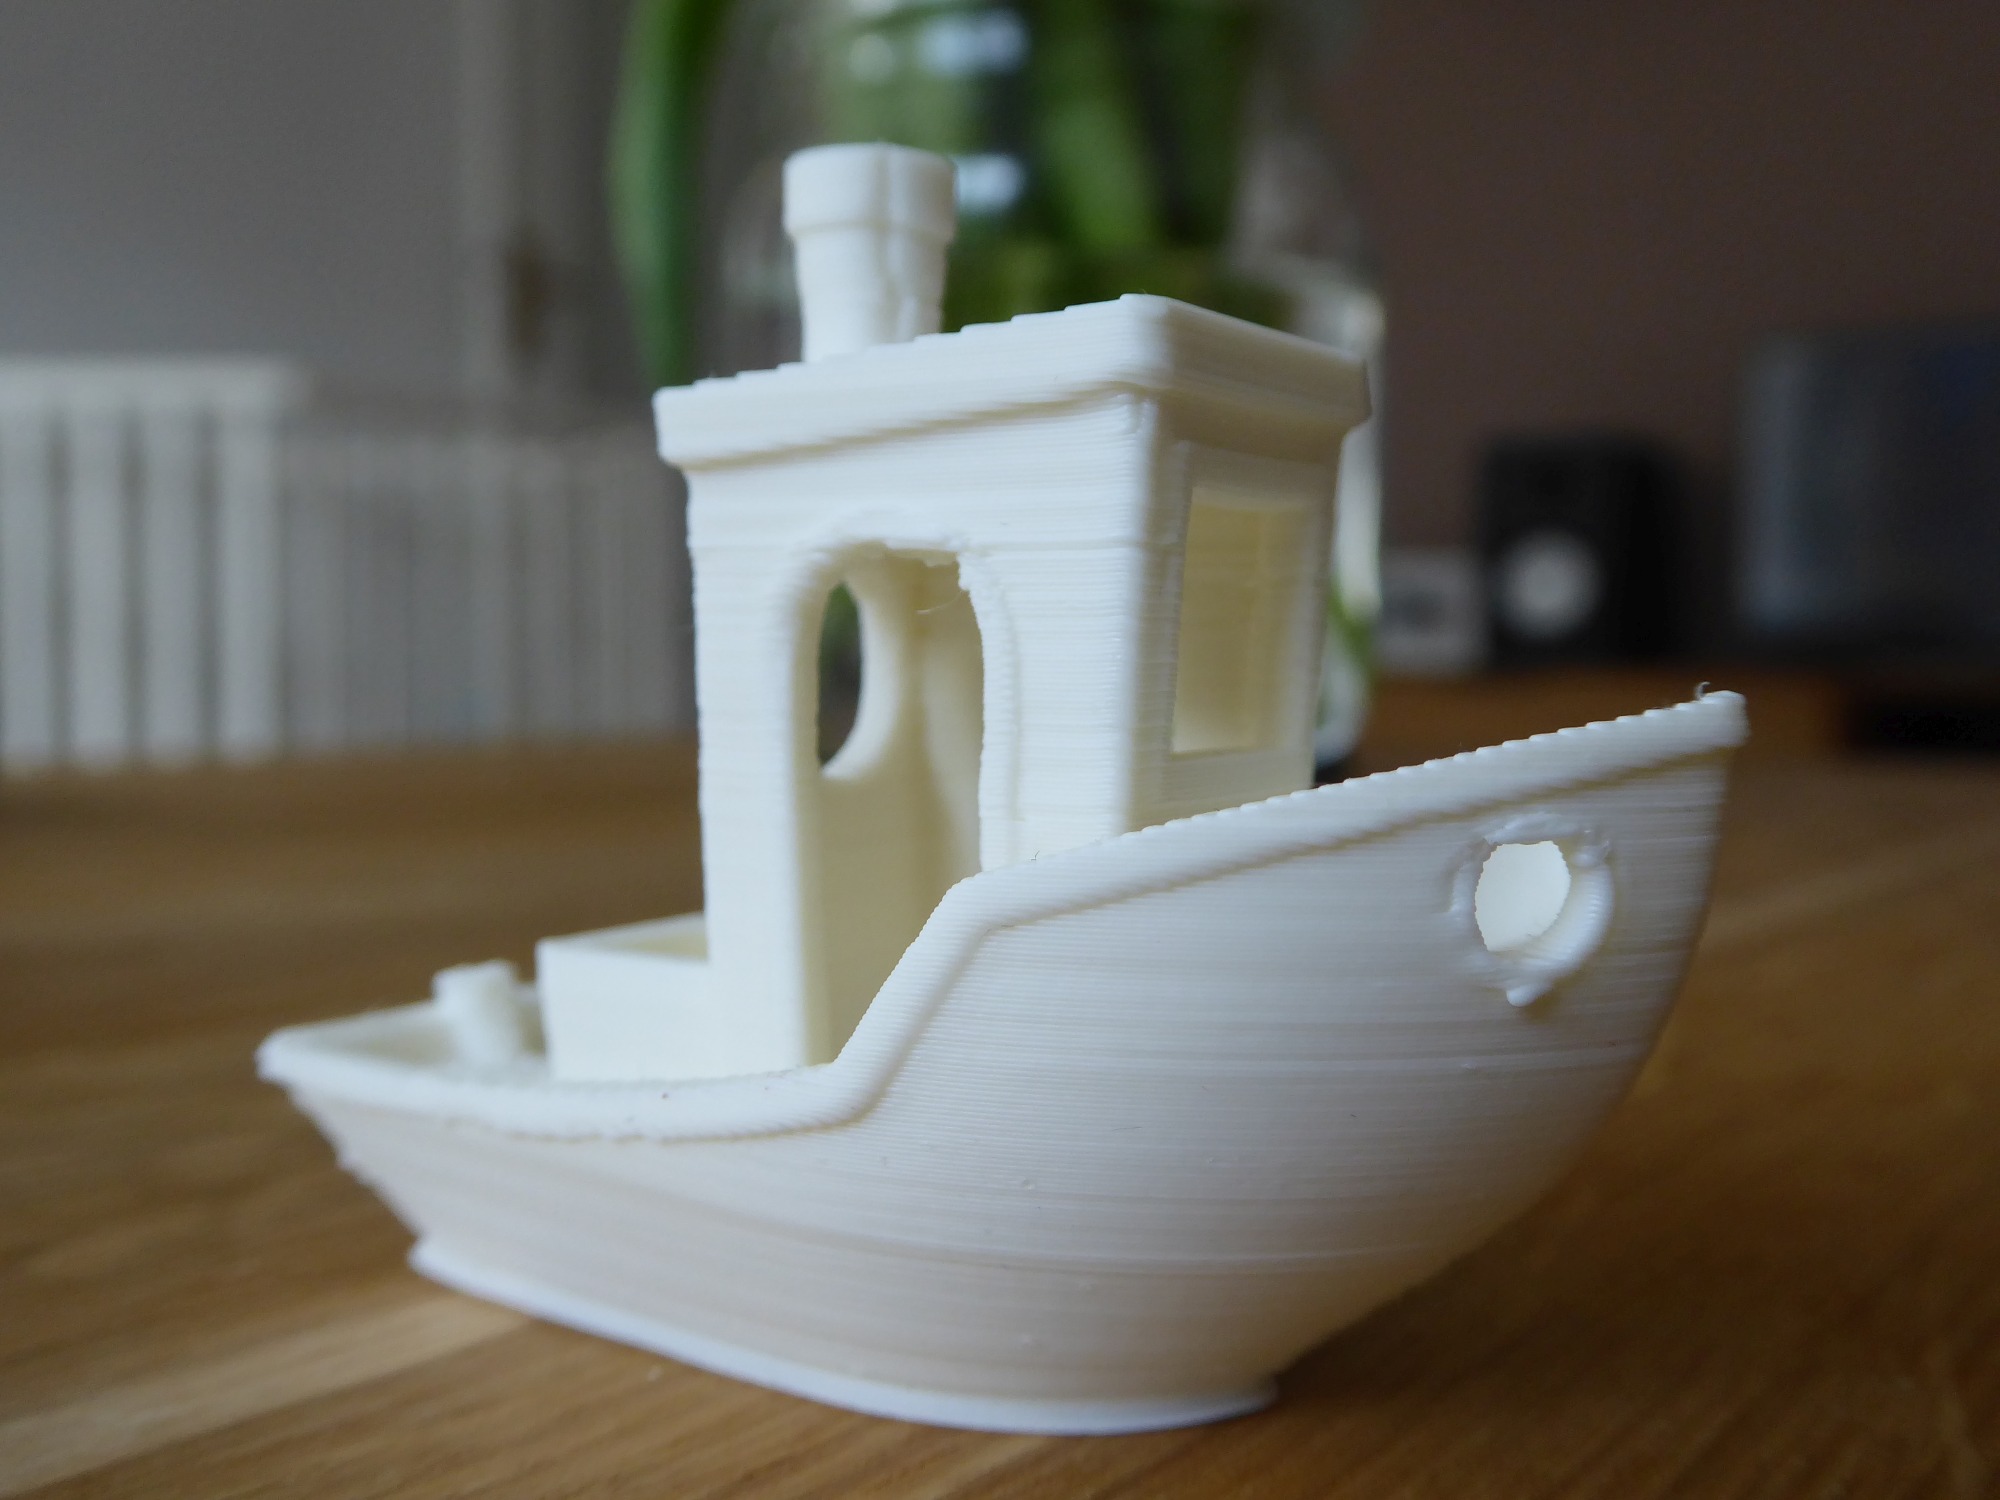
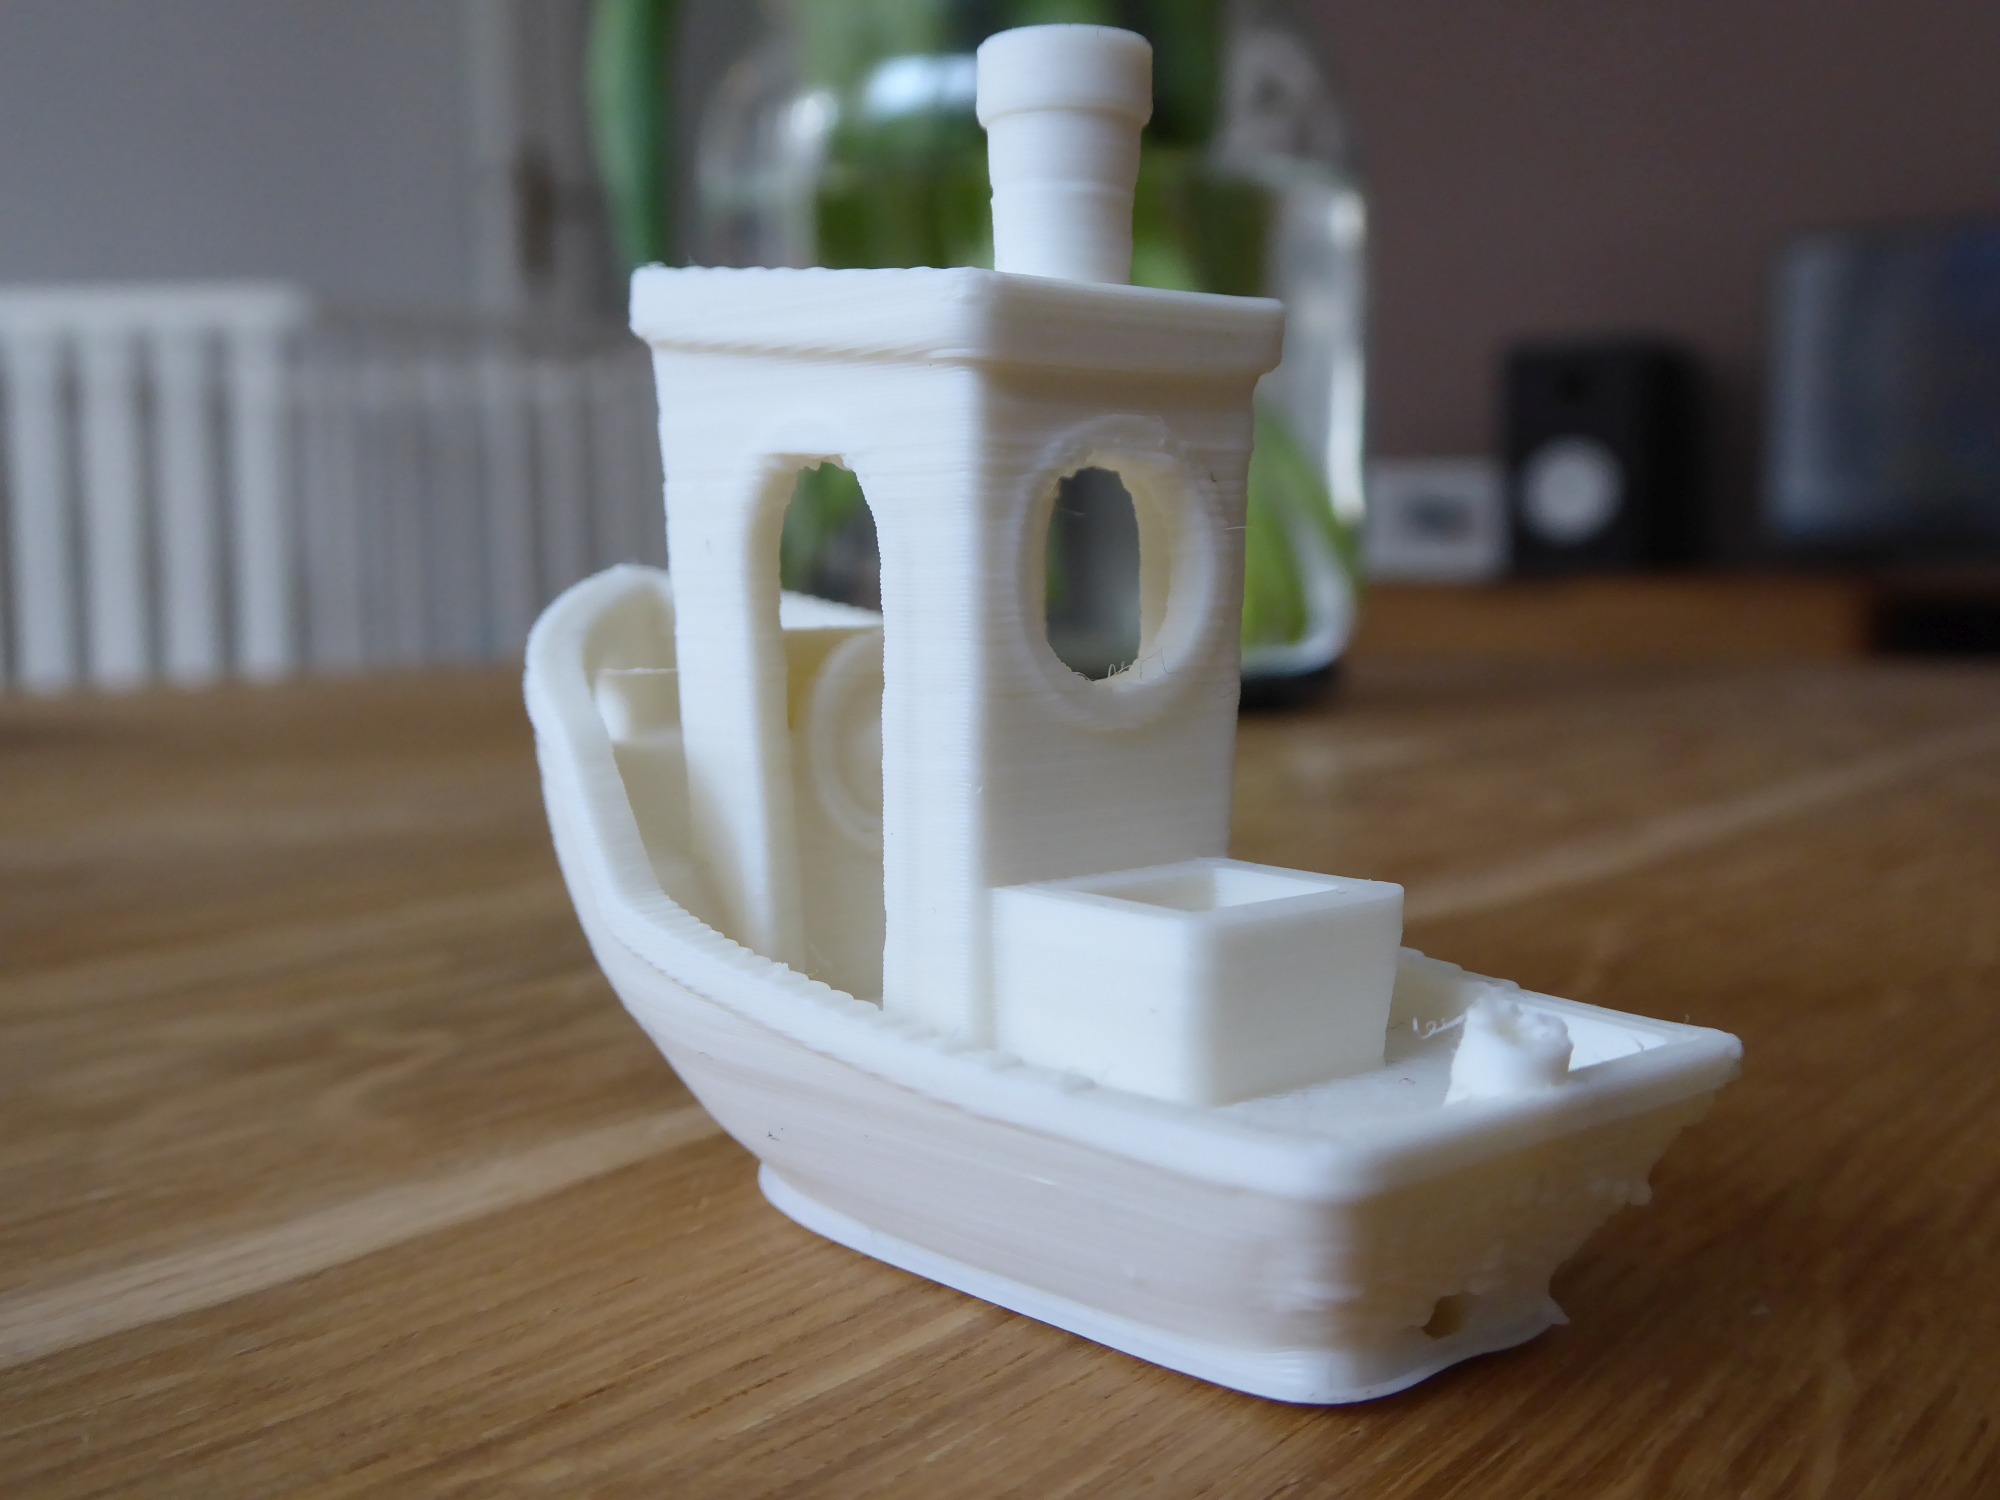
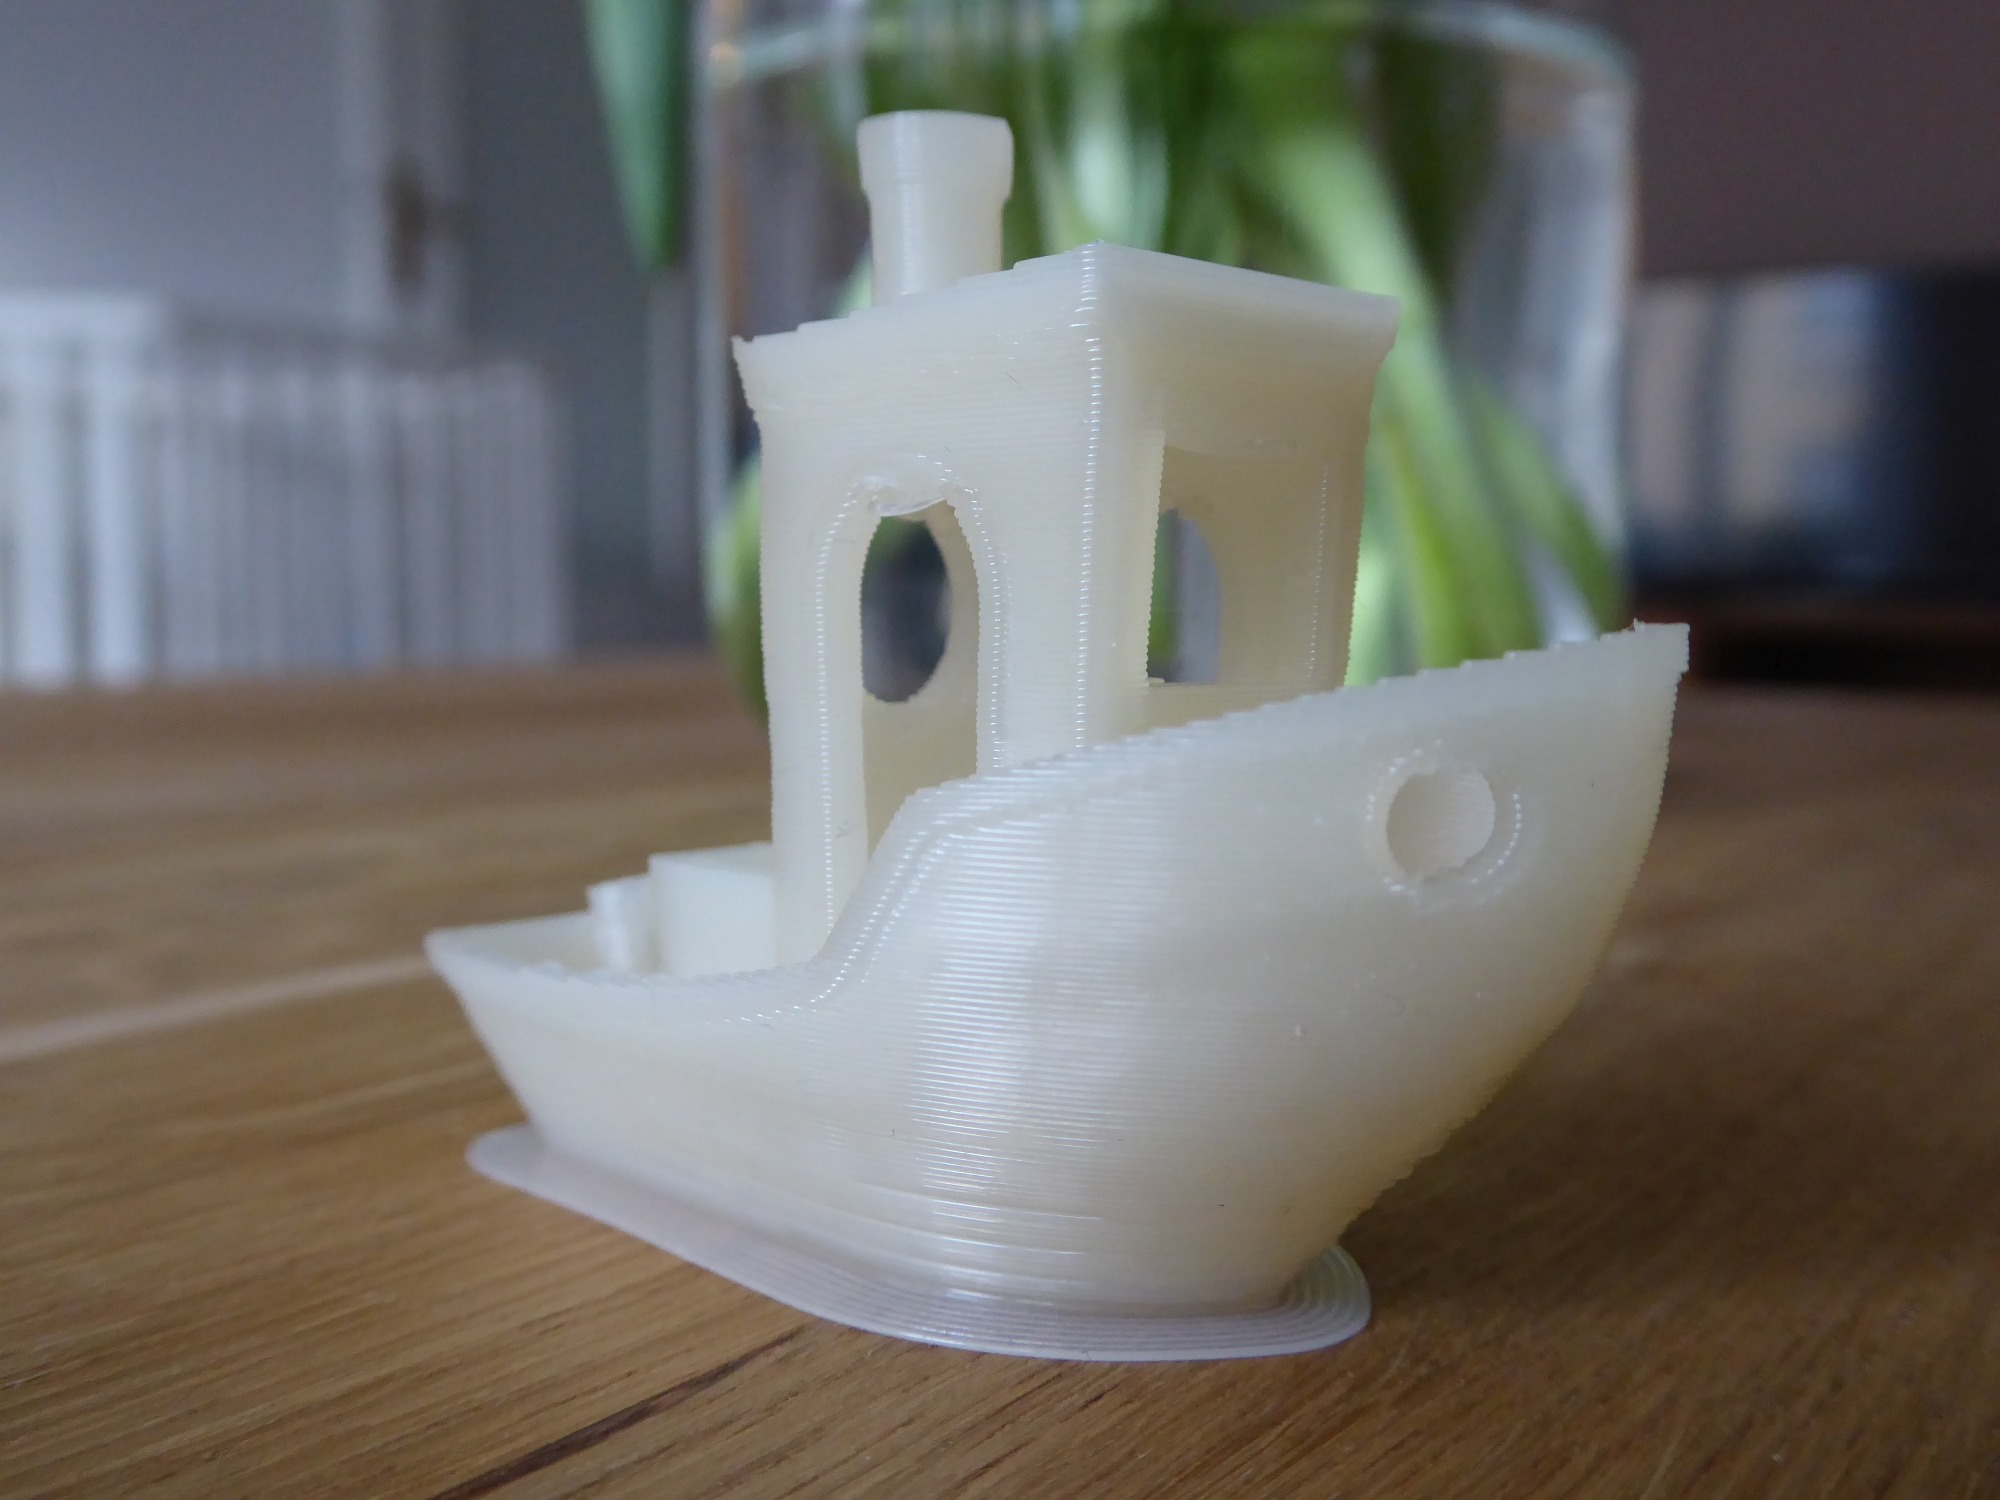
Update: In the meantime, I have also printed the Benchy with white PLA from Anycubic, there the stringing is no problem at all, but “curling” occurs much more strongly at the edges. The filaments differ not only in color but also want different temperatures, accordingly there are now both filament profiles in the Config.

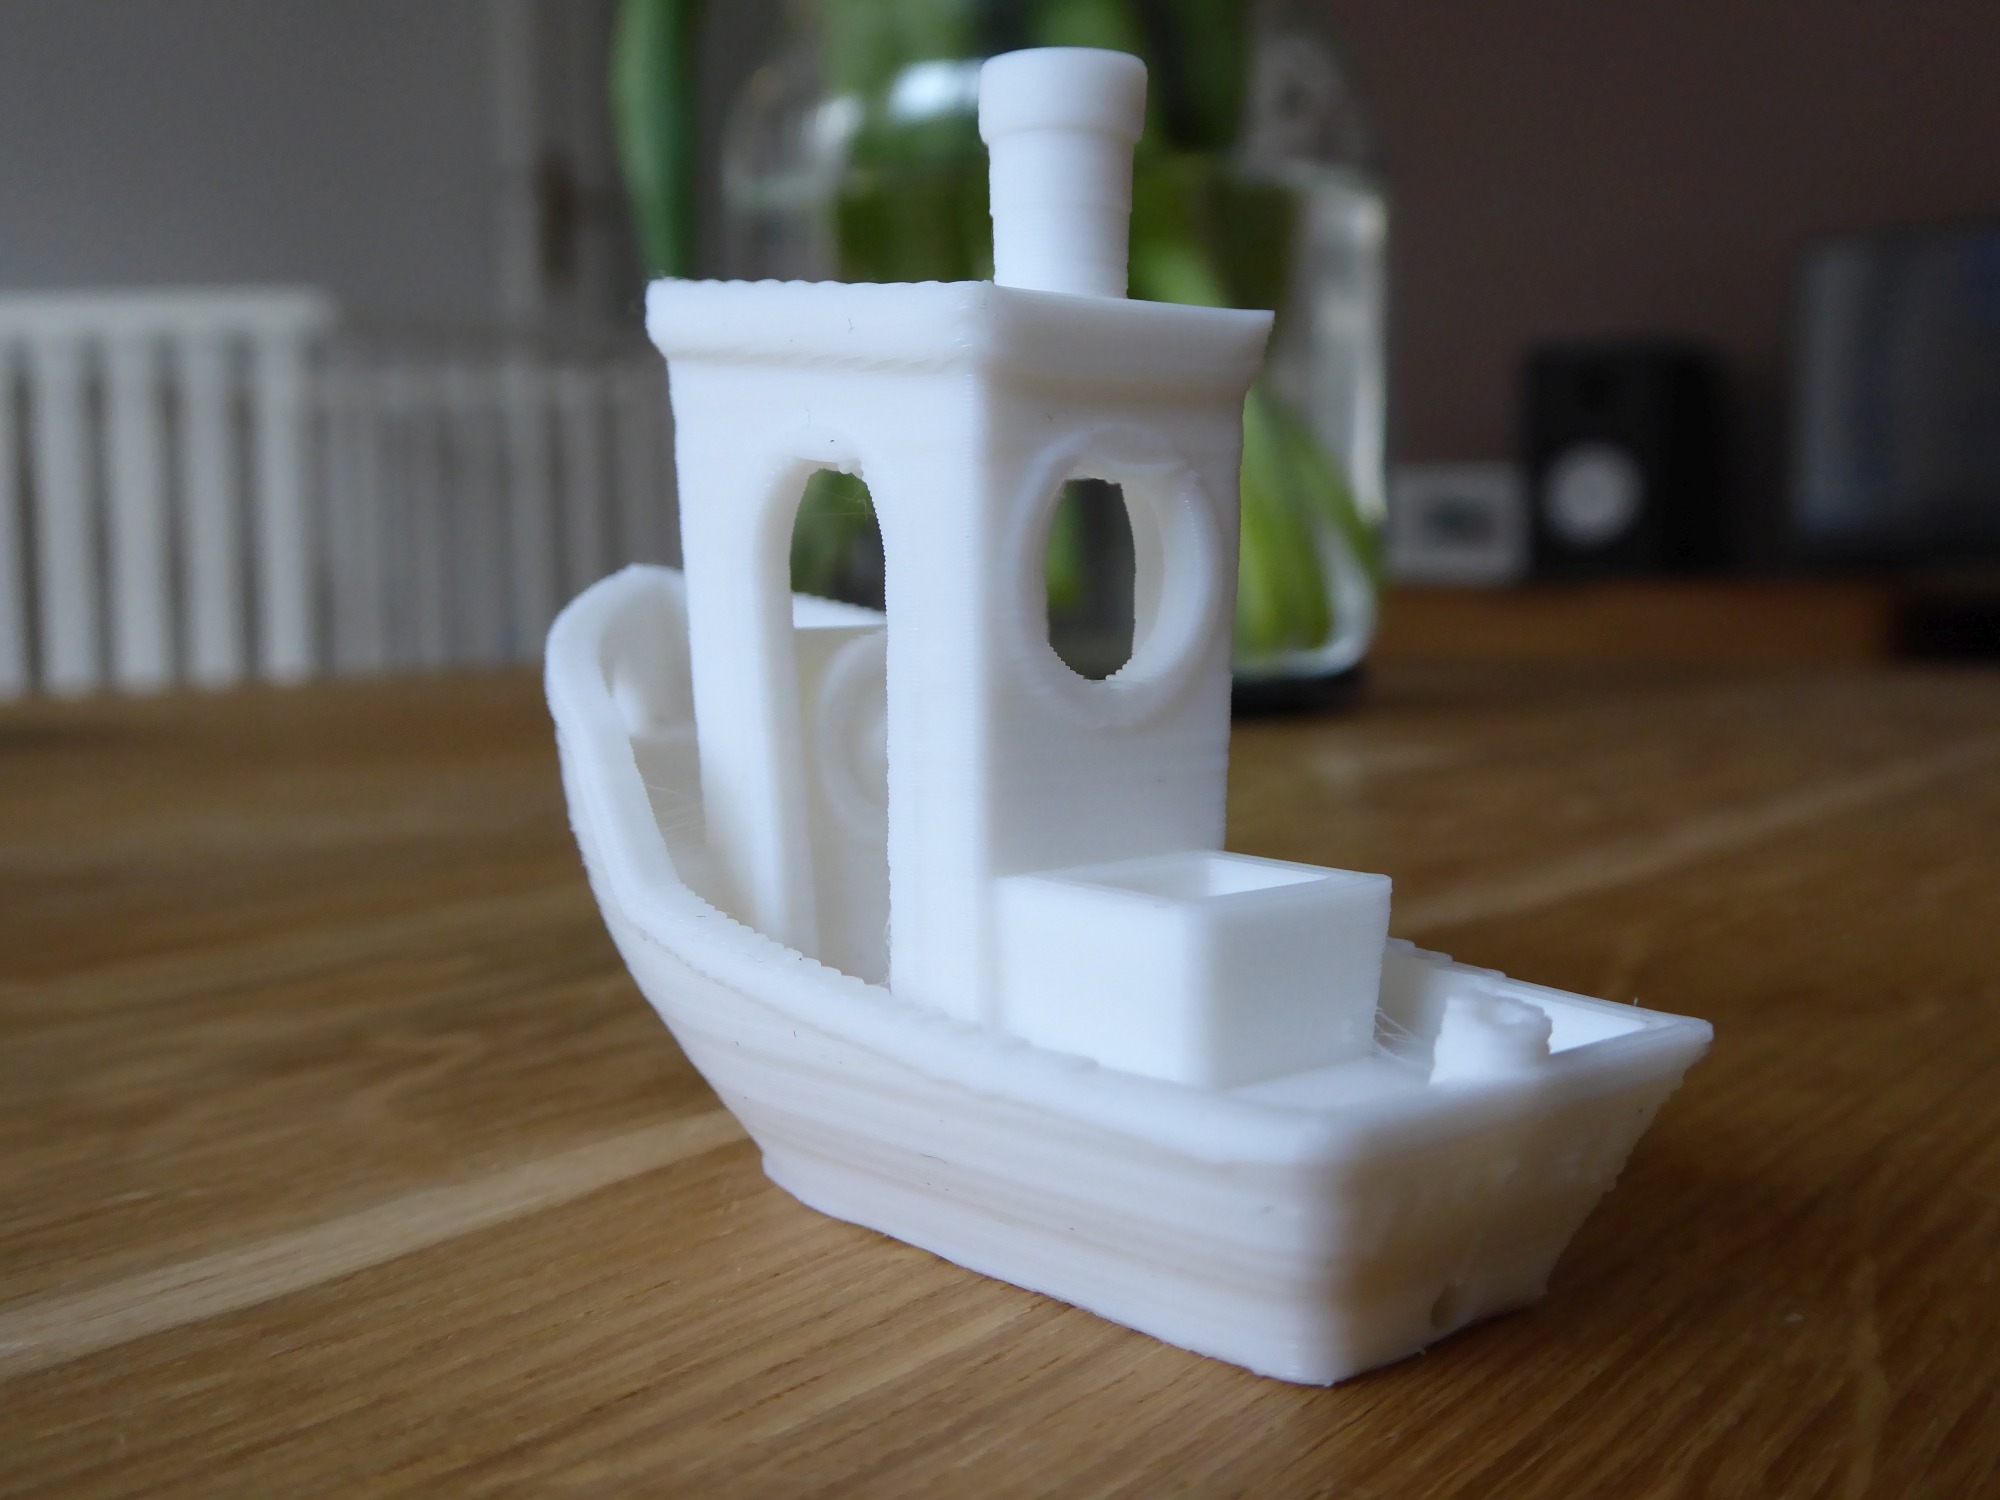
The Draft setting prints about twice as fast, which you can see in the result, but it is also twice as fast.


I printed the spare part cooler, besides some printouts from ABS, also from PLA with support material.
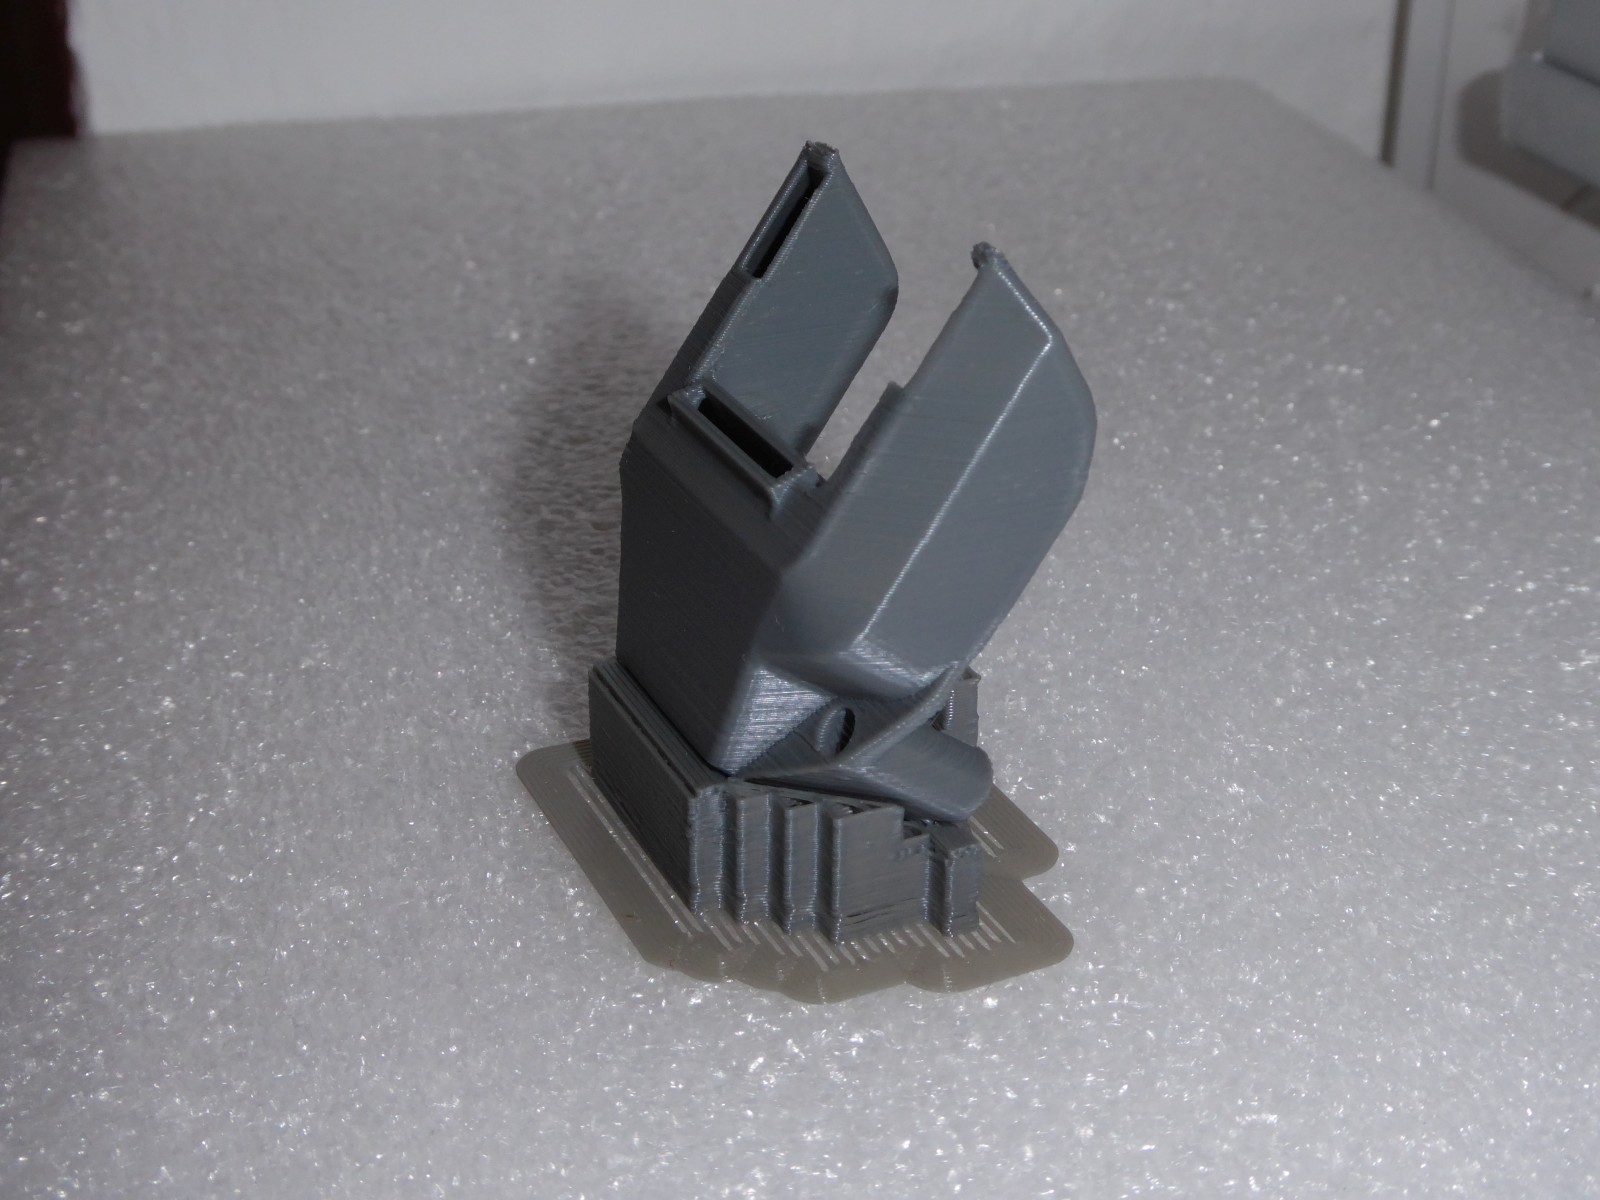
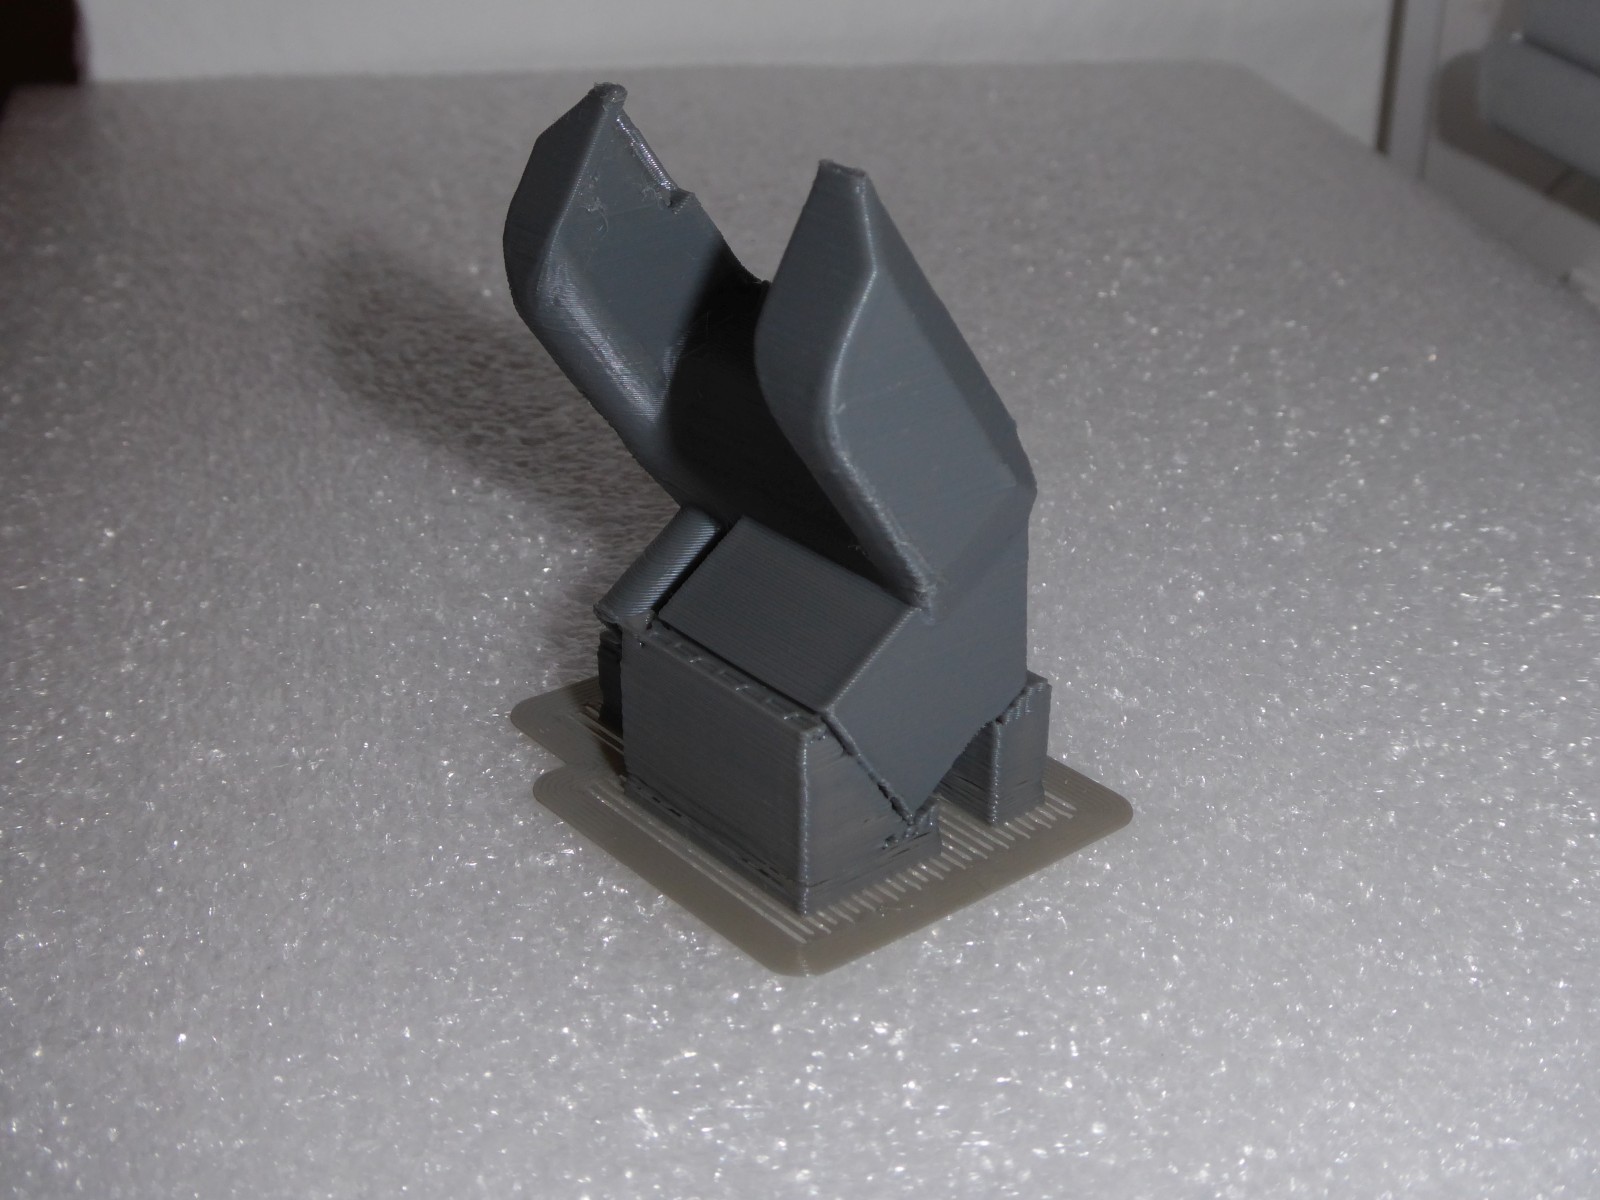
With the support material, detachment occurs (no matter how the printing speed or extrusion width is selected) as soon as the fan cools the component with more than 80%. I also had this problem at the beginning with other, small parts, too fast printed and cooled layers are clearly not working.
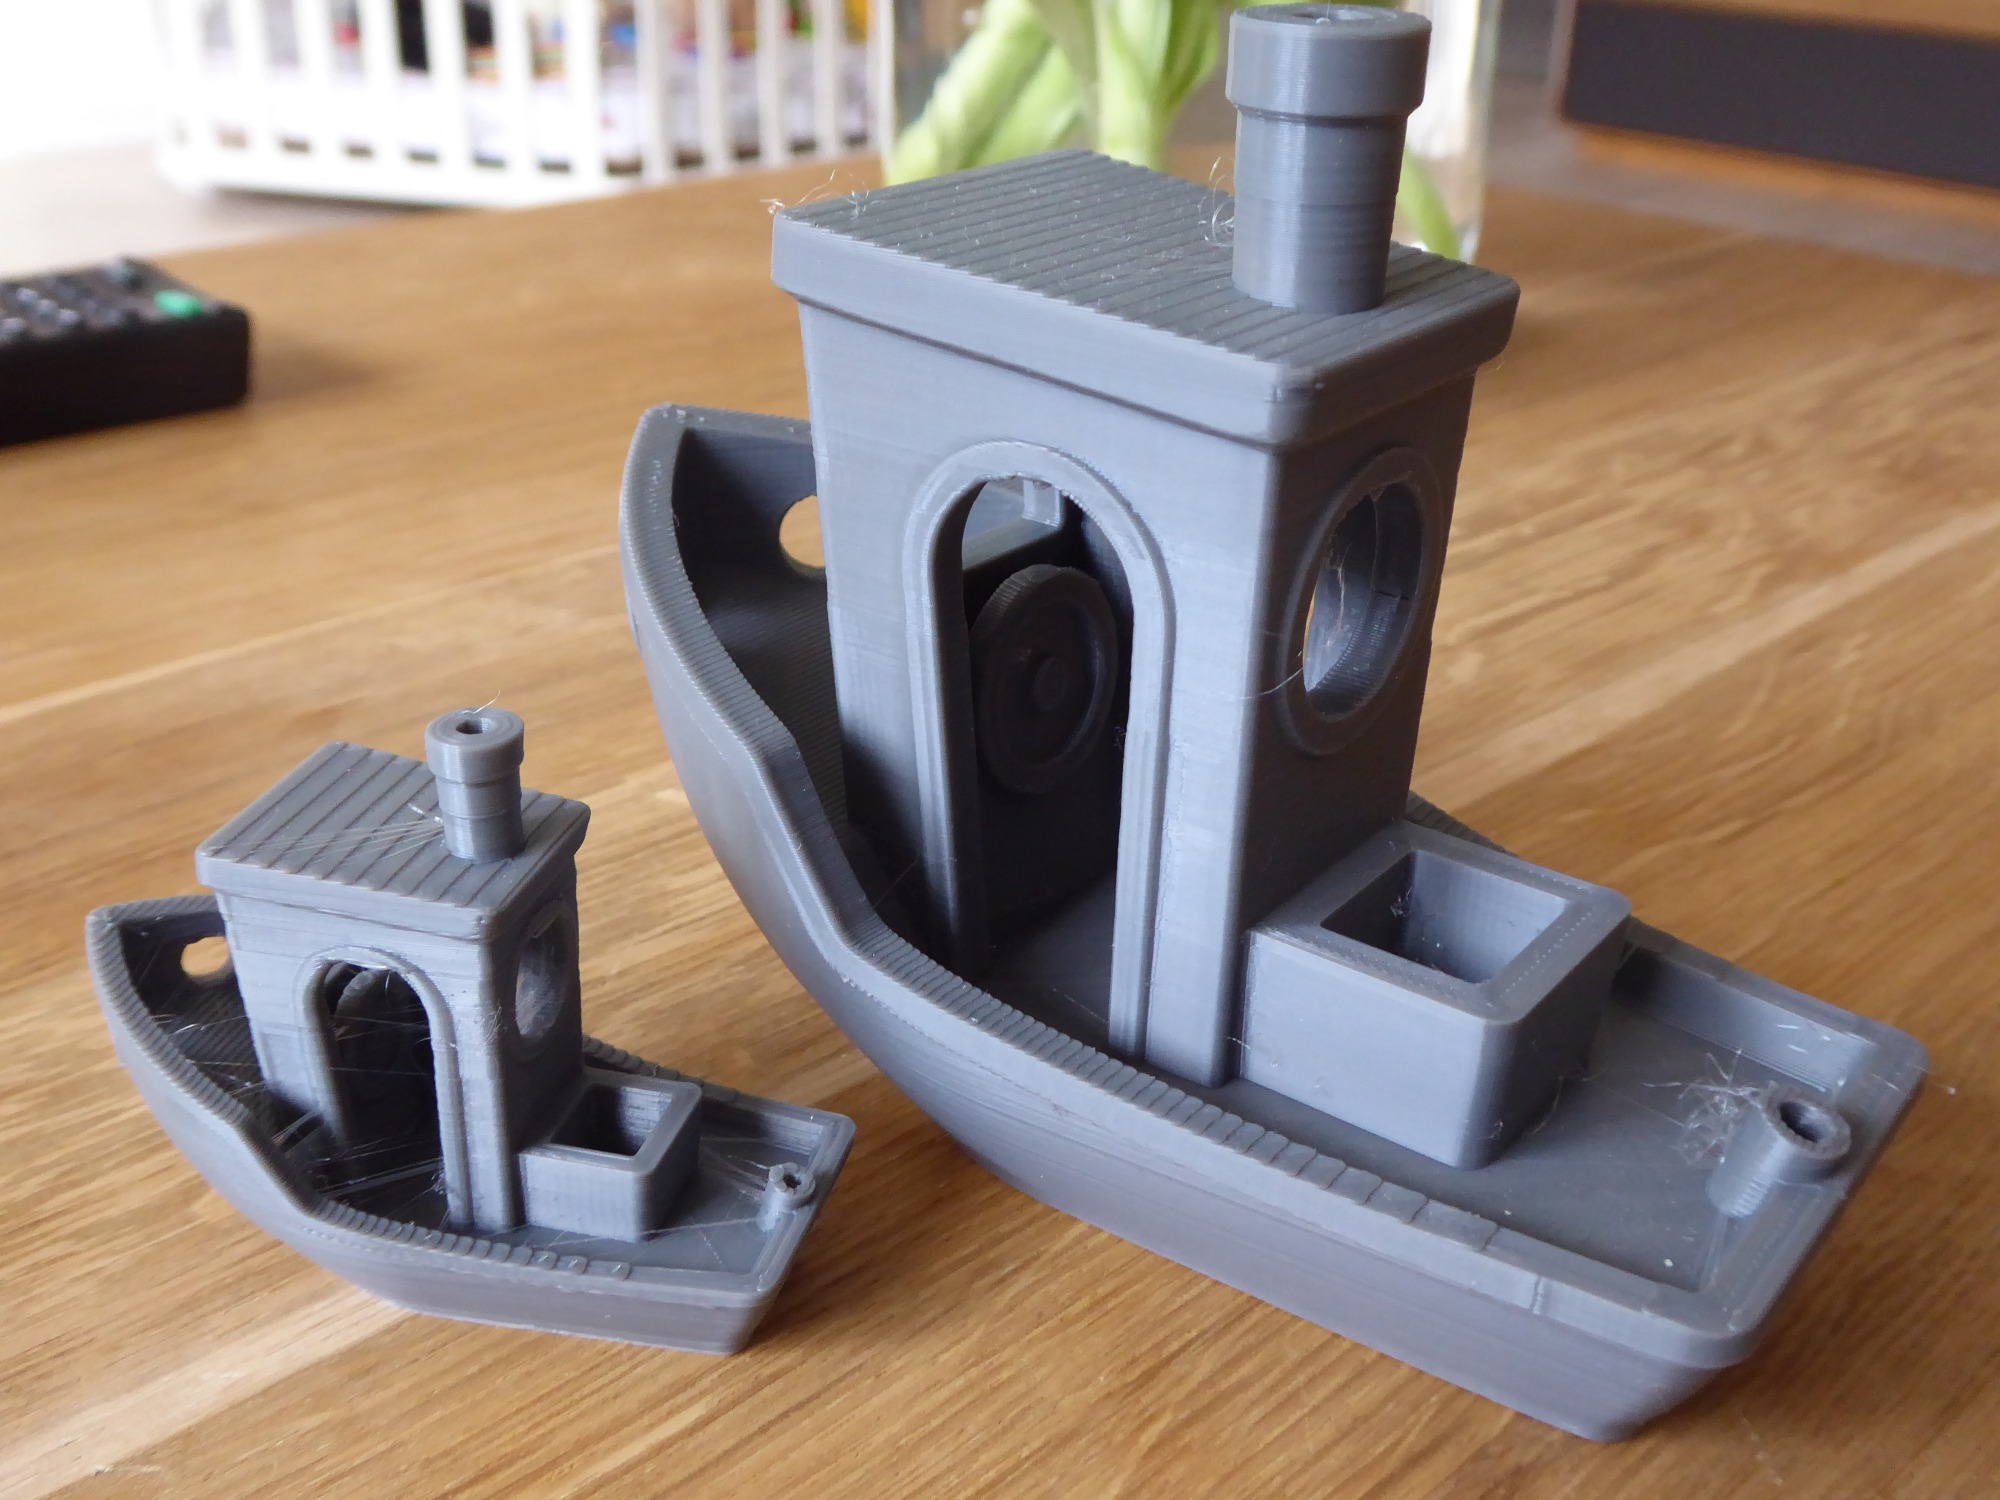
If you scale the Benchy by a factor of 2, printing takes about 8 hours. The stringing occurs less here than with the normal model.
In the end, I had focused mainly on the quality of the surface of the bug and the strength of the layers. Unfortunately, lower temperatures caused parts of the layers to peel off again.
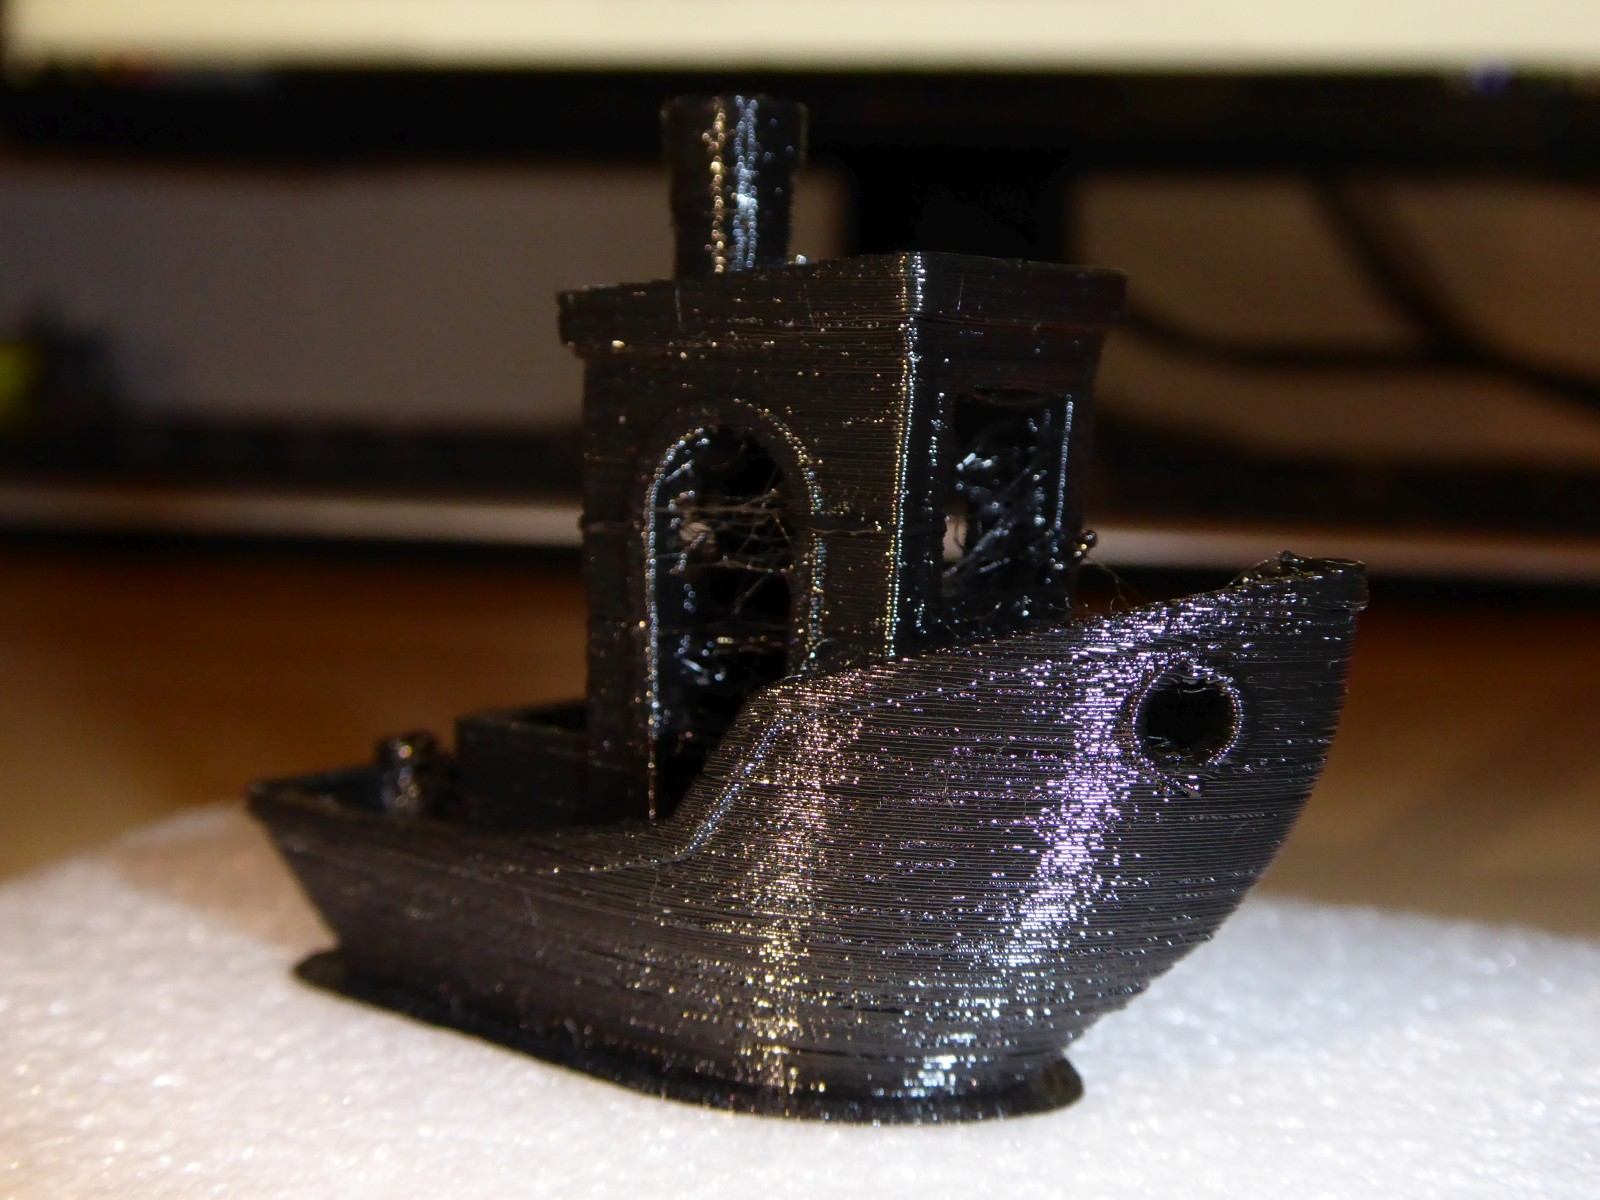
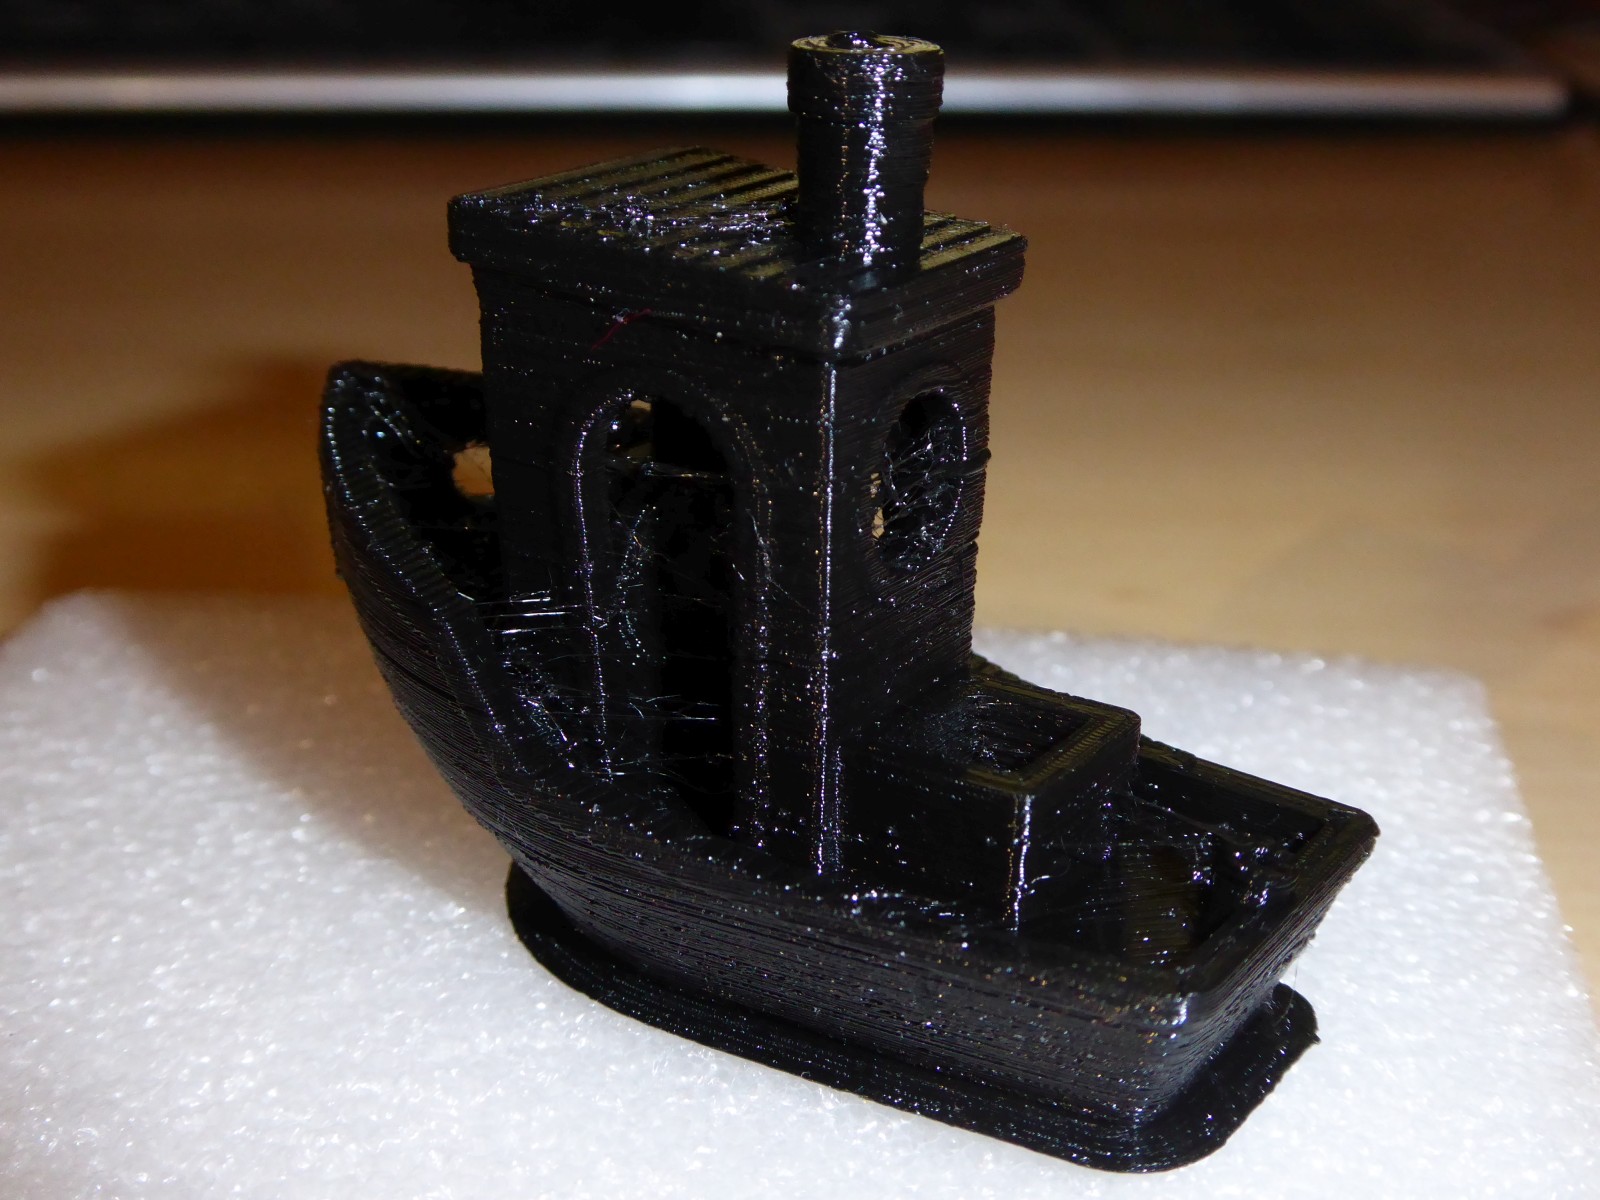
Printing with Cura
For comparison, I sliced the Benchy in Cura with the supplied settings.
The result is catastrophically bad for a printer in this price range, but I wouldn’t order the gray Anycubic PLA again either.
HIPS
I only tested HIPS because it was specified as a printable material. At too low temperatures the material did not hold, at slightly higher temperatures the outer layers were too soft and bulged inward during printing.
With a low and controlled cooling of the components, this problem could be handled well.
I can now confirm the problem described on china-gadgets.de that the air nozzle of the component cooling melts, it must have occurred during the first tests with HIPS.
TPU
TPU printed surprisingly smoothly and immediately on the third try. However, it turned out that the print speed must be extremely reduced and the two tested filaments, yourDroid TPU and PolyFlex TPU95, have completely different temperature settings.
If the printing speed is too high, some times only single droplets come out of the nozzle. With yourDroid TPU, the component cooling must remain completely deactivated. PolyFlex TPU95 can be printed a bit faster, can be cooled, but still warps strongly at the corners.
(Update 2021-09-22) Printing with Filaflex TPU82A is only possible on extremely slow speeds so far.
ABS
Before slicing a Benchy, I printed myself two new nozzles for the part cooling, which were included as .gcode on the SD card. I had simply reduced the print temperature of the second nozzle in the gcode from 245 to 240 °C without the result getting worse.
With these temperatures (100 °C for the print bed, 240 °C extruder, no component cooling), the Benchy could be printed on the first try. Unfortunately, distortion of the lower outer contours still occurs during printing.

Because of the high temperatures and the cooling nozzle already deformed by the heat, I had printed ABS without component cooling and dismantled the nozzle.
I still don’t have the overhangs and the bow under control, but for the first attempt without special settings I am reasonably satisfied.
By the way, the air nozzle, when printed with the included gcode with ABS, also looks very good.
PolyMide CoPa
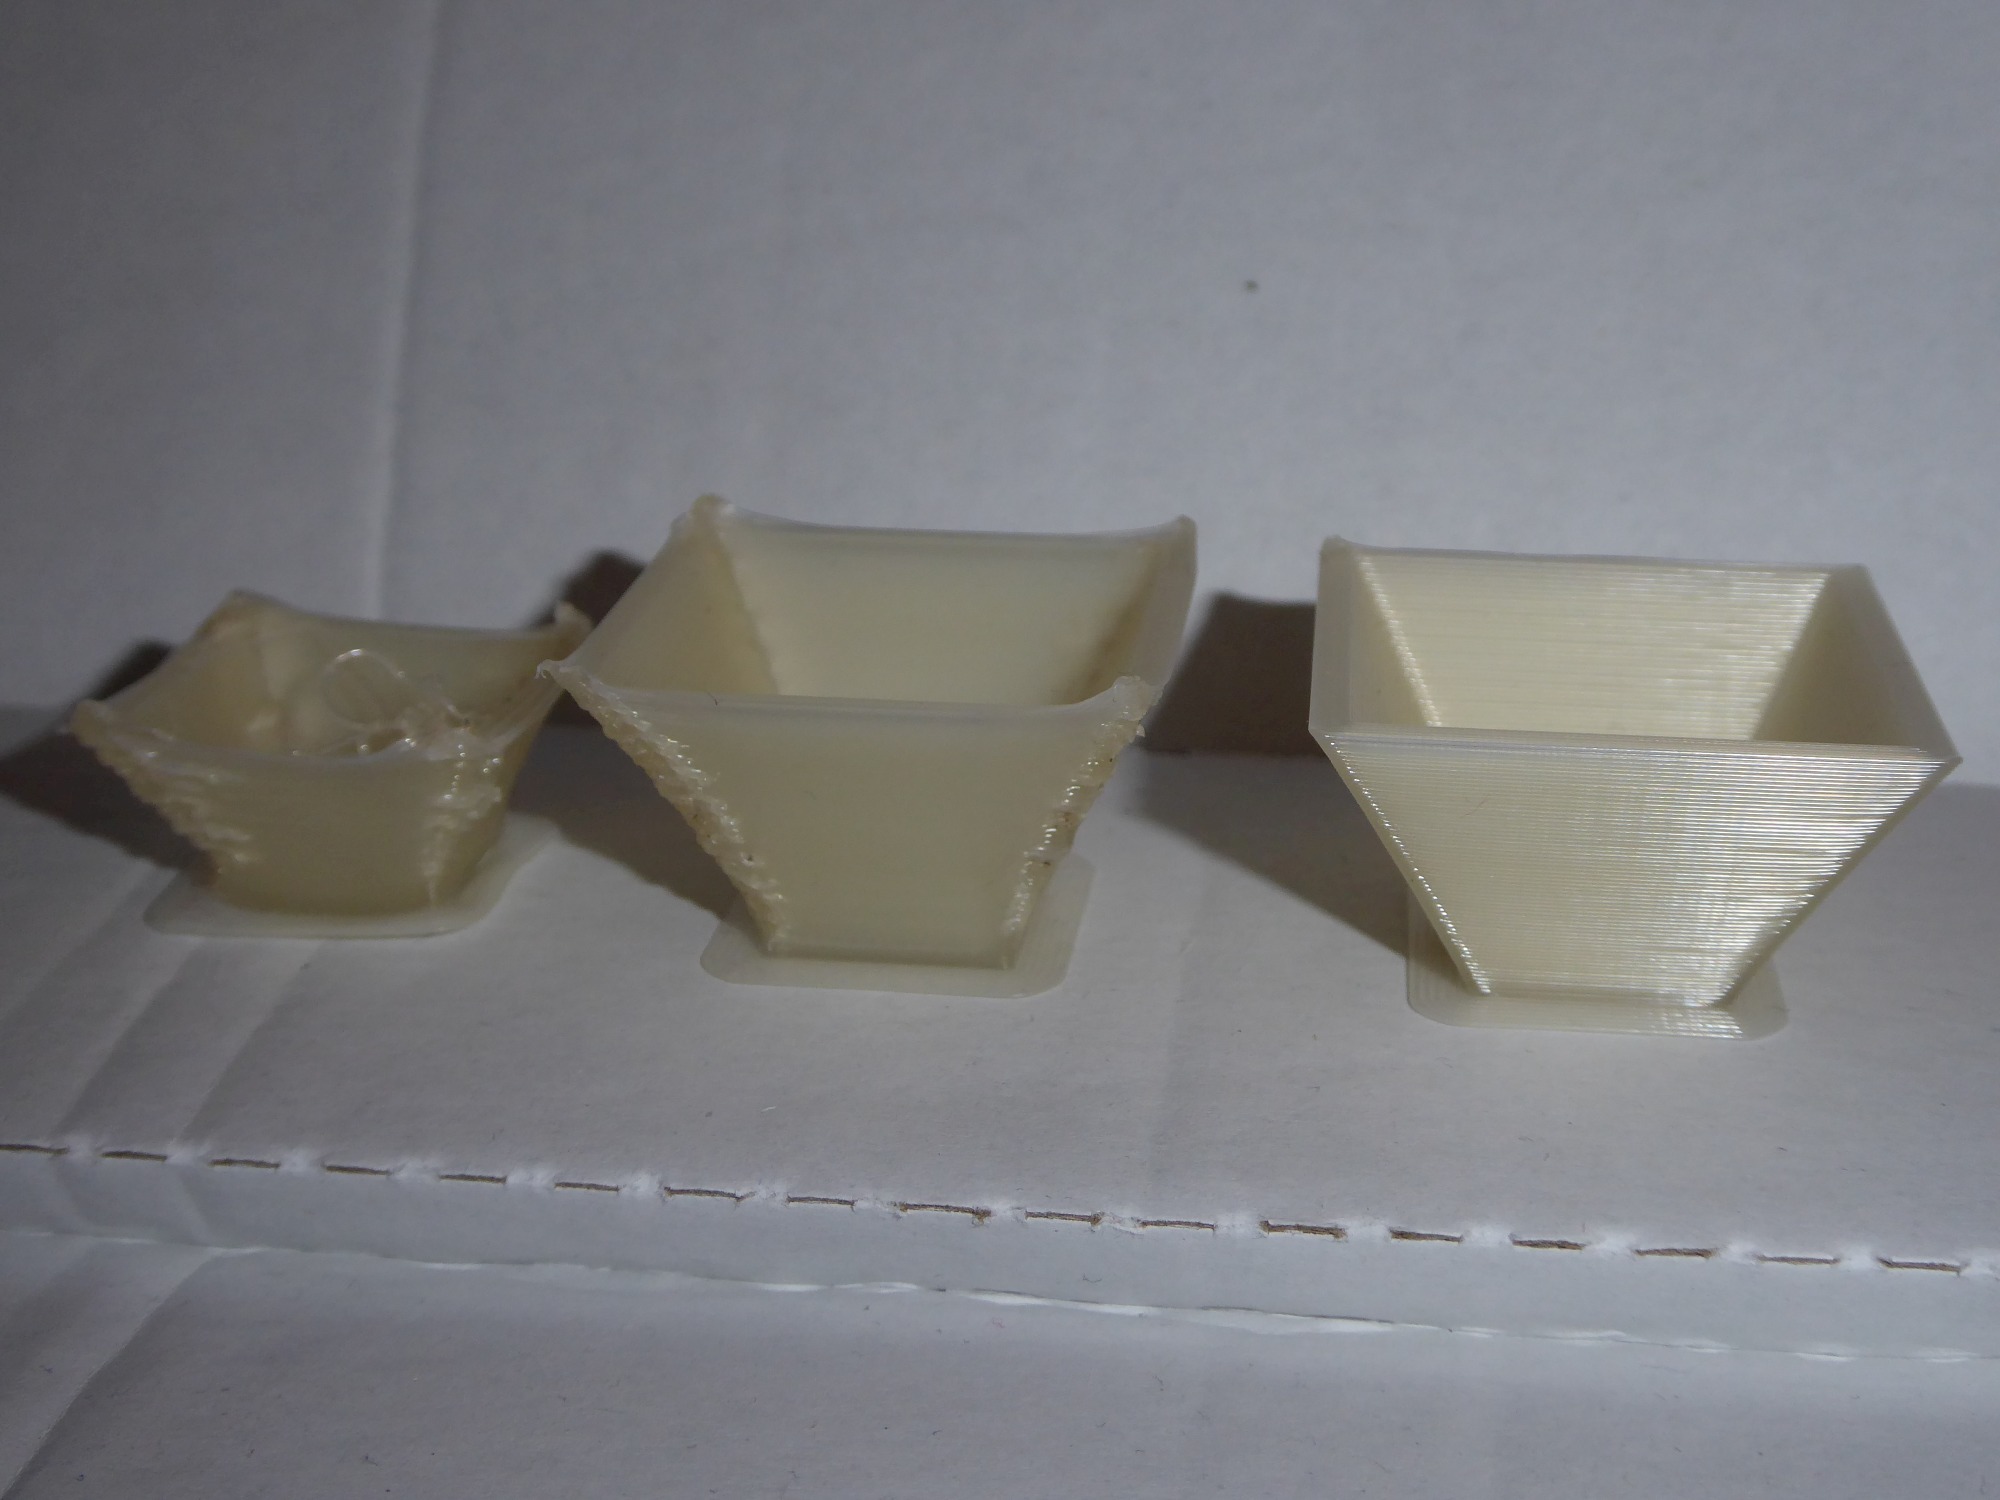
By far the most fiddling was necessary with polymaker PolyMide CoPa. The specified settings (0.1 mm layer and no print cooler) immediately ended in disaster; the Benchy deformed massively during printing.
The following Benchy was printed with the Quality profile at max. speed 30 mm/s and layer height 0.3 mm.
All prints actually never warped and always adhered well to the print bed at different temperatures. However, there are massive problems with “curling”, i.e. curling of the edges when printing with a small overhang or particularly acute angles. This curling increases with each subsequent layer.
With 14 test prints, each with small parameter variations, I have worked my way up to a setting that produces reasonably usable prints: Low component cooling (maximum 25%, otherwise the webs come off immediately), Speed below 20 mm/s, Strongly limited layer times, Minimum 0.25 mm layer height.
My opinion and first experience with the 4Max Pro 2.0
There are two german reviews of the 4Max Pro 2.0 that can be found quickly, on drucktipps3d.de and on China Gadgets. Both are worth reading.
I can agree with the conclusion of “alfrank” from drucktipps3d, you don’t pay 3,000 € for this device but have a fully housed printer for under 500 € with which you can also print ABS. You just have to be able to live with the downsides.
The problems described by Kristian on China Gadgets definitely exist – and they can certainly spoil the mood – but I don’t share his opinion of the printer. The advantages that the device has a direct extruder and a finished housing are not sufficiently considered here in my opinion, the comparison with open devices is not appropriate in my estimation. Nevertheless, if only PLA is to be printed, I would not advise to buy this device either.
Funnily enough, I had a lot more failures and problems with the Anycubic PLA than with HIPS or ABS. What has worked really well is the alignment of the print bed and the adhesion of the first layer. With all the failures, I’ve never had any problems with parts peeling off or uneven first layers.
The enclosed housing, the direct extruder, and the freedom to use any filament were my requirements that ultimately led to the purchase.
Thank you so much ! Just got this printer from Anycubic for $299 which I believe is a bargain, however I’ve yet to have a successful print with stock files on the SD card! Will load up PrusaSlicer and import your config now, hopeful it will yield some better results!
I paid much more, 299 is quite nice. Hope you will get some decent results. Please note that you may still need to adapt temperatures and stuff to your filament, I’ve just used very low quality PLA here and focused on TPU already. good luck
Hi, thanks for your work, I have the same printer and I would like to print the original fan duct stl file given in the SD card, but I have completely lost it… Can you share it please it would be really nice and helpful for me, I have difficulties to print PLA because of this. Thanks a lot,
Tom
Hi Tom, please try contacting anycubic support, they should be able to help you – it is basically copyrighted material which I can’t just upload. If they won’t help, send me a message with your email with contact form on main page.
Configuration loading error
“ConfigBase::set_deserialize() failed”
Similar issues. Seems ‘vendor’ section is missing. Looking at the INI file this appears to be a piece of something else. The printer definitions and vendor data are missing causing the current version of Prusa to abort launching on error.
I finally managed to reproduce that error now. It happens if you manually replace files. I’ve tested it with PrusaSlicer v2.3.3 on Linux (xubuntu) and Windows 10 but it always worked. Do not replace any file in the program folder or appdata. Use File – Import – “Import Config Bundle” to load the config bundle.
Great job. Thanks for support and sharing your knowledge.